

Dr. Michael Miyasaki
‘Minimally Invasive’ is all the buzz. From endodontics to implantology we have made the move to much more conservative techniques. Combine this with what we know about the Zoom Boom going now, and you should be seeing the growing aesthetic demand in your practice. Patients now are requesting more aesthetic work than I have seen in a decade. Don’t take my word for it, research shows that the need for aesthetic dentistry is projected to grow 7% annually. That is an impressive number. Hopefully, you have been keeping up with the PAC newsletters to learn the techniques or you are signed up for a PAC course. If you aren’t seeing the cosmetic cases coming into your office maybe you need to start asking your patients if they have any interest in improving their smiles. It could be as minimally invasive as whitening, recontouring, bonding, limited tooth movement or as this article will demonstrate minimal preparation veneers. Minimally invasive procedures are the fastest area of growth in facial aesthetics.
What are the advantages of minimally invasive aesthetic dental procedures? Total patient comfort without any need for anesthetic, minimal alteration of tooth structure, and a strong bond to enamel. If a veneer were to break or come off the worse that they would see is their current ugly tooth. What are some of the challenges? The laboratory work is difficult, you need a great laboratory. The patient must understand the teeth are going to be thicker since you are doing additive dentistry, but for patients that want a broader smile or who wish to fill in spaces, these additive procedures are the perfect answer.
Let me share how we approach a case like this and if you have any other ideas please share with our readers. In this case, the patient had a lot of diastemas. The patient wanted to close the spaces and create a nicer and whiter smile. One of the options would be orthodontics, but in this case, I felt we would restrict the mandibular envelope of function which could elicit TMD problems or even airway issues as we know today. Another option might have been direct bonding with composite, but our patient had done his research and was searching for porcelain veneers.
Taking photos of your patient’s smile (Figure 1) and letting them see the pictures on your big screen monitors is often a great way to open the discussion with your patients, identify the issues and motivate them to proceed onto a smile improving solution. We discussed the before mentioned treatment options and the porcelain veneer options which were to prepare the teeth or do no preparation of the teeth. Our patient expressed interest in minimally prepared veneers. I explained to him how the teeth would be thicker and that I wanted him to experience this and have a preview to see the change, and he agreed. We took impressions and sent them to Corr Dental Laboratory and scheduled our patient back for a half-hour visit in two weeks. The talented technicians at Corr did a beautiful diagnostic wax-up (Figures 2 and 3) and created the preparation putty stents and the temporization stent (Figure 4).
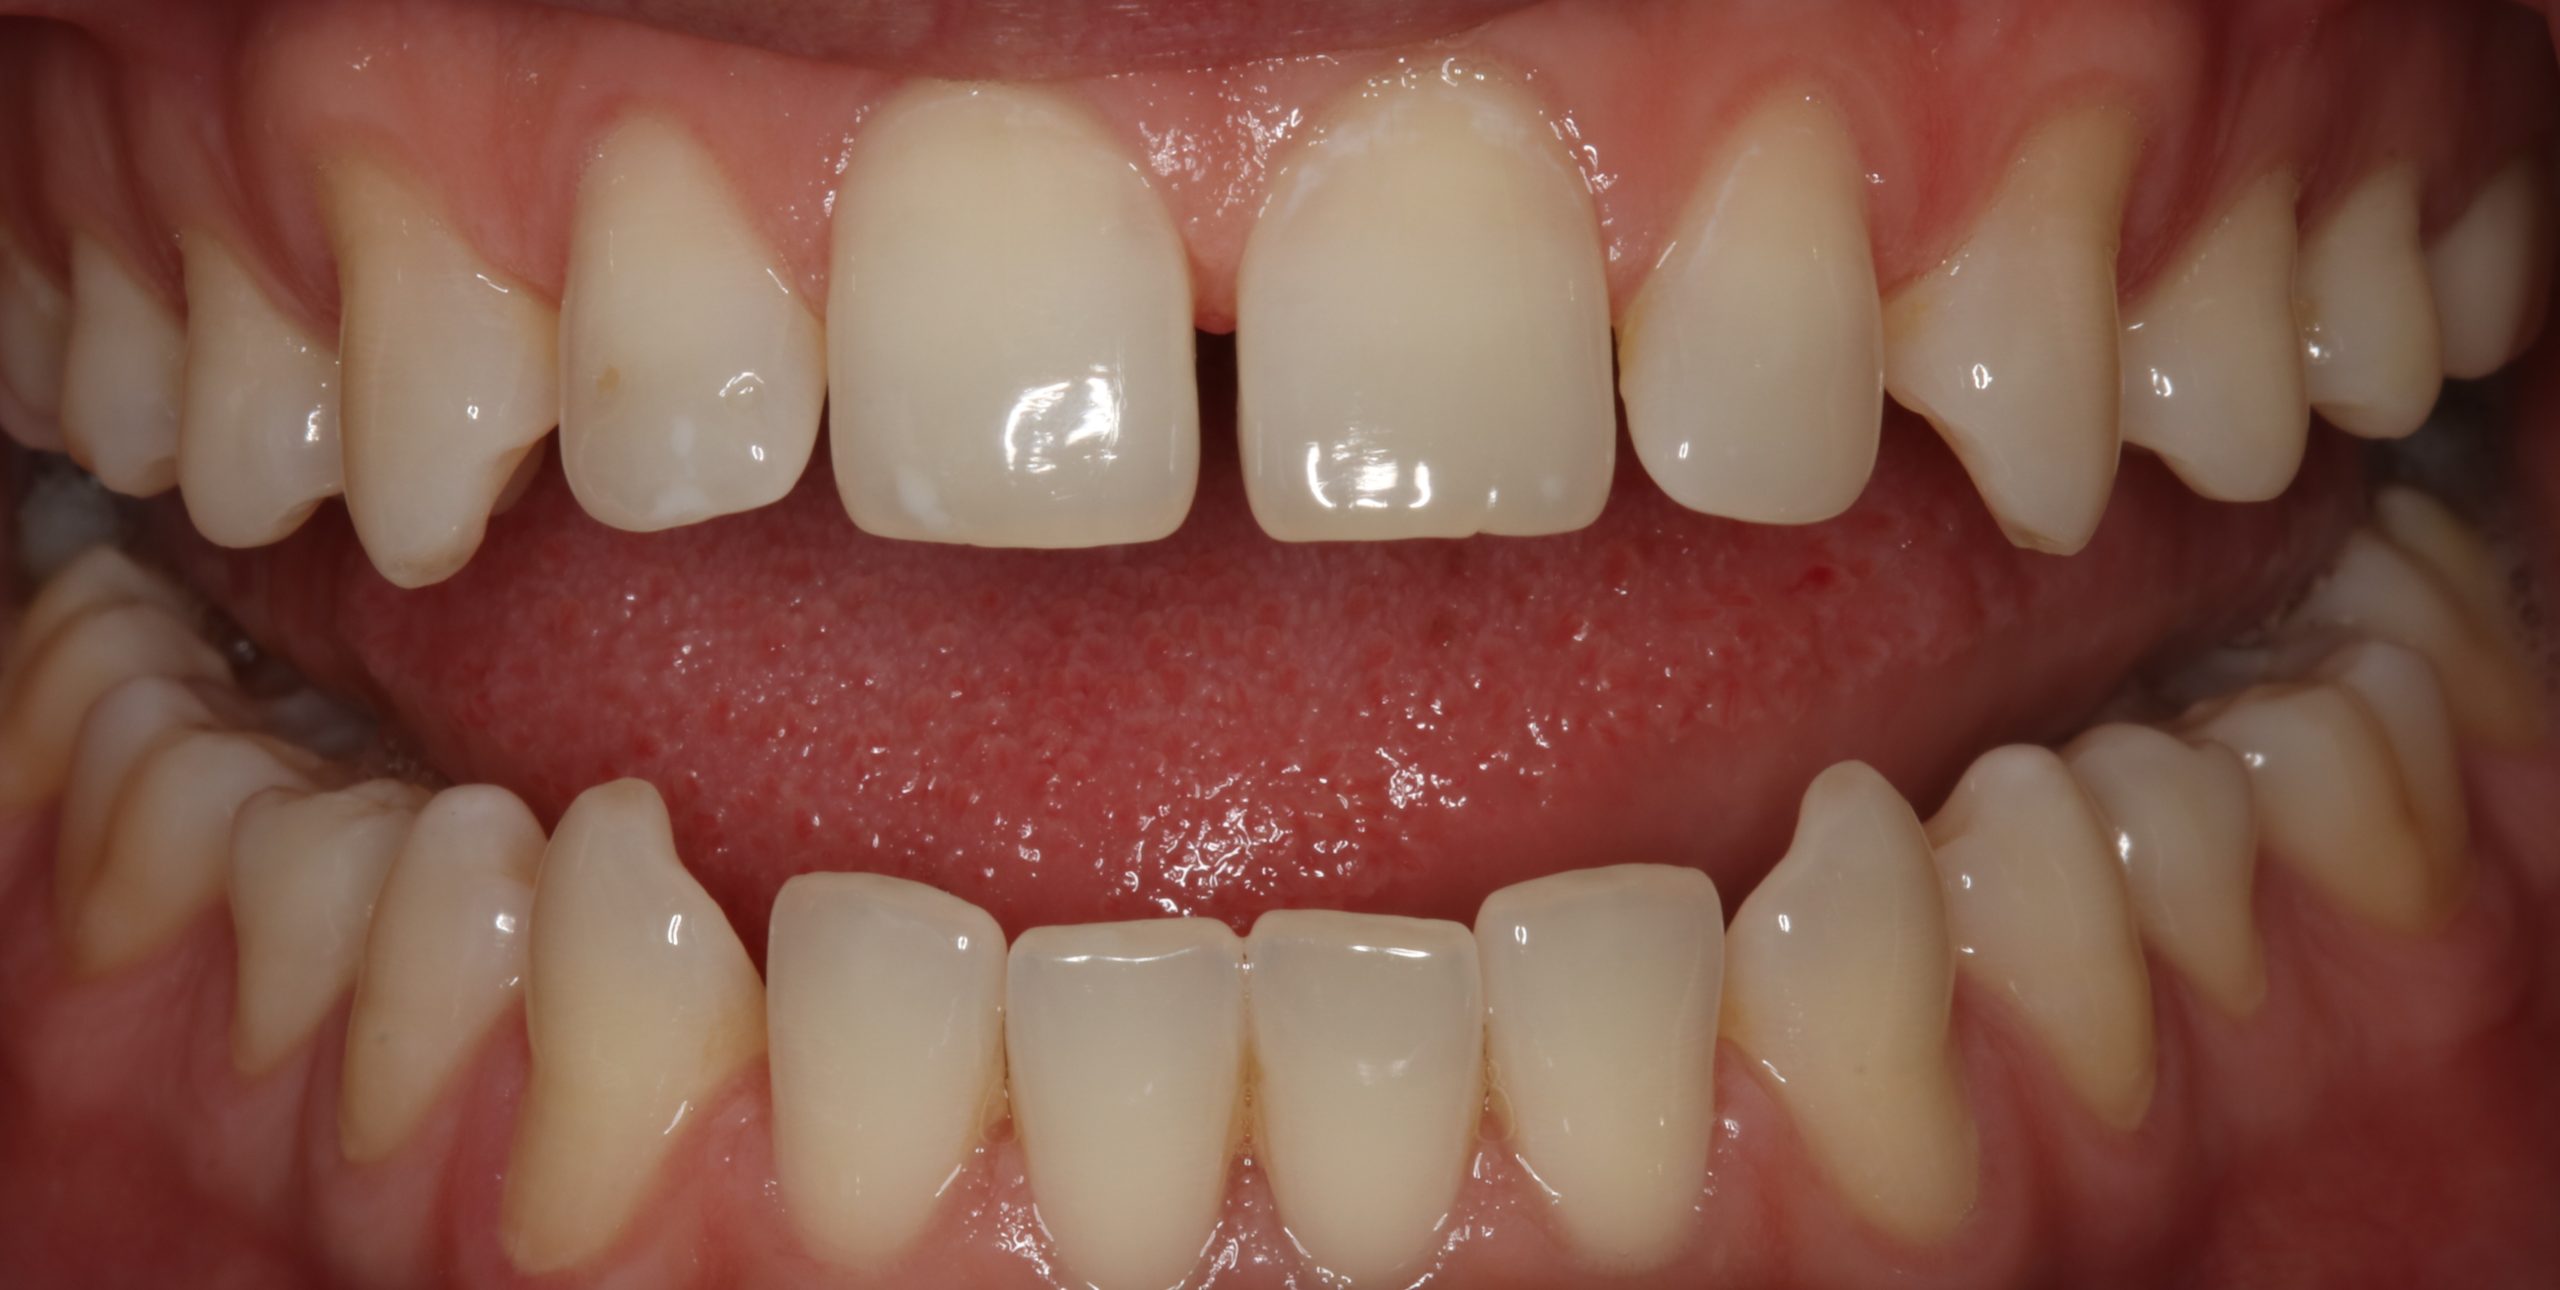
Figure 1
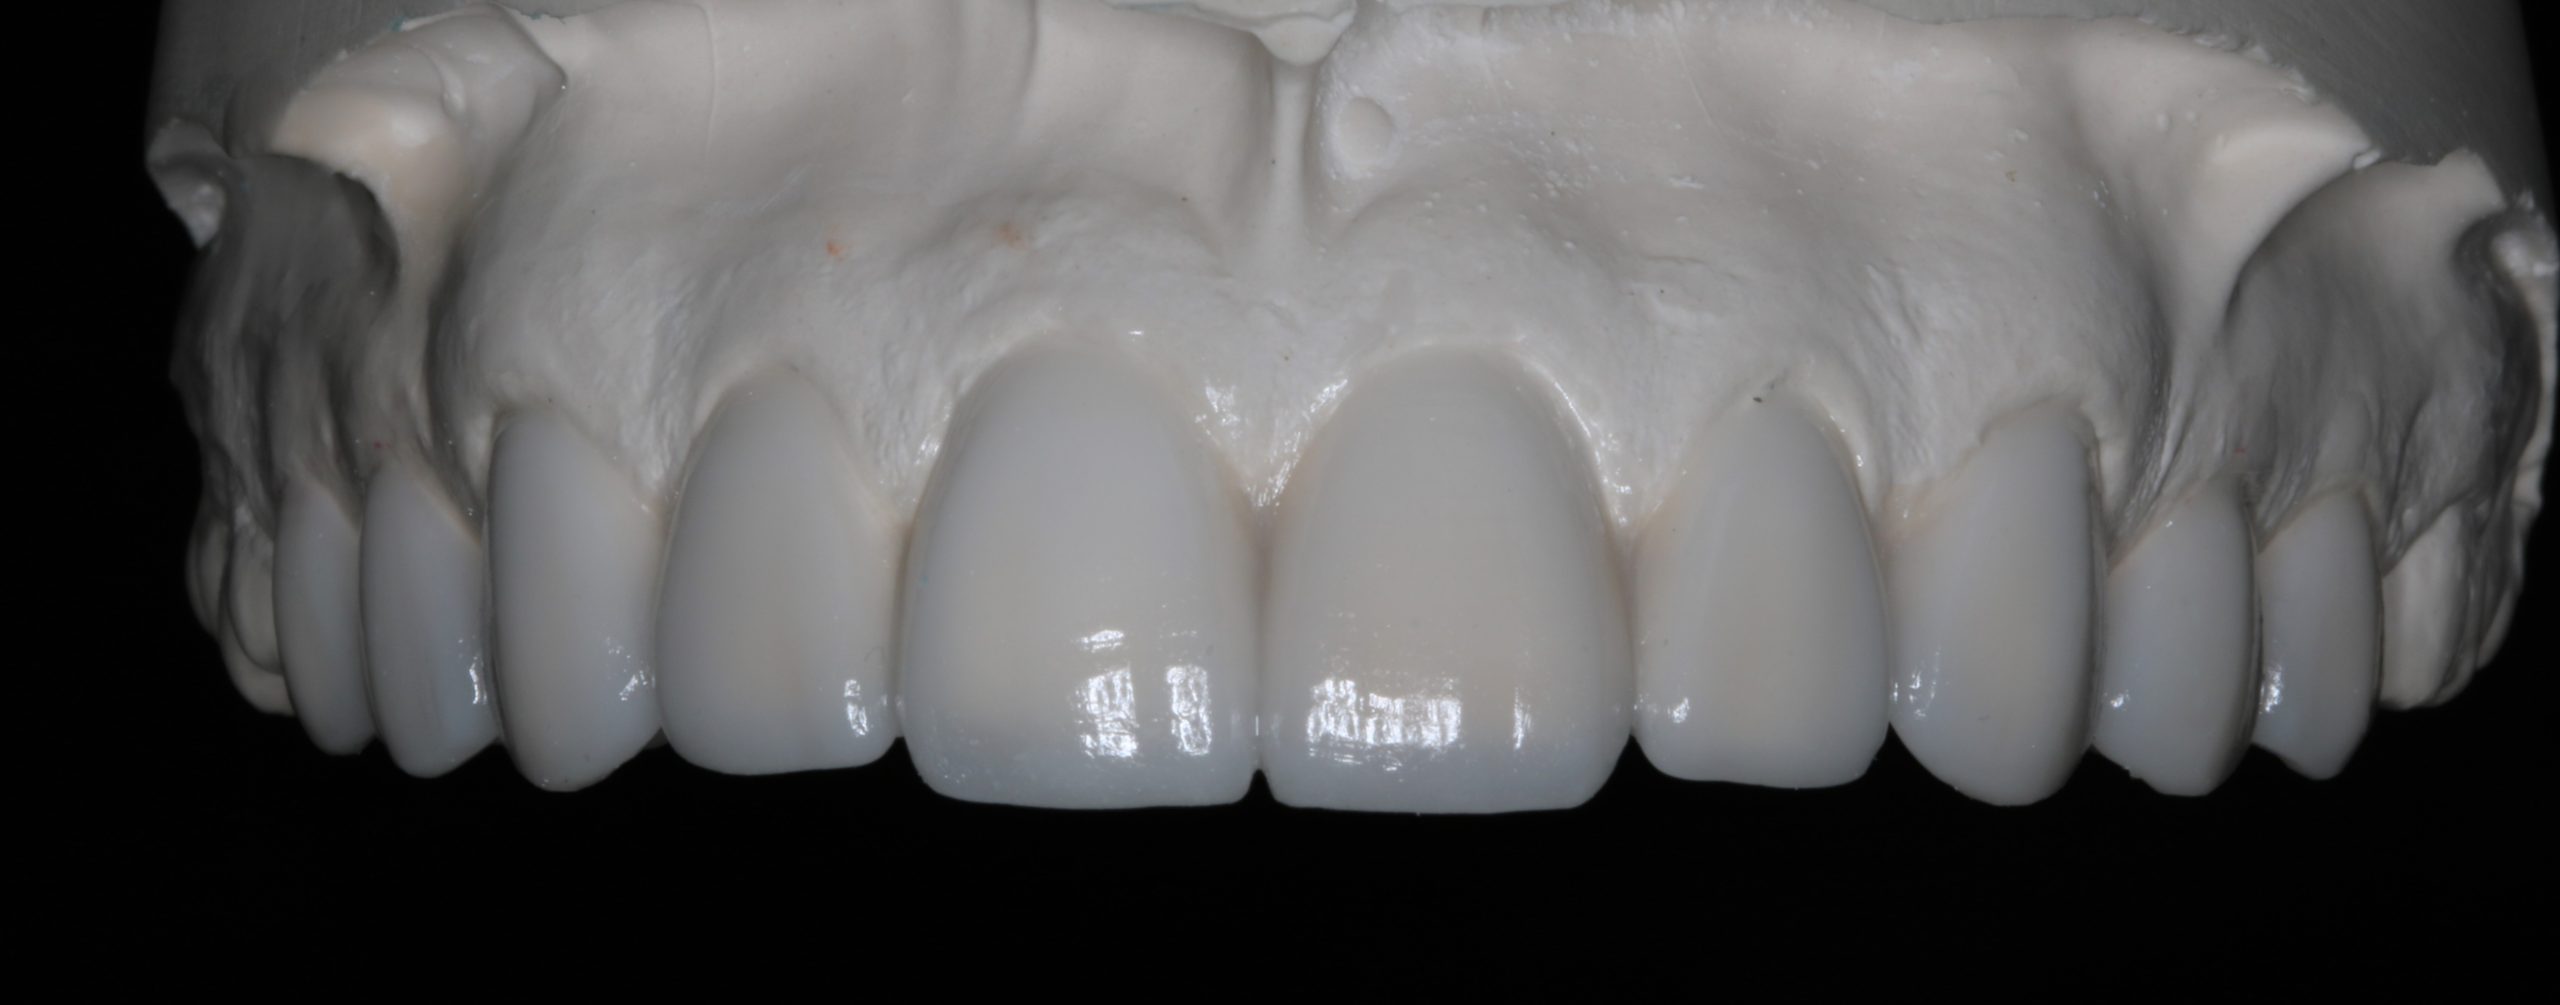
Figure 2
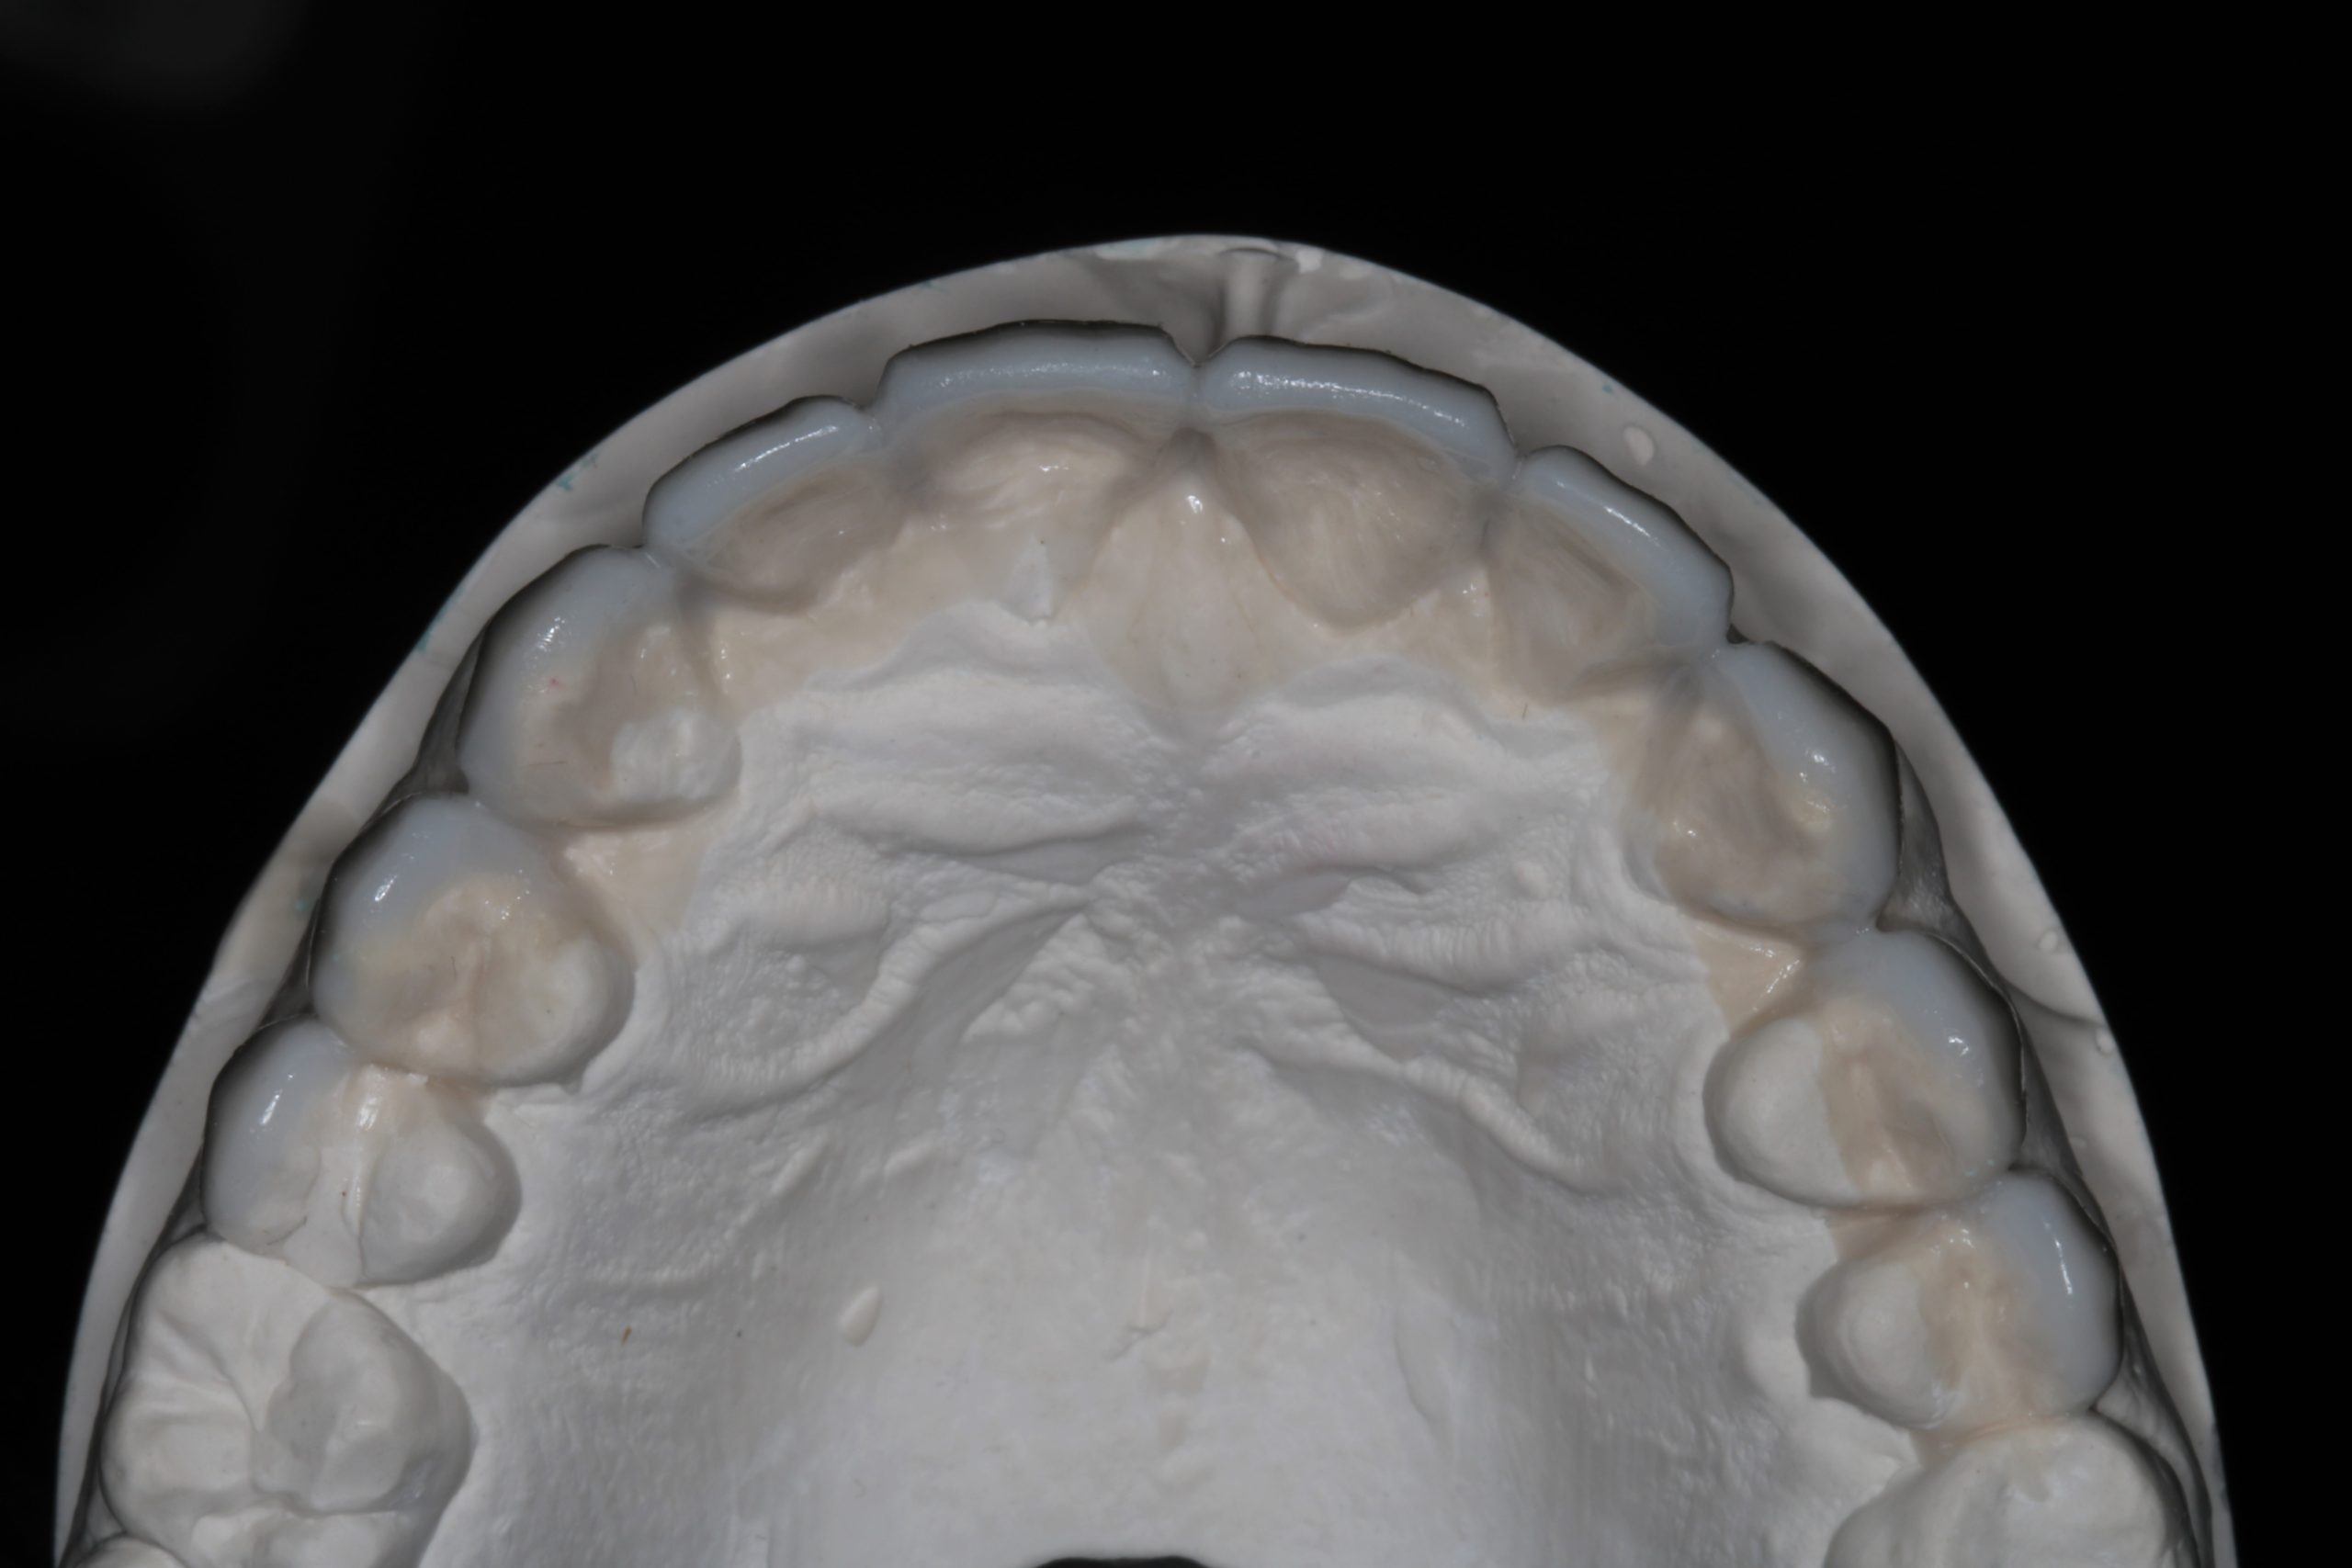
Figure 3
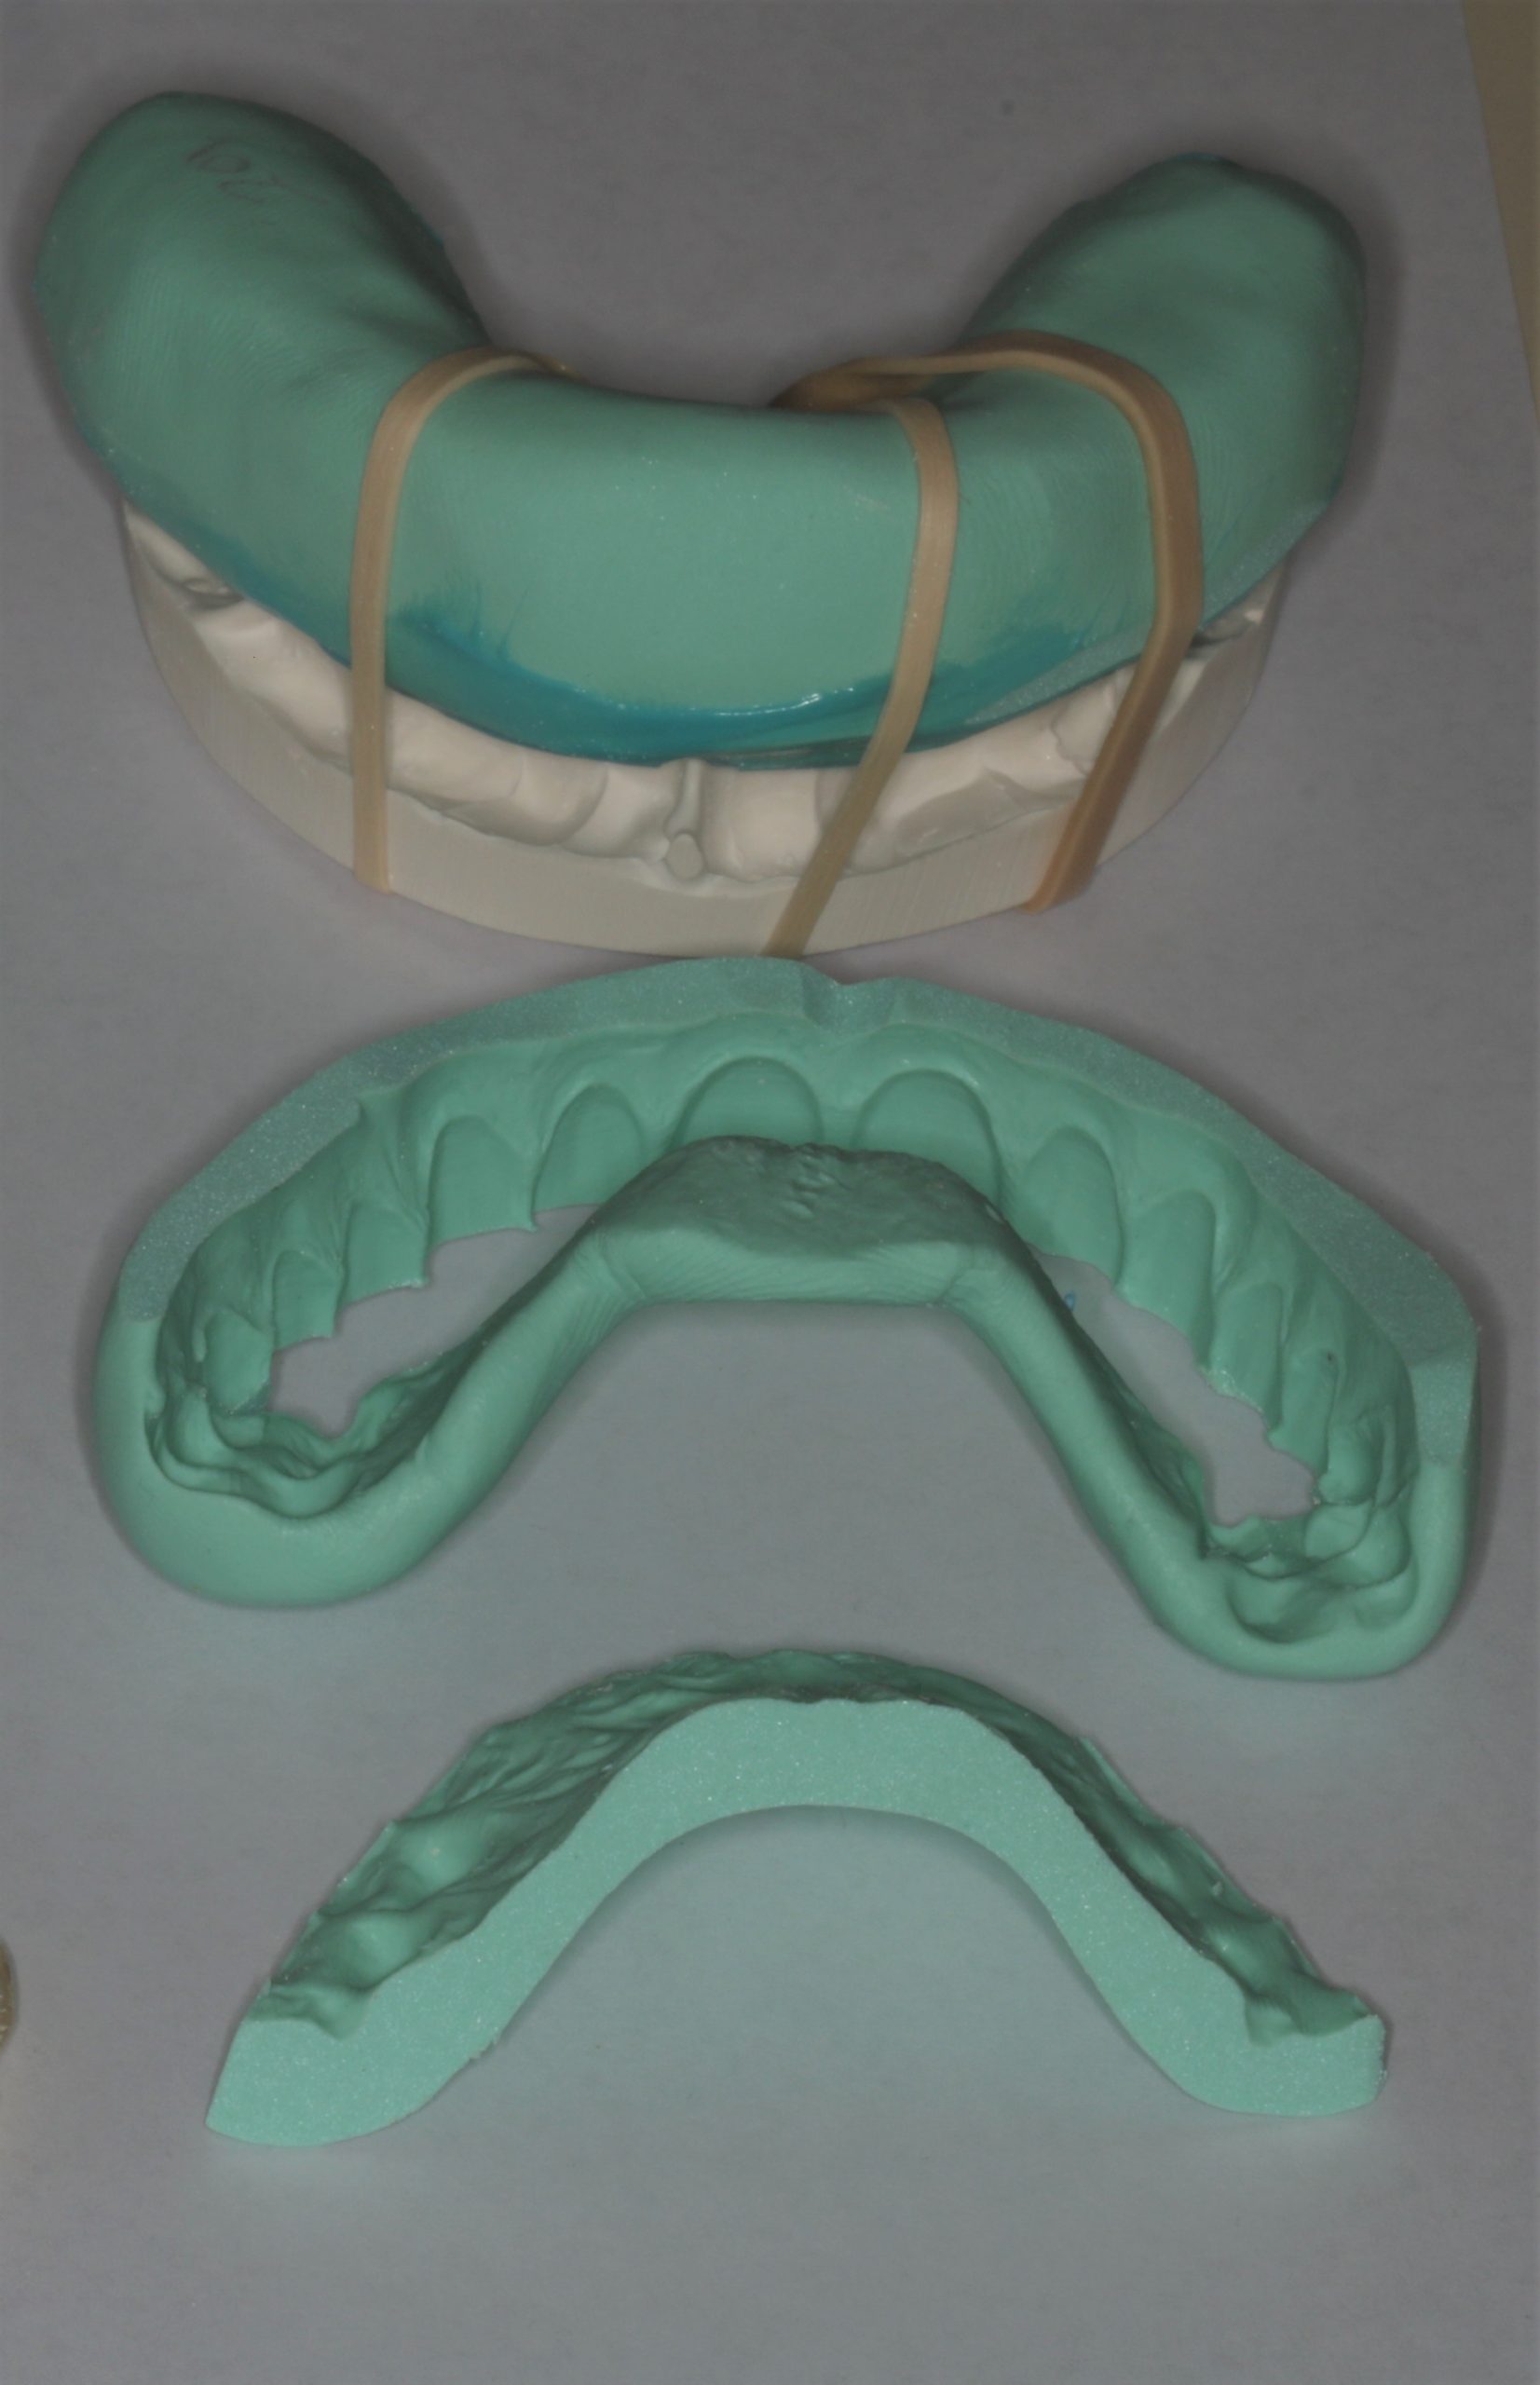
Figure 4
At the next visit, I placed the preparation stents (Figures 5 and 6) that were made from the diagnostic wax-up in his mouth to see the clearance the wax-up provided and from this I was able to determine that very little enamelplasty would be needed. I explained this to our patient, and it was nice to offer a no anesthetic solution to remedy his chief concerns.
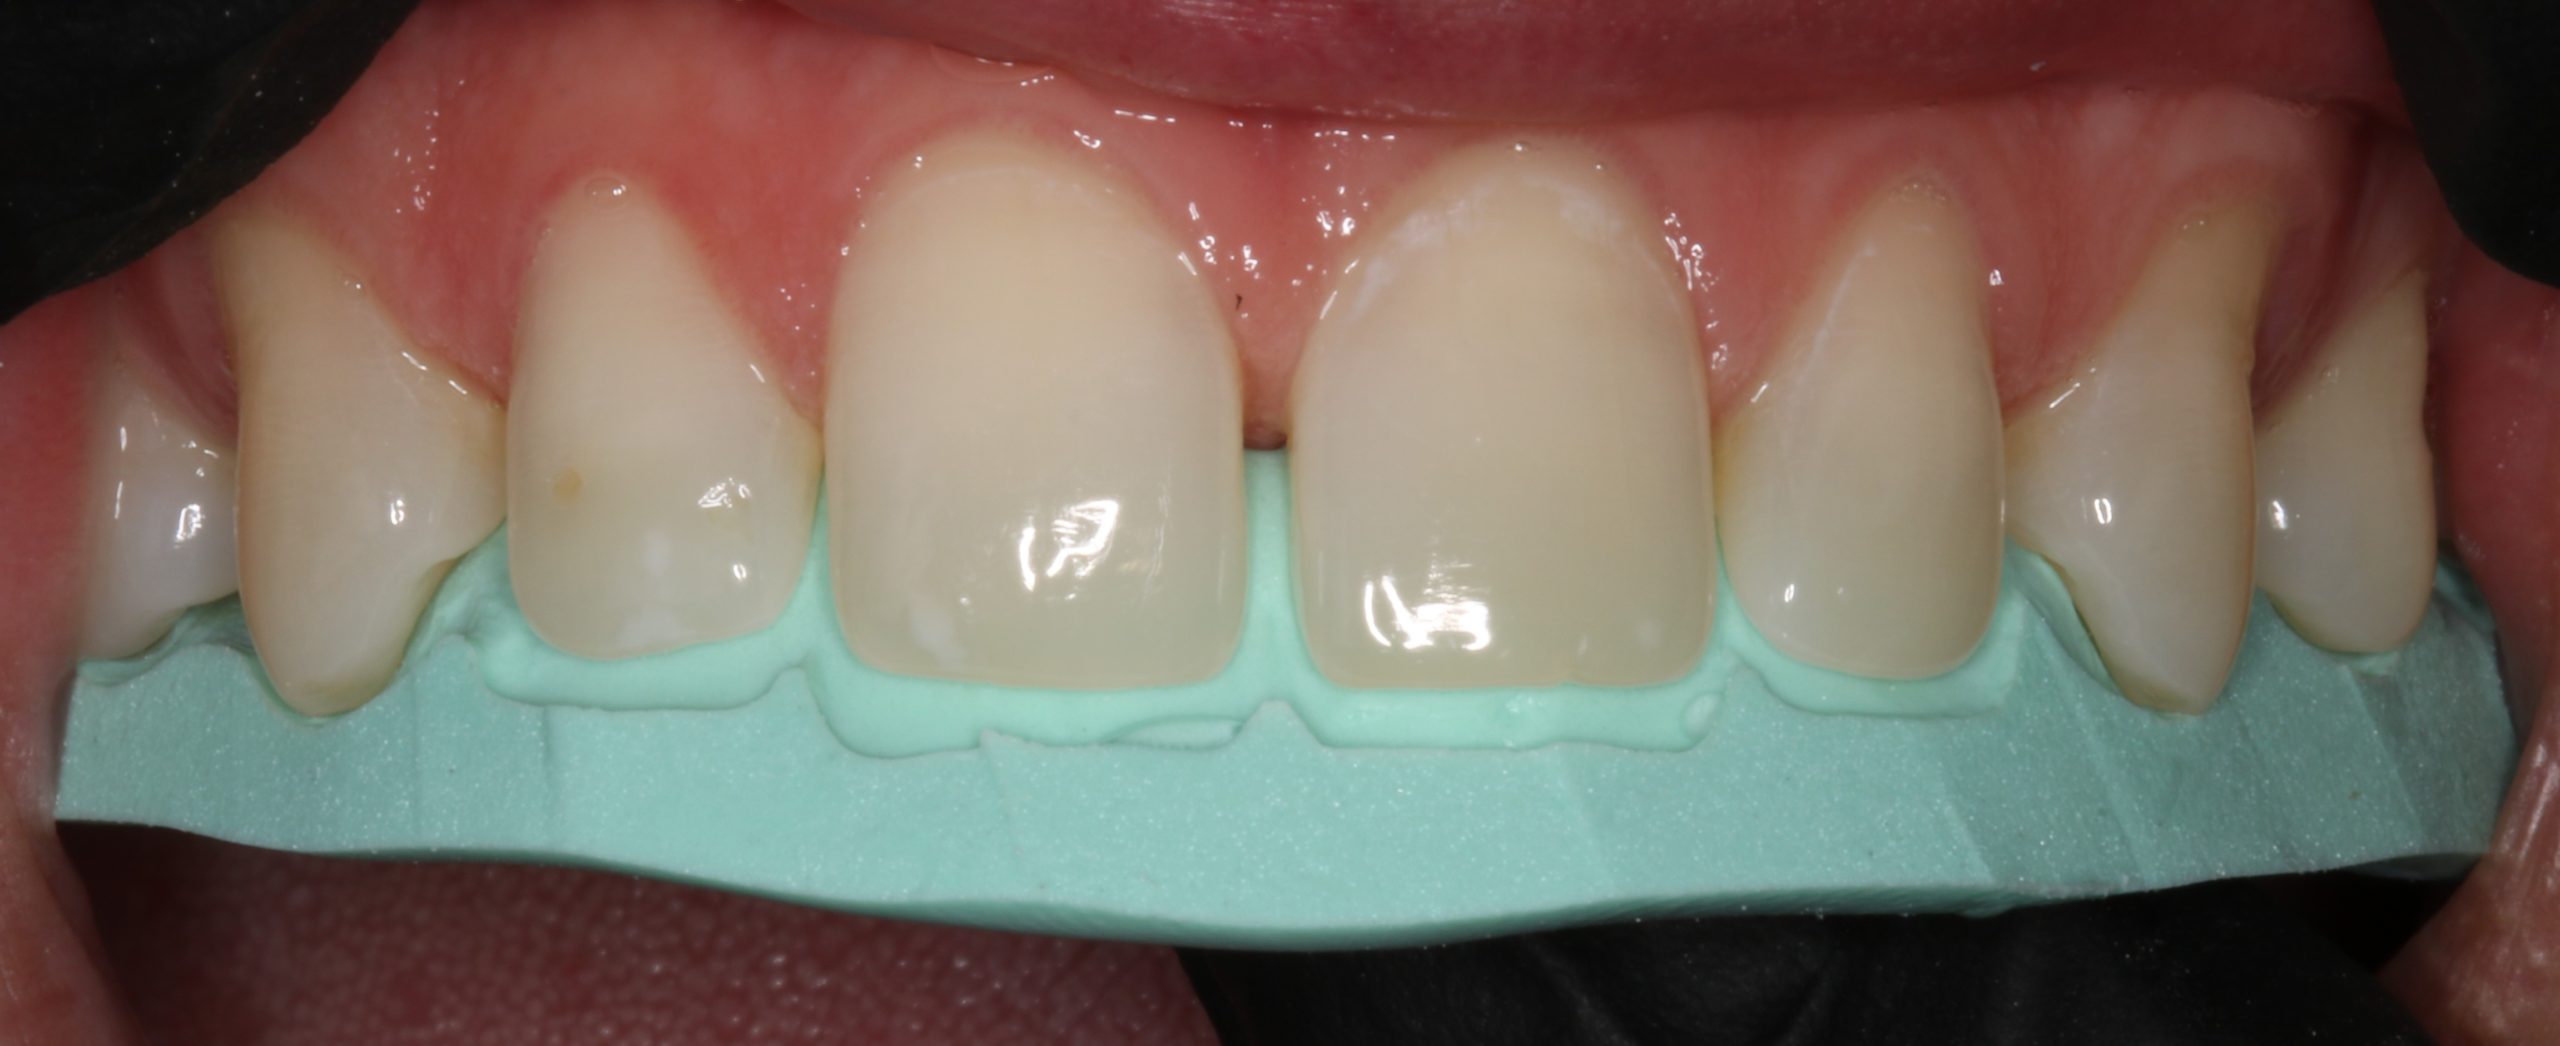
Figure 5
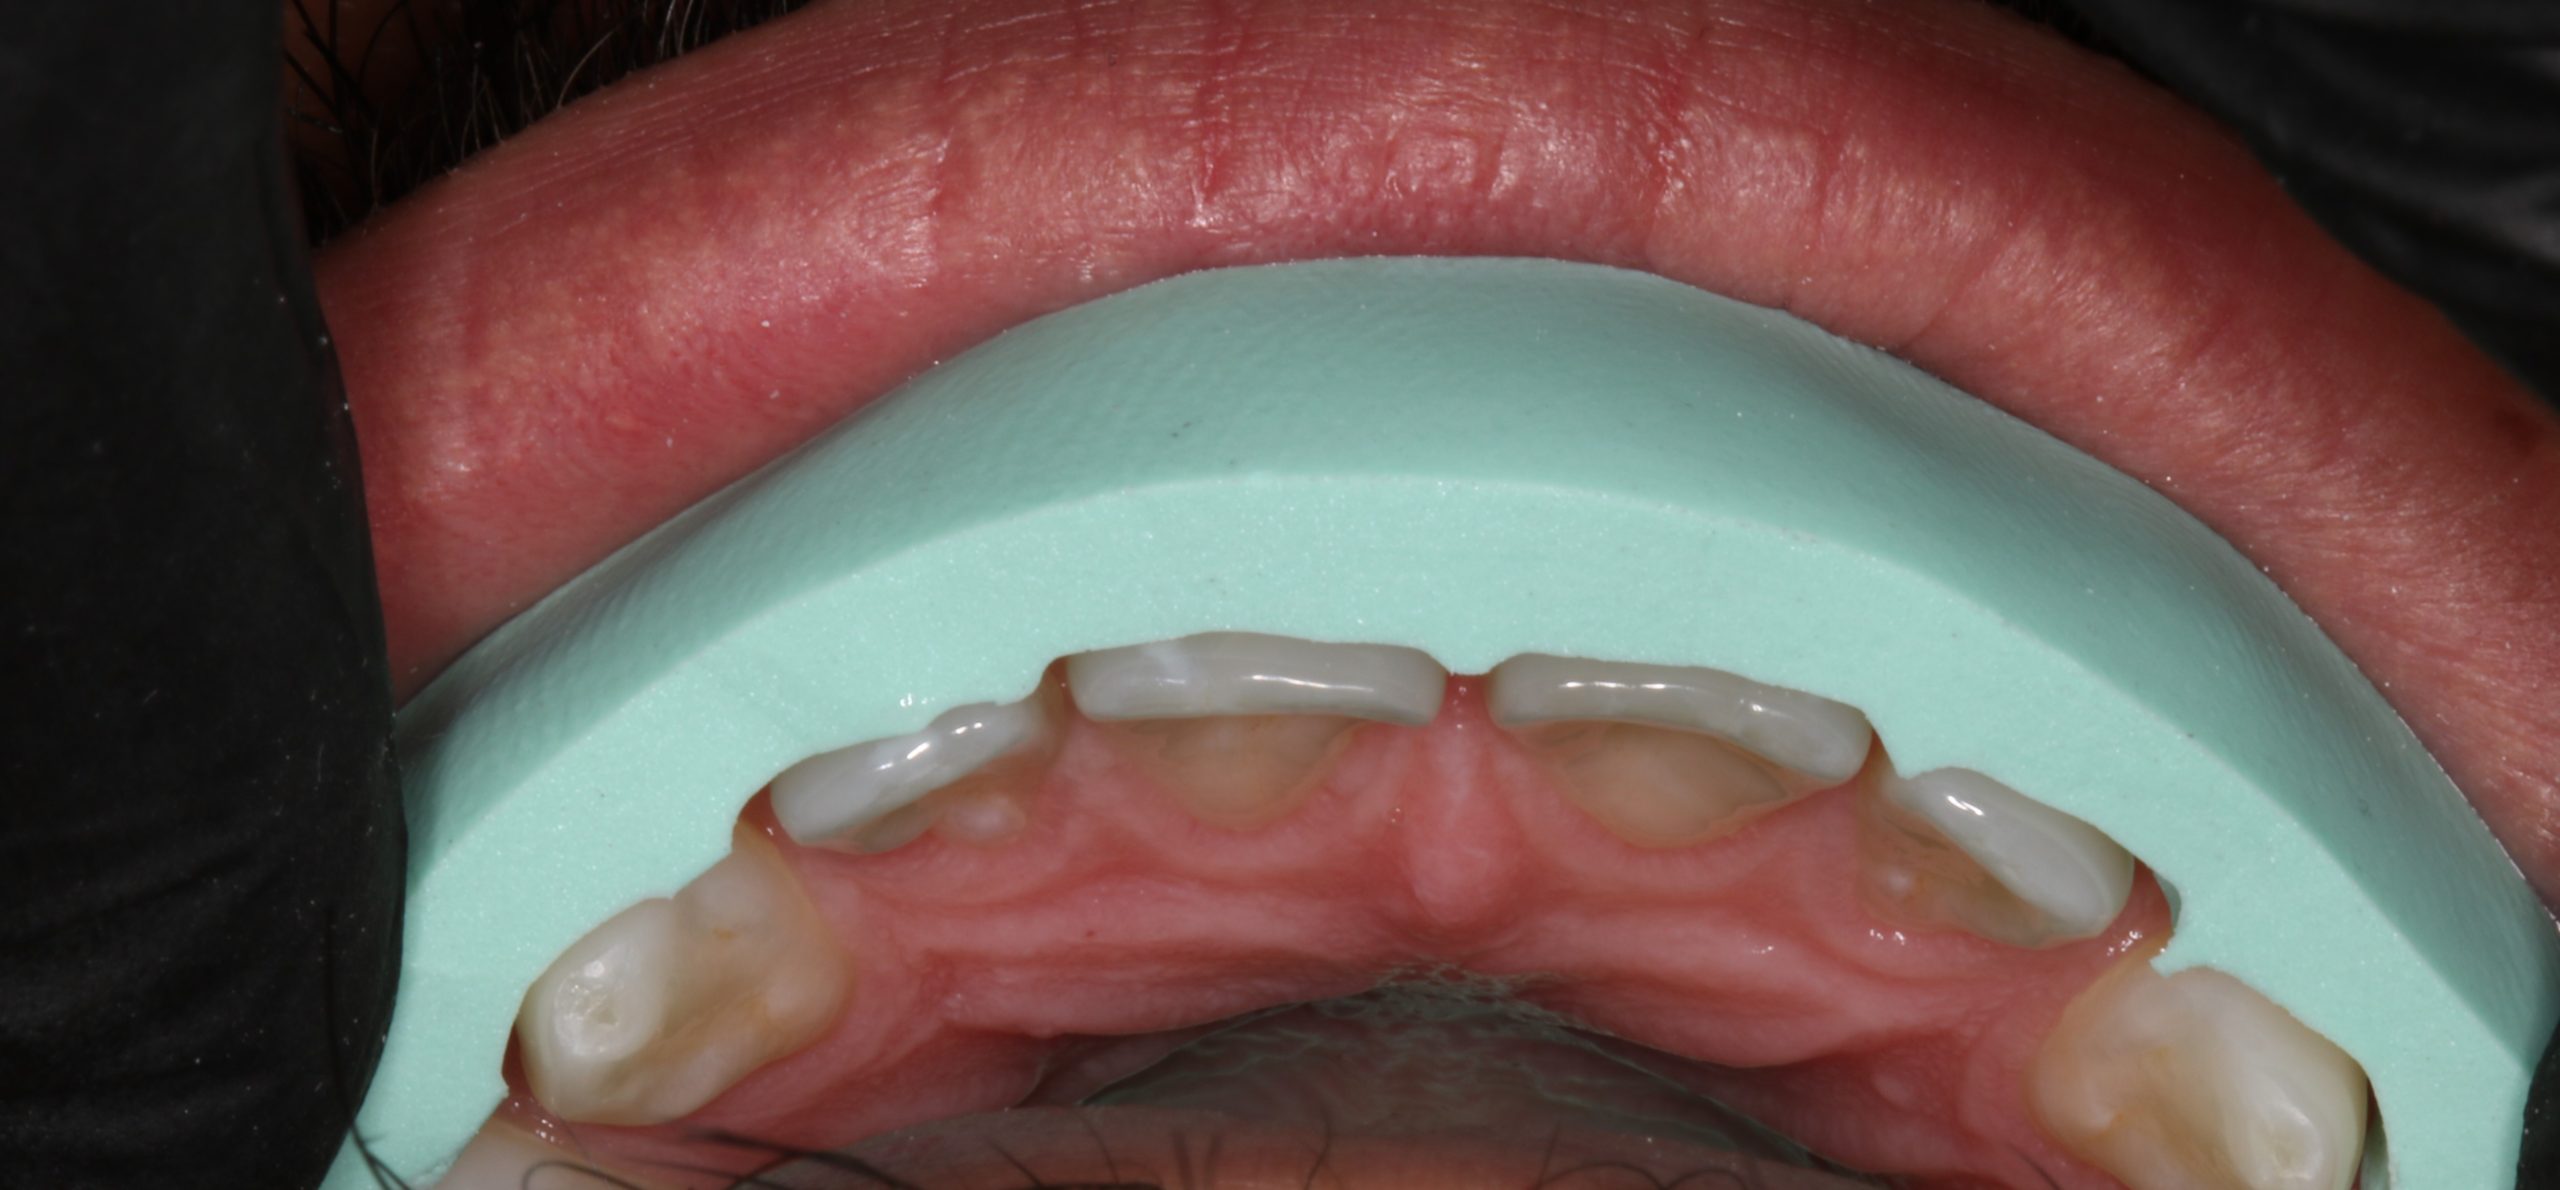
Figure 6
We then placed an acrylic overlay over our patient’s unprepared teeth using the temporization stent and a temporary material (Figure 7). We then let him see and feel the difference. He was blown away by the change and could not wait to get started. I always remove one side of the overlay (Figure 8) so the patient can appreciate the change.
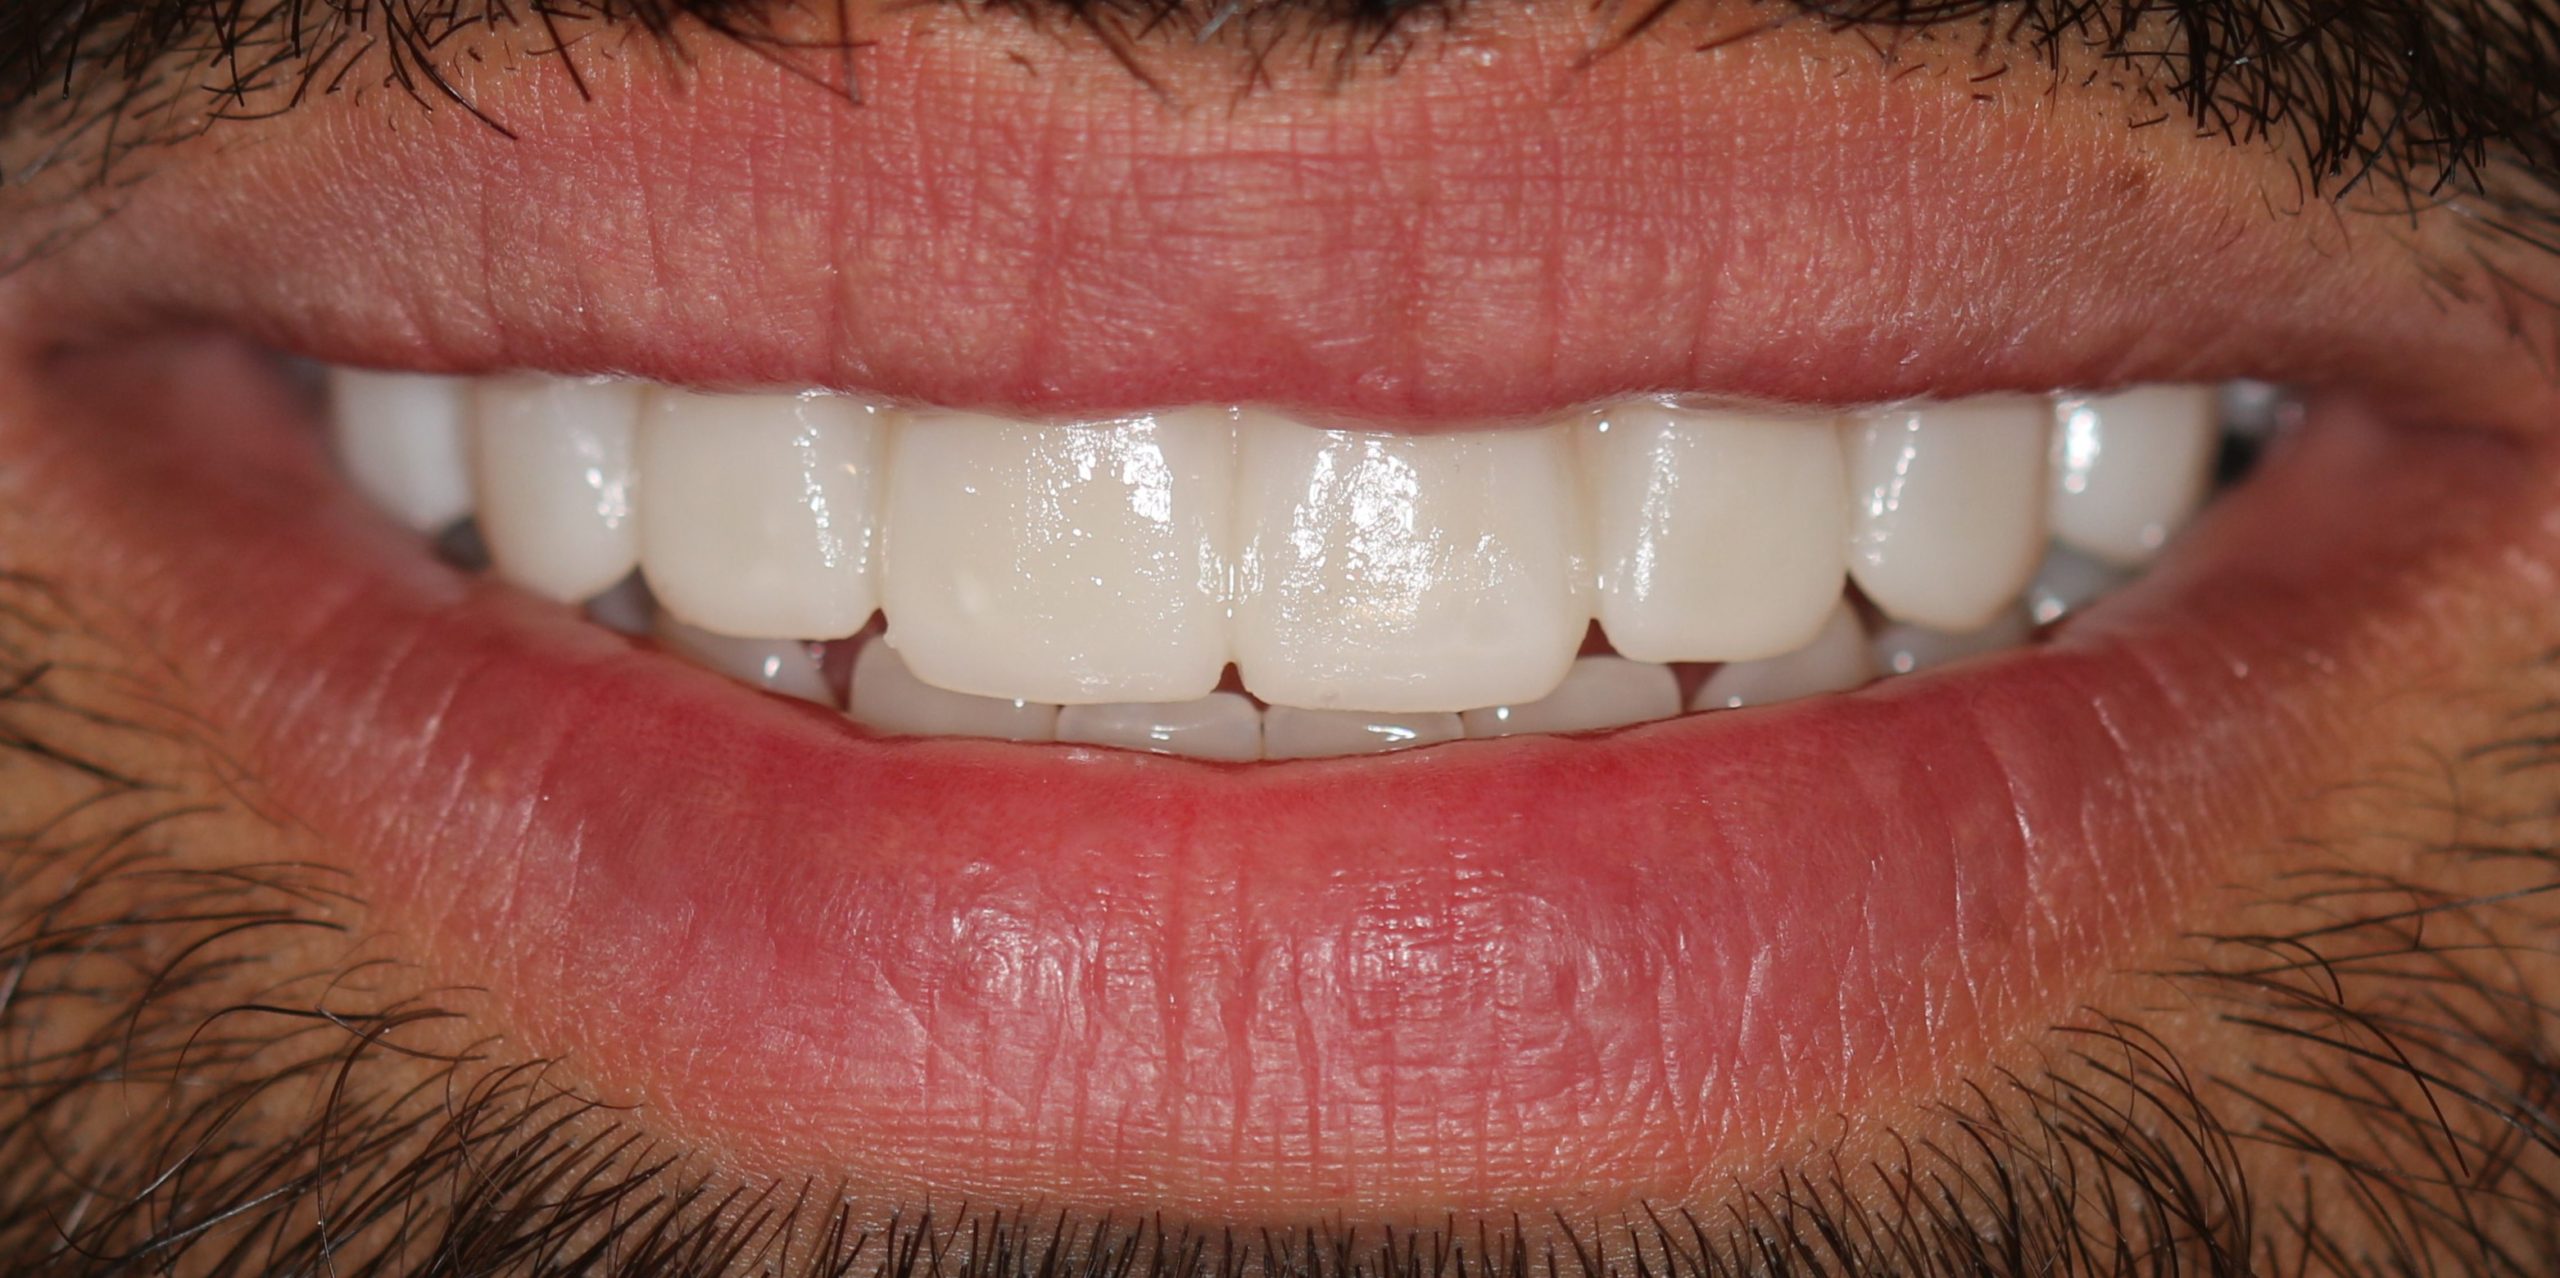
Figure 7
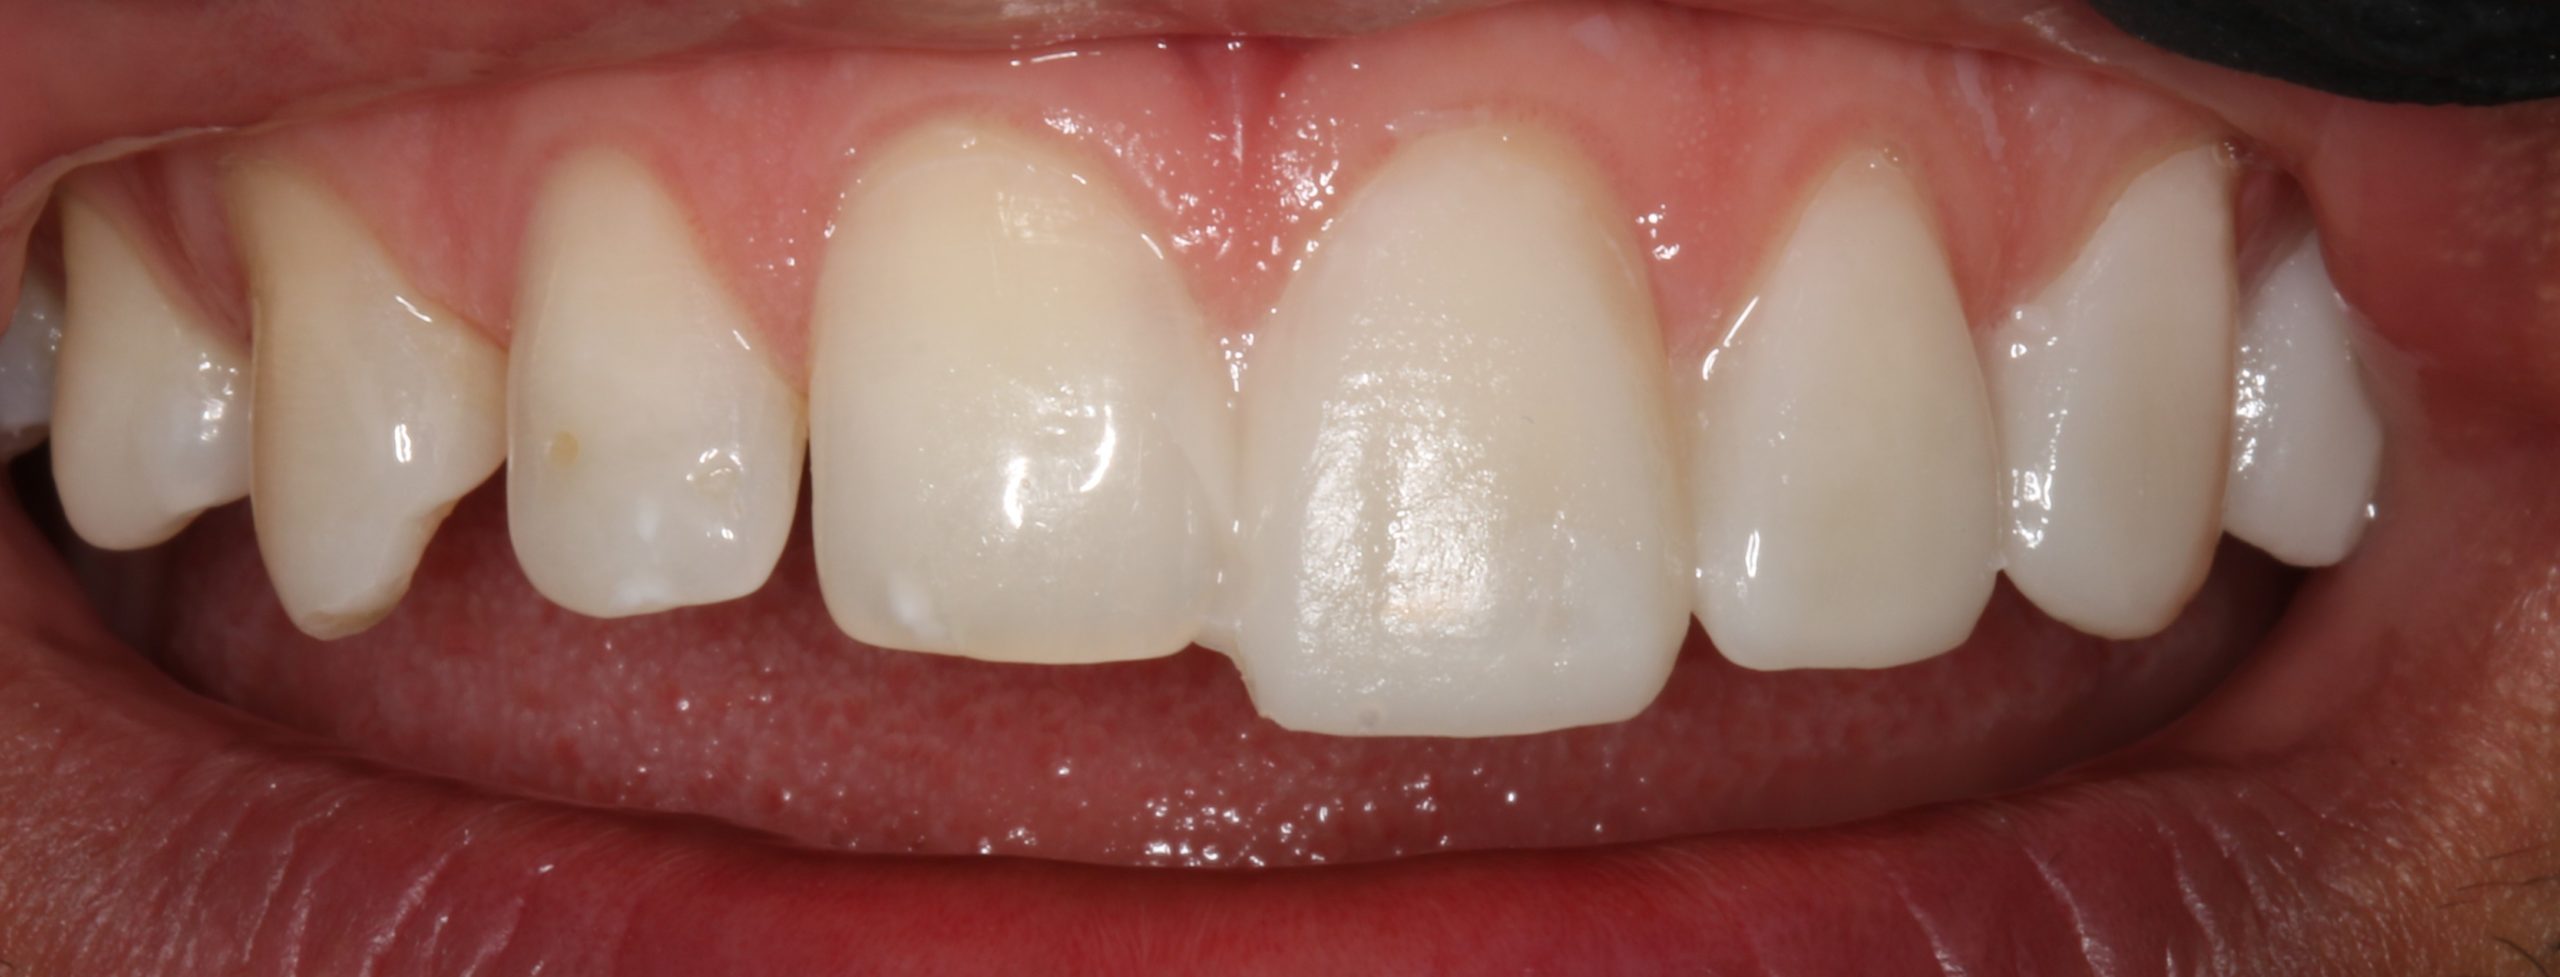
Figure 8
I did a little enamelplasty on teeth #5, #6, and 11. This required no anesthetic and took just minutes. We took our impressions, sent the impressions and photos to Corr. That was it for our preparation appointment as there were no temporaries to place. This meant there were no temporaries to worry about coming off, and no special hygiene instructions for our patient to follow.
The laboratory work (Figure 9) came back and was done exquisitely. I have no idea how a laboratory fabricates these restorations, but I appreciate their craftsmanship and artistic abilities. The veneers fit like a glove on each tooth.
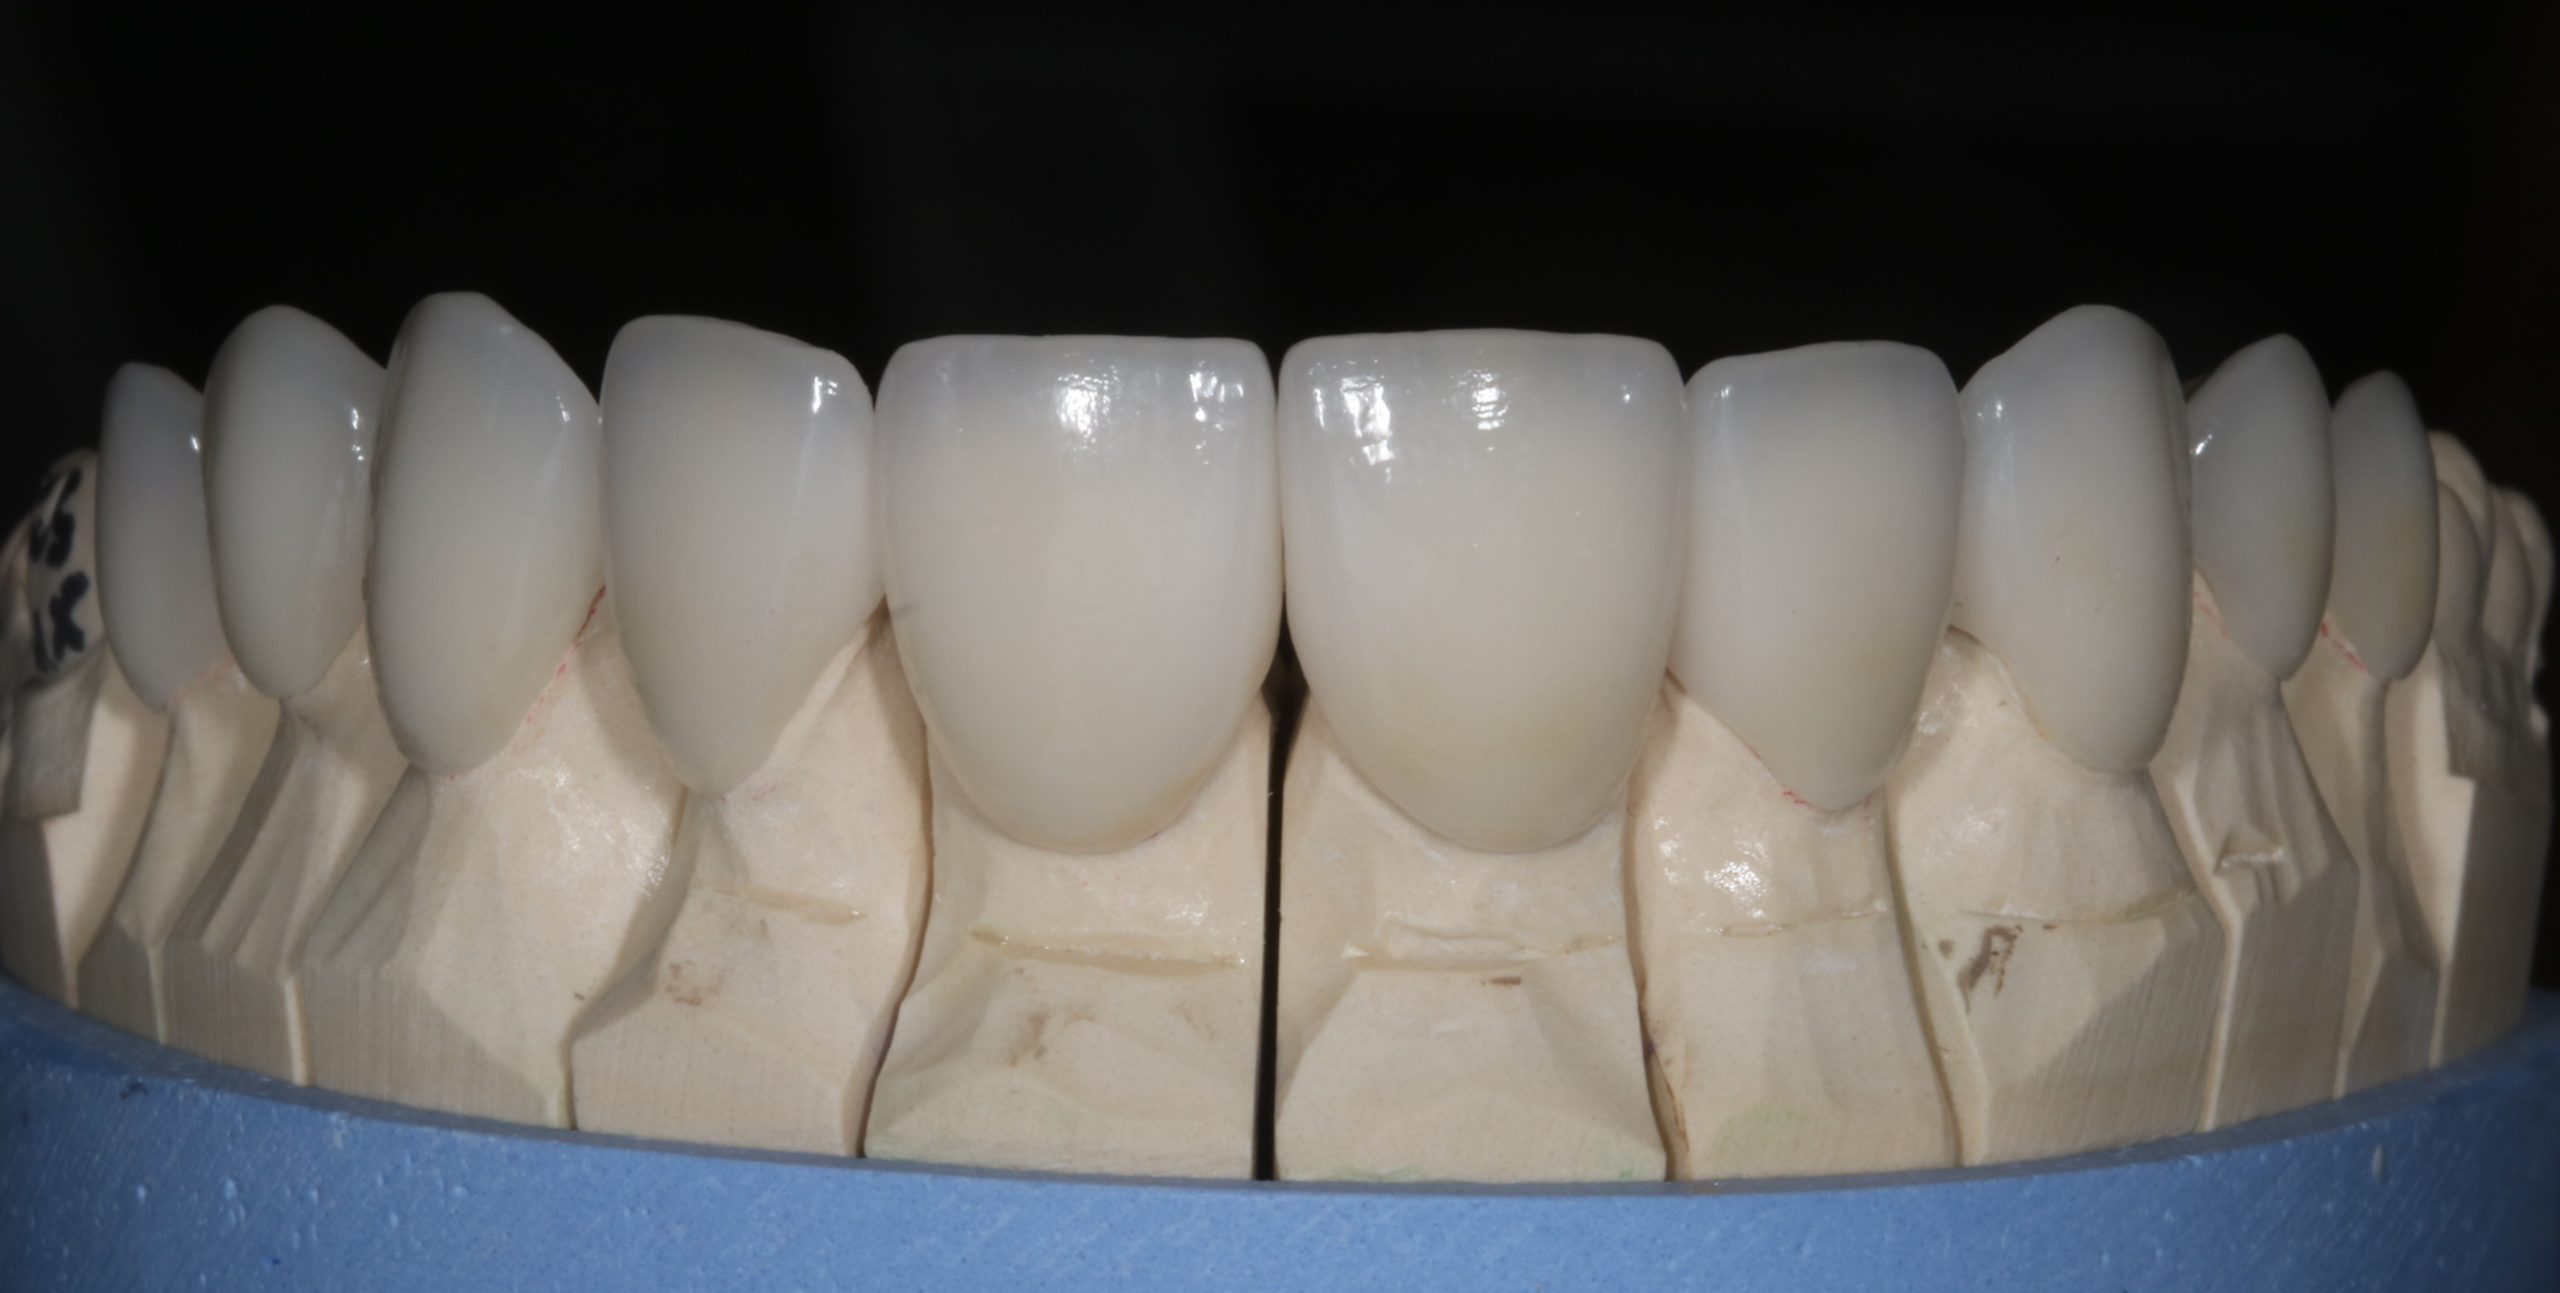
Figure 9
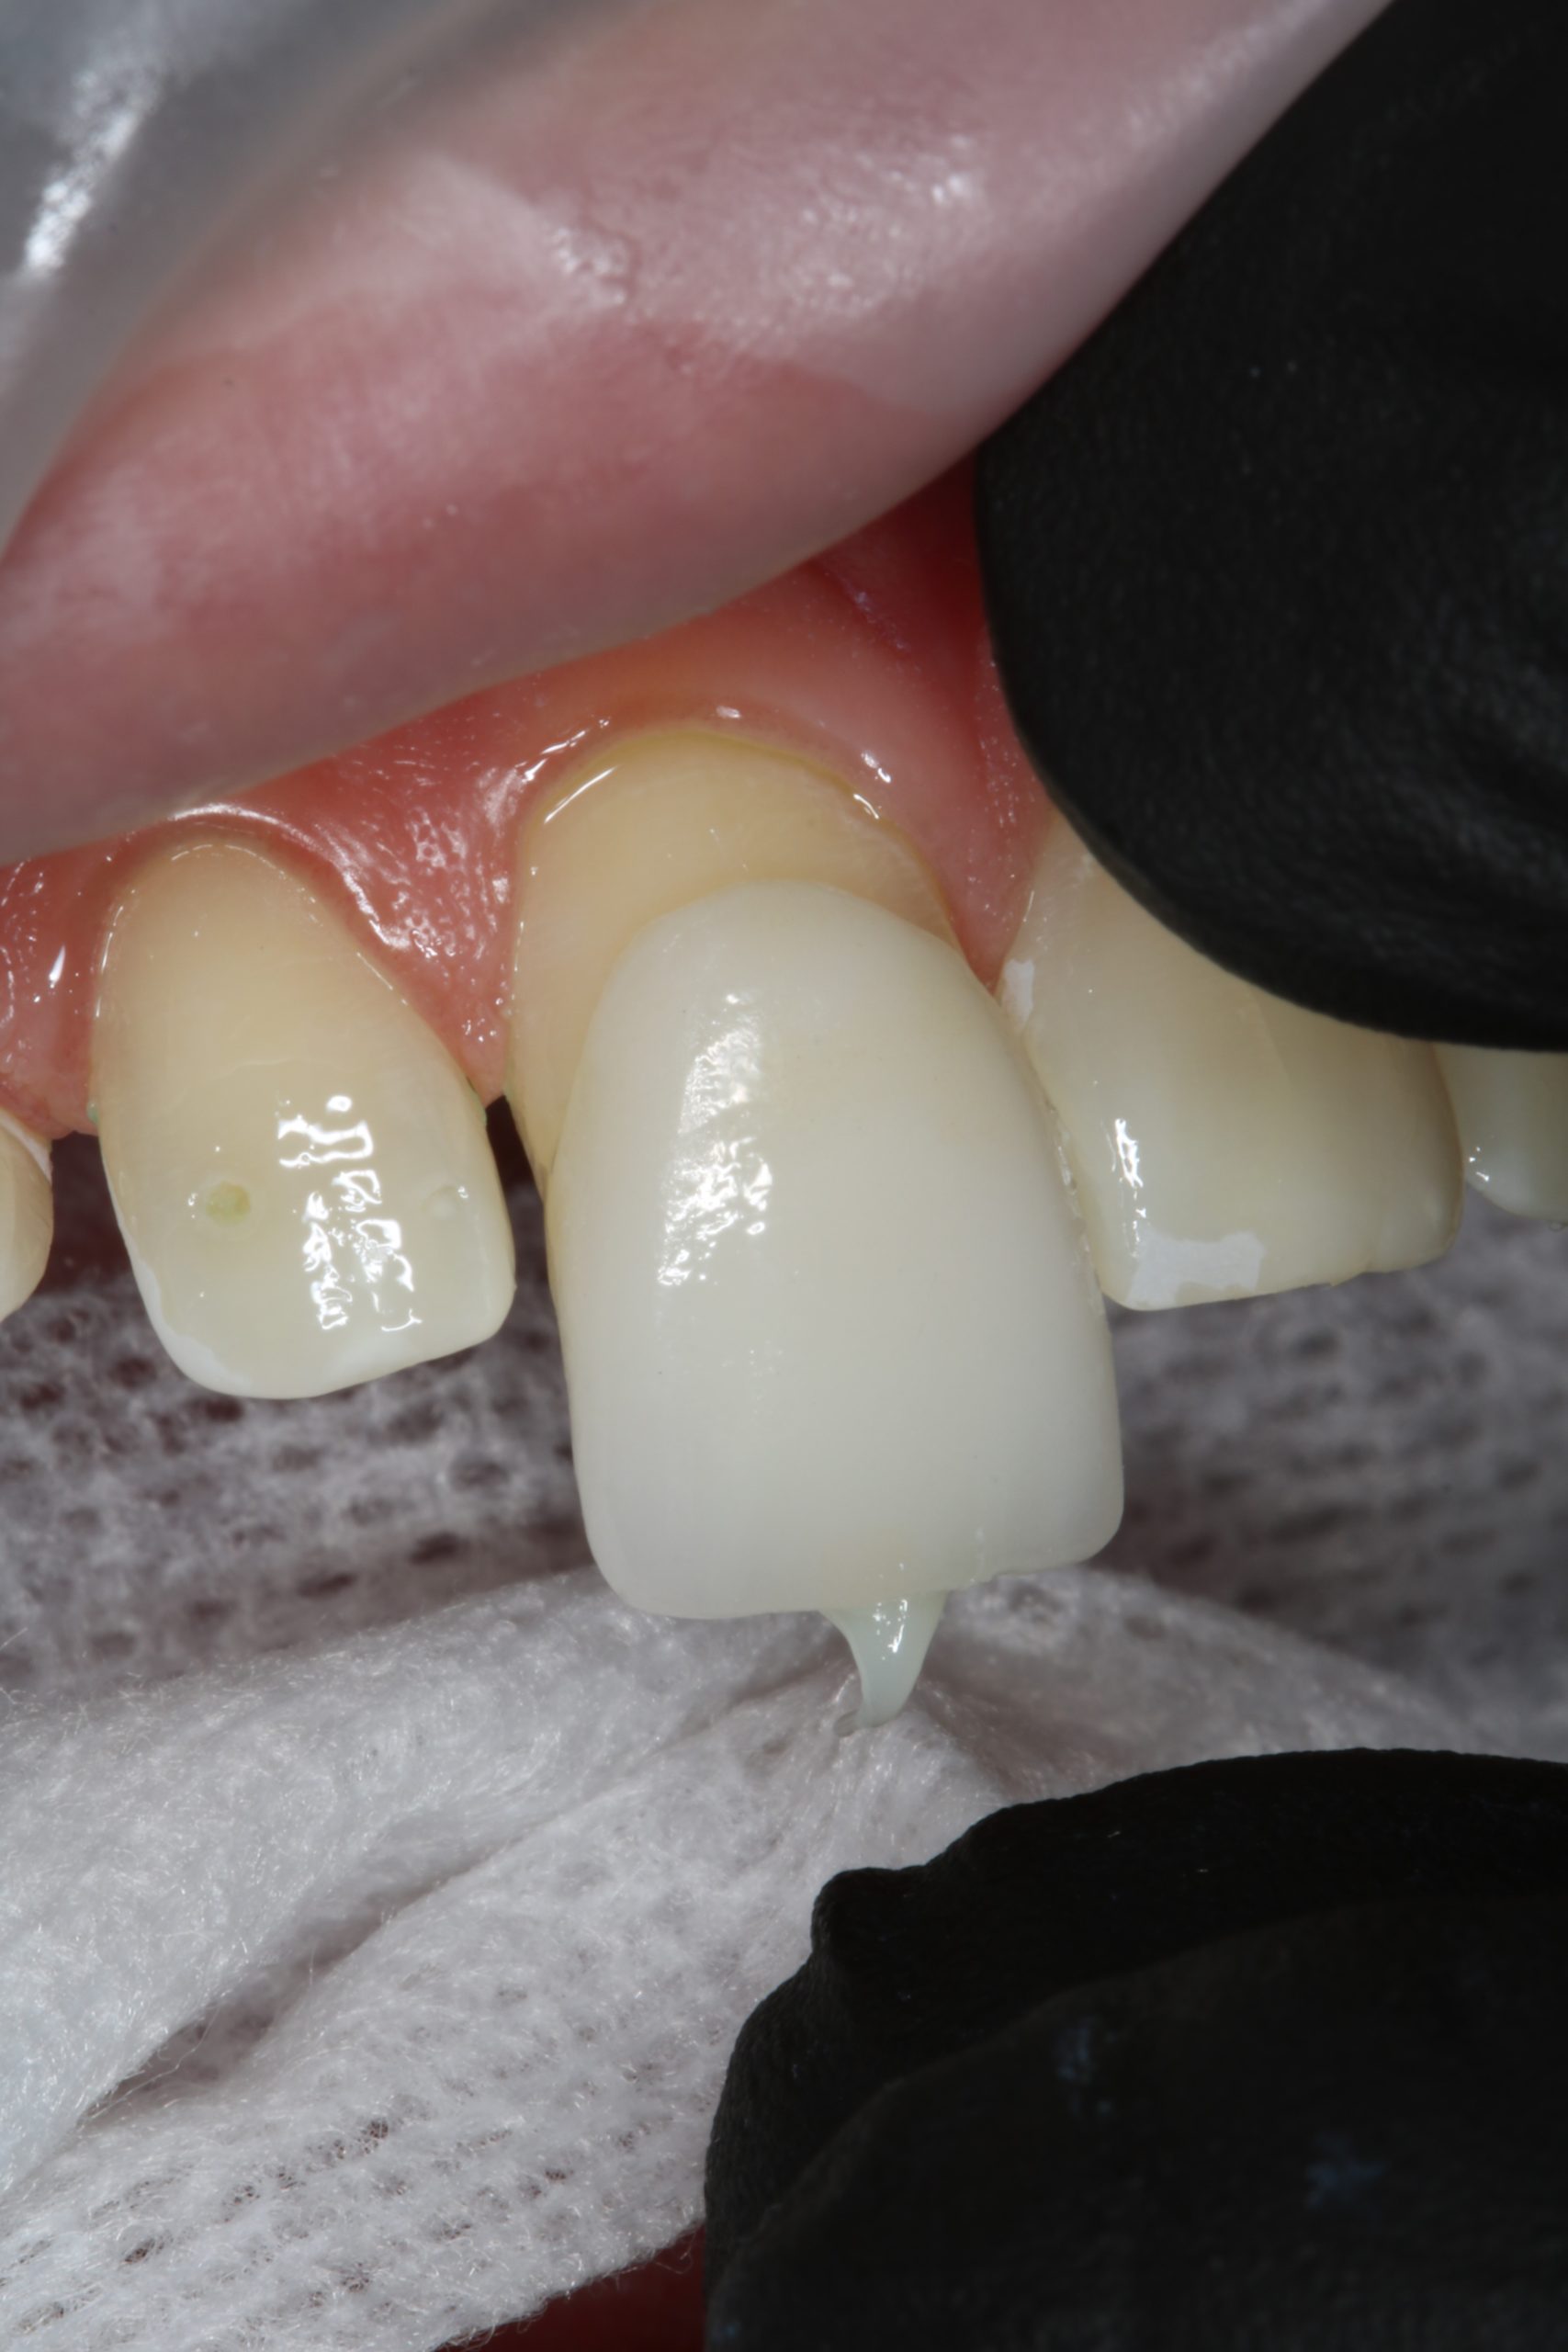
Figure 10
When the patient returned his gums were in great shape making the cementation process a breeze (Figure 10).
- I have listed the cementation protocol that we followed to deliver the veneers.
- Try in the restorations individually to confirm the fit of the margins.
- Try the restorations in together with try-in gel to evaluate the contacts and gingival blend.
- Isolation was achieved using an Optragate.
- The teeth were cleaned with pumice to remove any plaque, being careful to not irritate the gingival tissues.
- We used 37% phosphoric acid on the enamel and after 20 seconds rinsed it off.
- We then applied Ivoclar’s Adhese Universal dental adhesive and thinned with dry air.
- The restorations were bonded using Ivoclar’s Variolink Esthetic LC Veneer cement.
- The restorations were tacked in the middle of the restorations for 5 seconds.
- The excess luting cement at the margins was removed with a rubber tip stimulator, and the teeth were flossed interproximally.
- When the excess cement was removed, we light cured the restorations for 20 seconds on the facial and lingual surfaces using two curing lights to cut the curing time required in half.
- I then used a #12 blade to remove any remaining excess cement and I checked the occlusion.
The patient was very happy with the result (Figures 11 and 12), and he appreciated the way in which his case was managed. We closed the spaces, we lightened up the color, we preserved 99% of the natural tooth structure and we gave our patient the smile he had always wanted. A huge thank you to the technicians at Corr and especially to Gary Vaught, CDT. These cases are not necessarily easier than a case that has prepared margins. Care must go into planning the case and executing the cementation, but these cases also offer some of the most satisfaction knowing we resolved the patient’s smile concerns while doing no harm to the teeth. I hope this helps your practice take advantage of the growth in patients’ dental aesthetic wants we are seeing today, and helps your patients achieve the smile in the healthiest way possible.
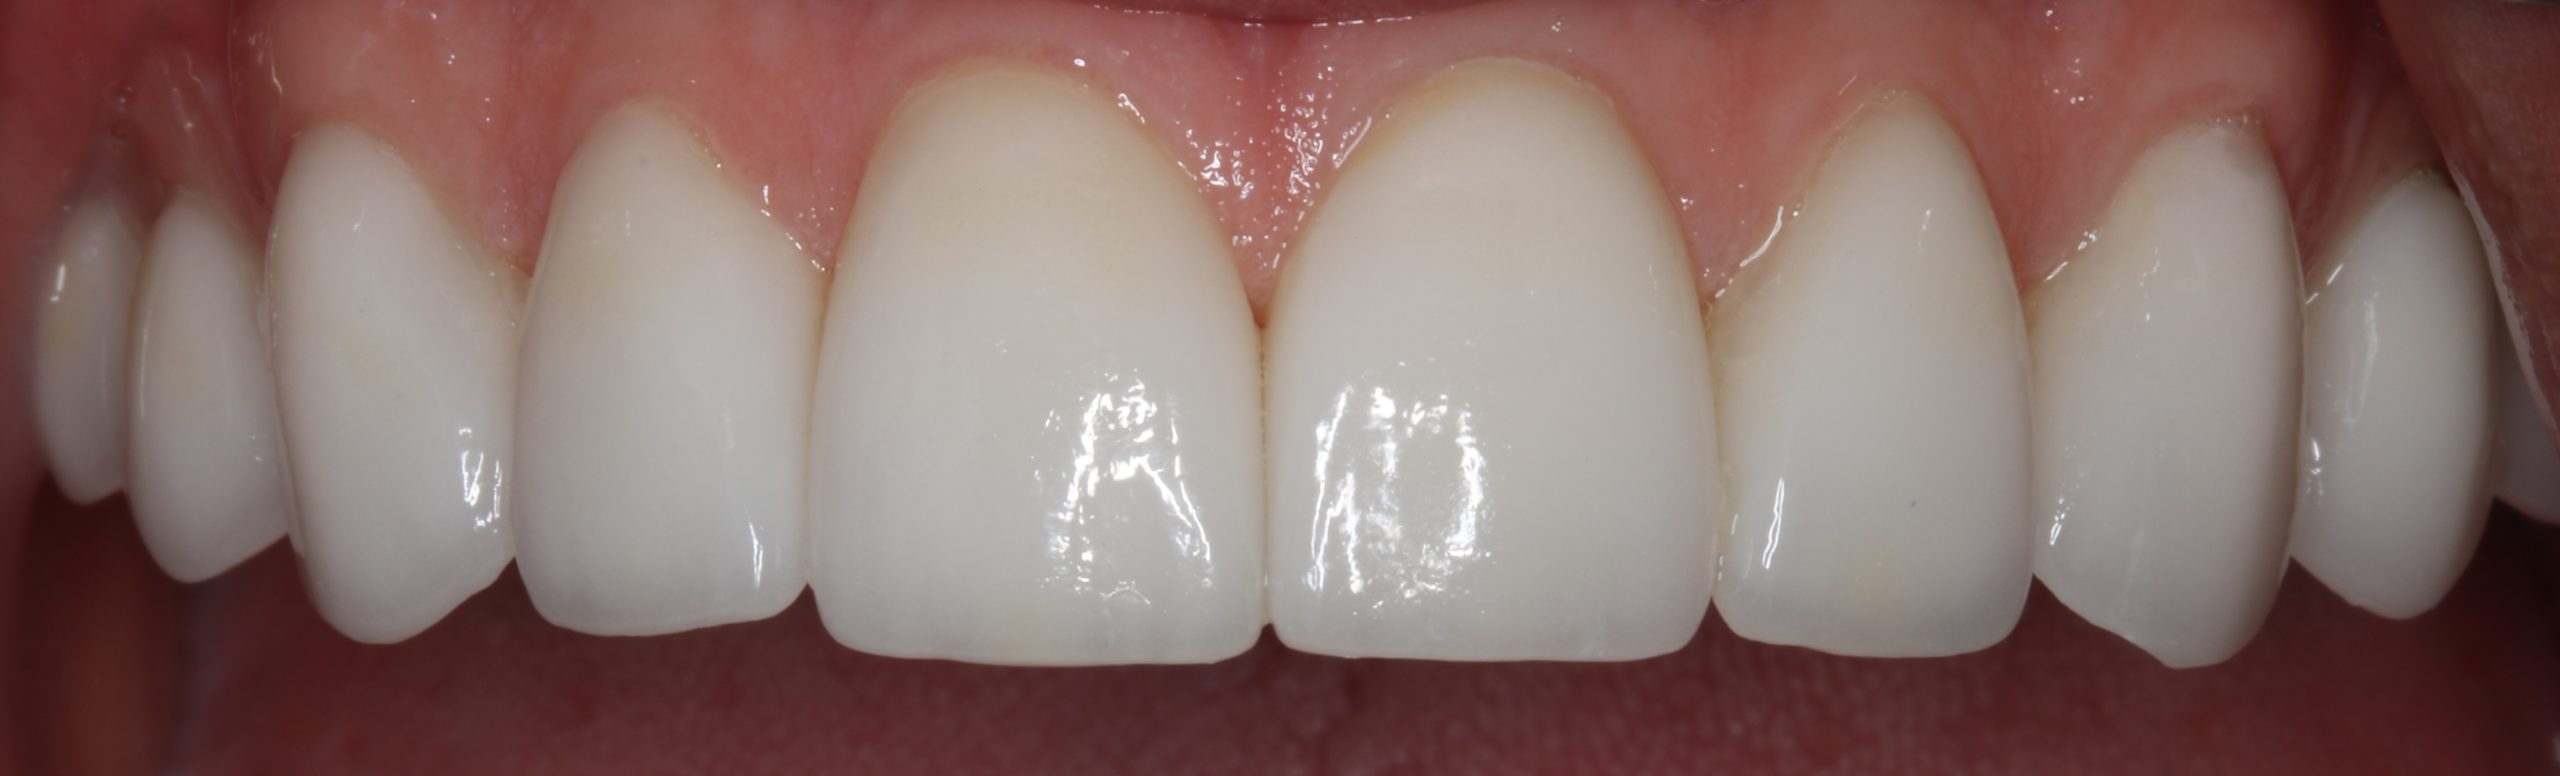
Figure 11
Figure 12
If you have questions about my article or if you would like to send a case, please contact the Pacific Aesthetic Laboratory Group at www.pacificaestheticdentalstudio.com, Gary Vaughn, CDT, CTO, (888) 461-3331, or via email [email protected].