
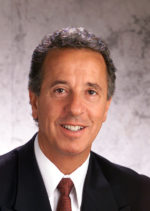
Dr. Samir Ayoub
In my last PAC article (Worn Dentition Reconstruction – April 2021), I wrote about restoring a severely worn dentition requiring full mouth reconstruction opening the vertical dimension and creating a functional and aesthetic result (Figures 1 and 2).
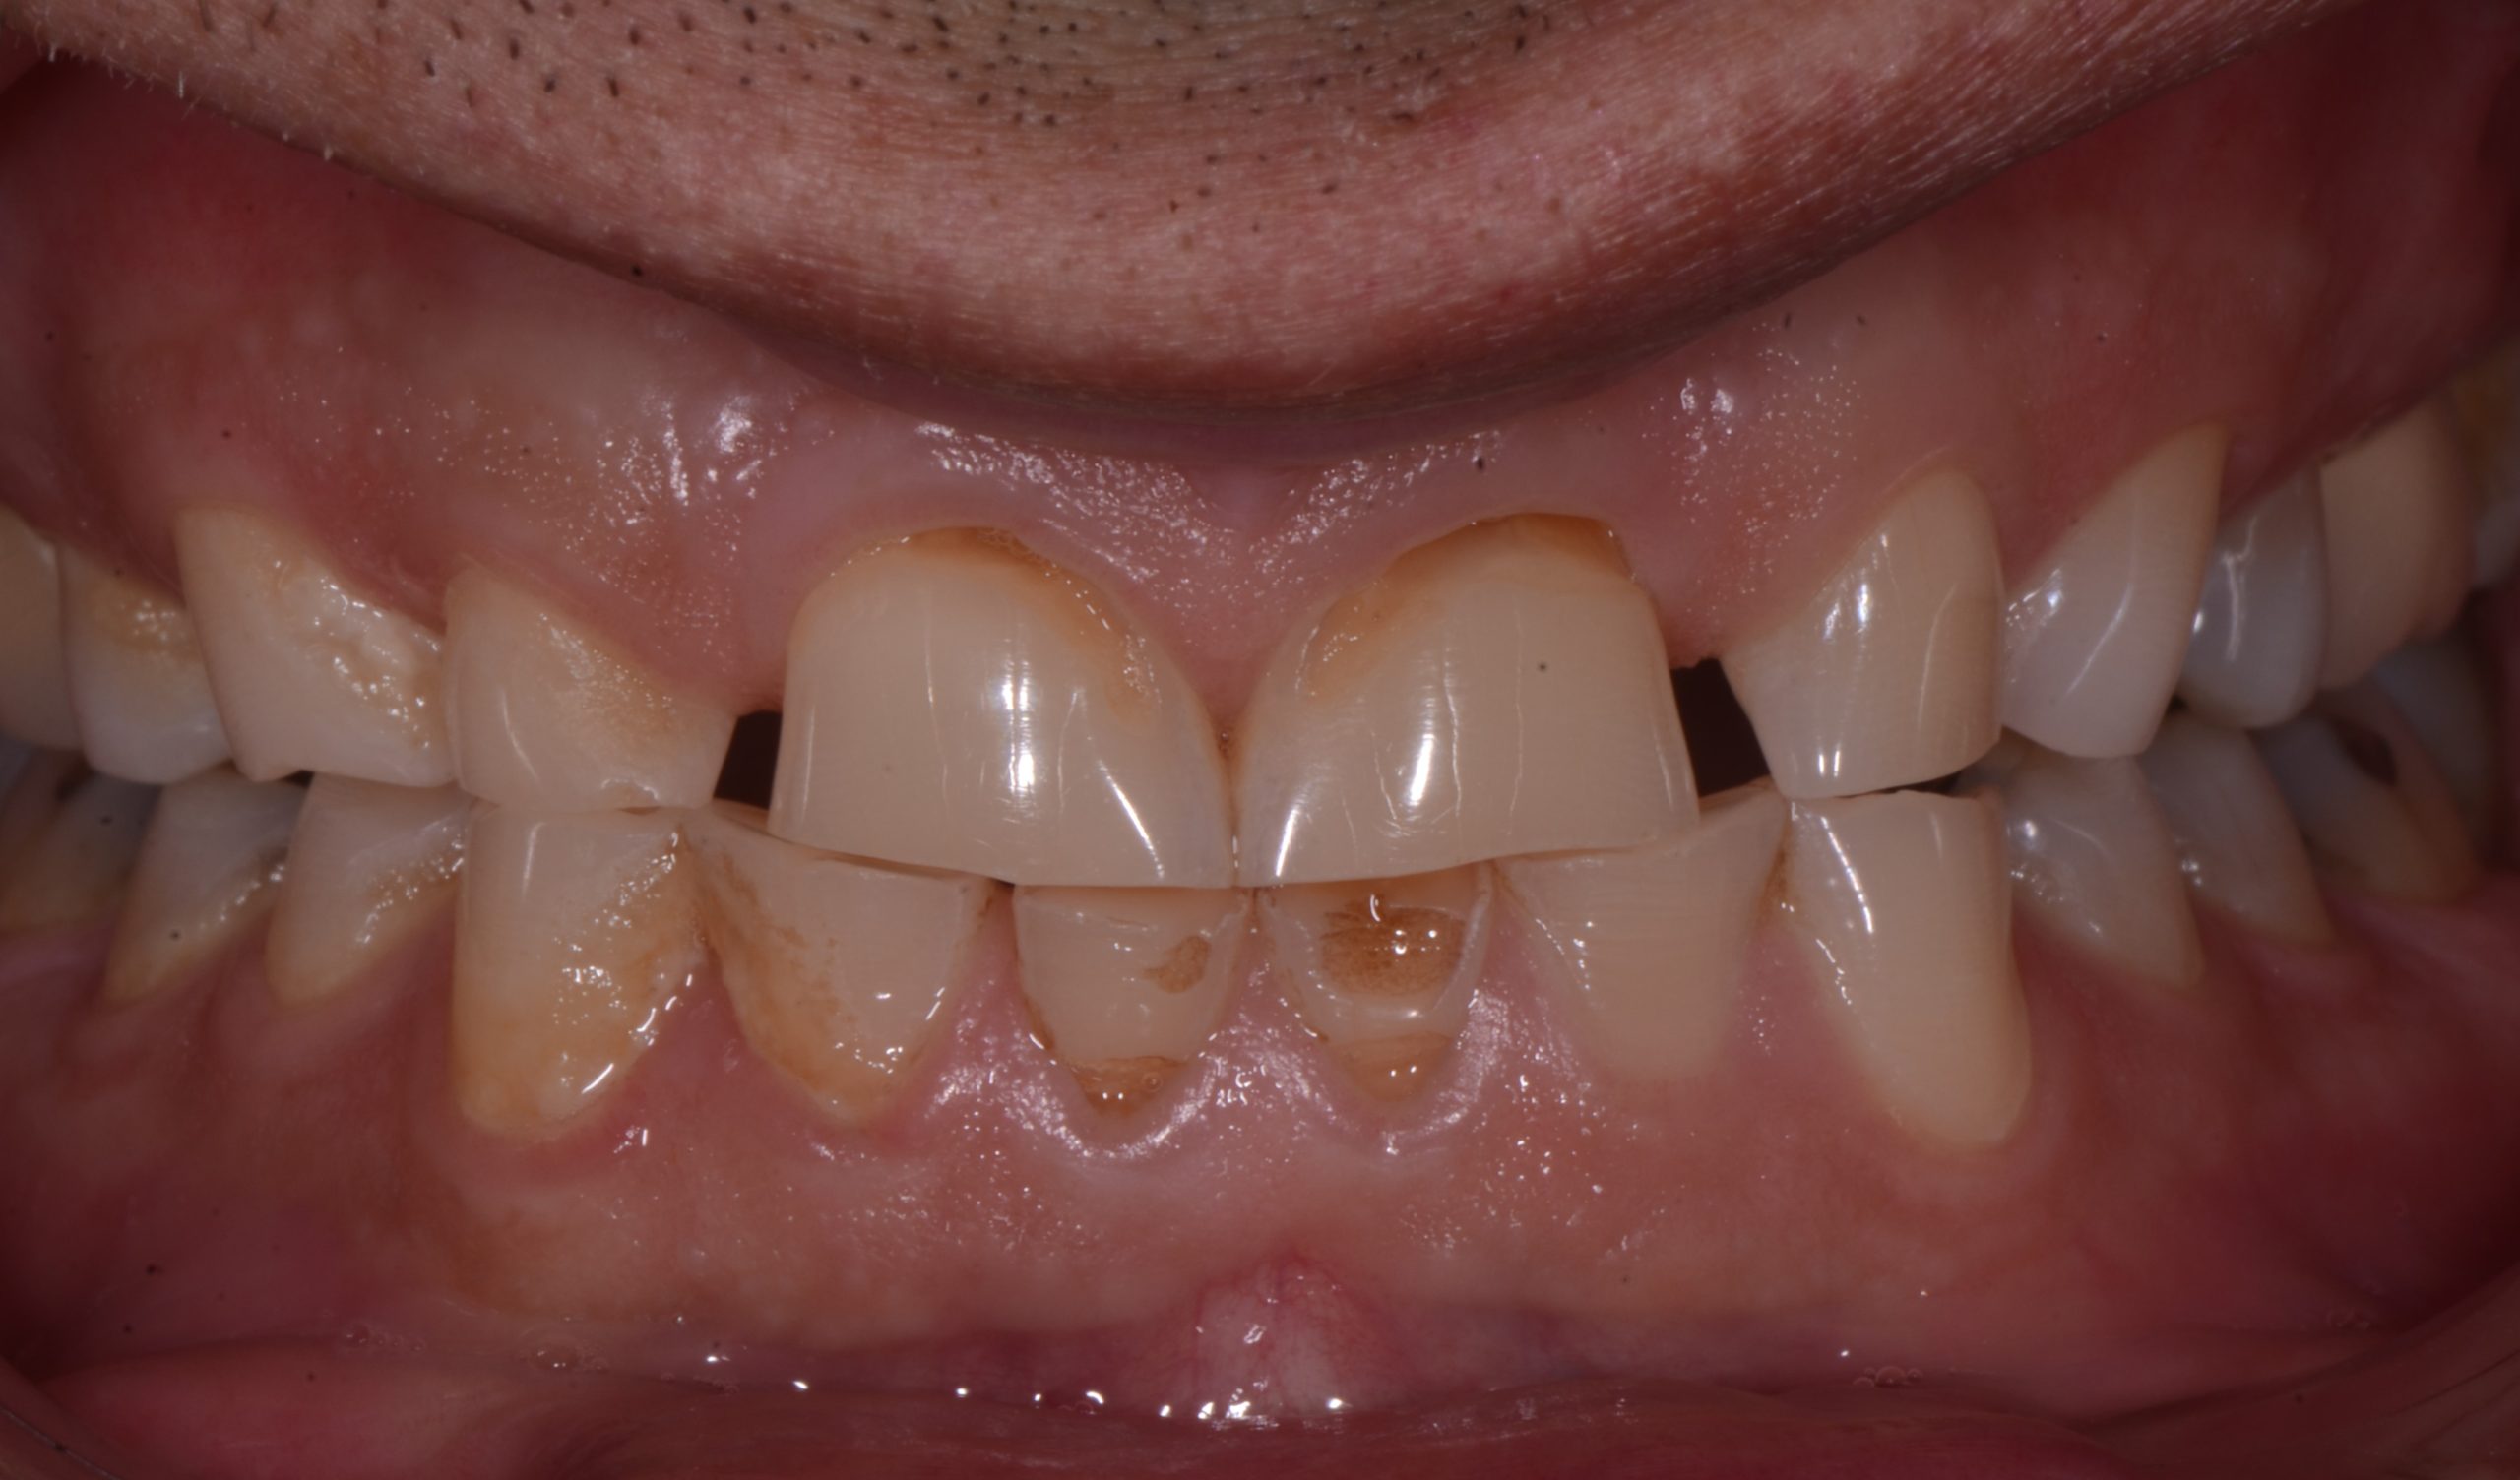
Figure 1
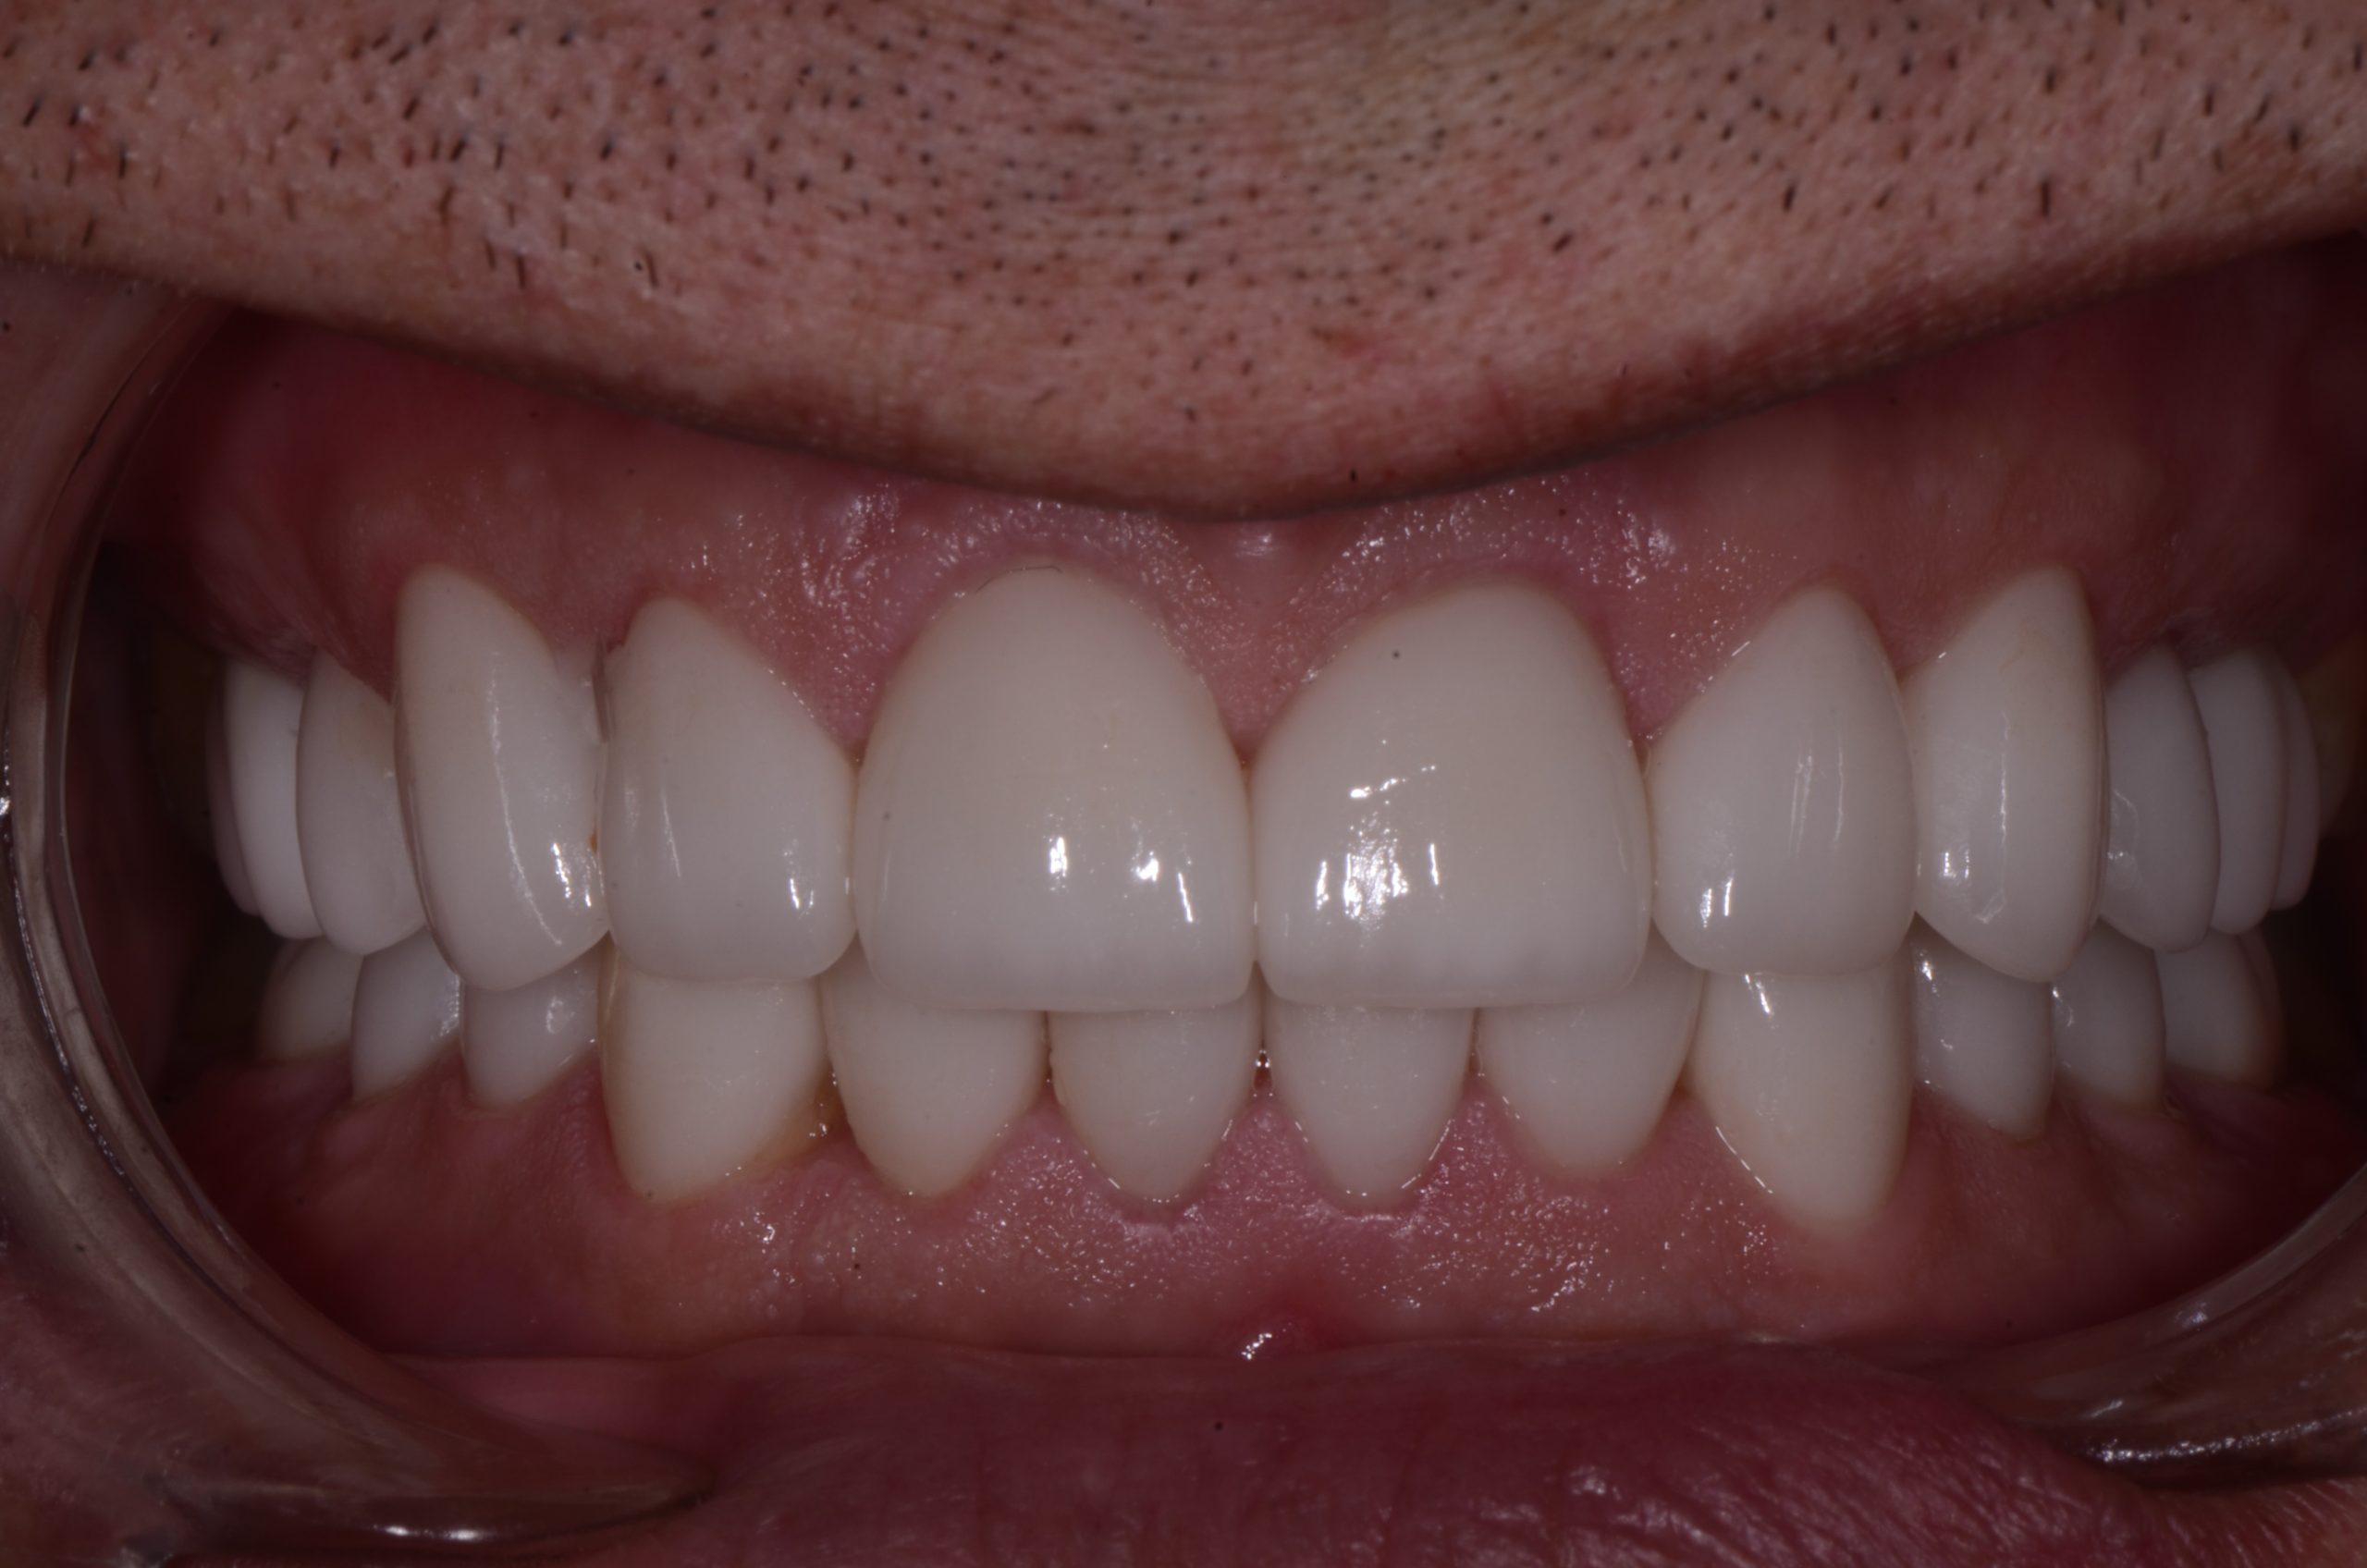
Figure 2
Shortly after completion of that case, another patient presented in my office also with a worn dentition but mainly in the upper anterior region. She wanted to improve her smile, have attractive teeth, and eliminate excessive gum tissue display (Figures 3, 4, and 5).
Consideration was given to doing a full mouth case. But after studying mounted models, photos, and a comprehensive clinical exam, it was my belief that she did not need to open the vertical dimension and could achieve a functional and aesthetic result with ten upper veneers. This would be more conservative in tooth reduction and less costly.
Treatment would require laser gingival contouring (after confirming biologic width considerations) and minimal prep design that would maintain maximum enamel for bonding strength.
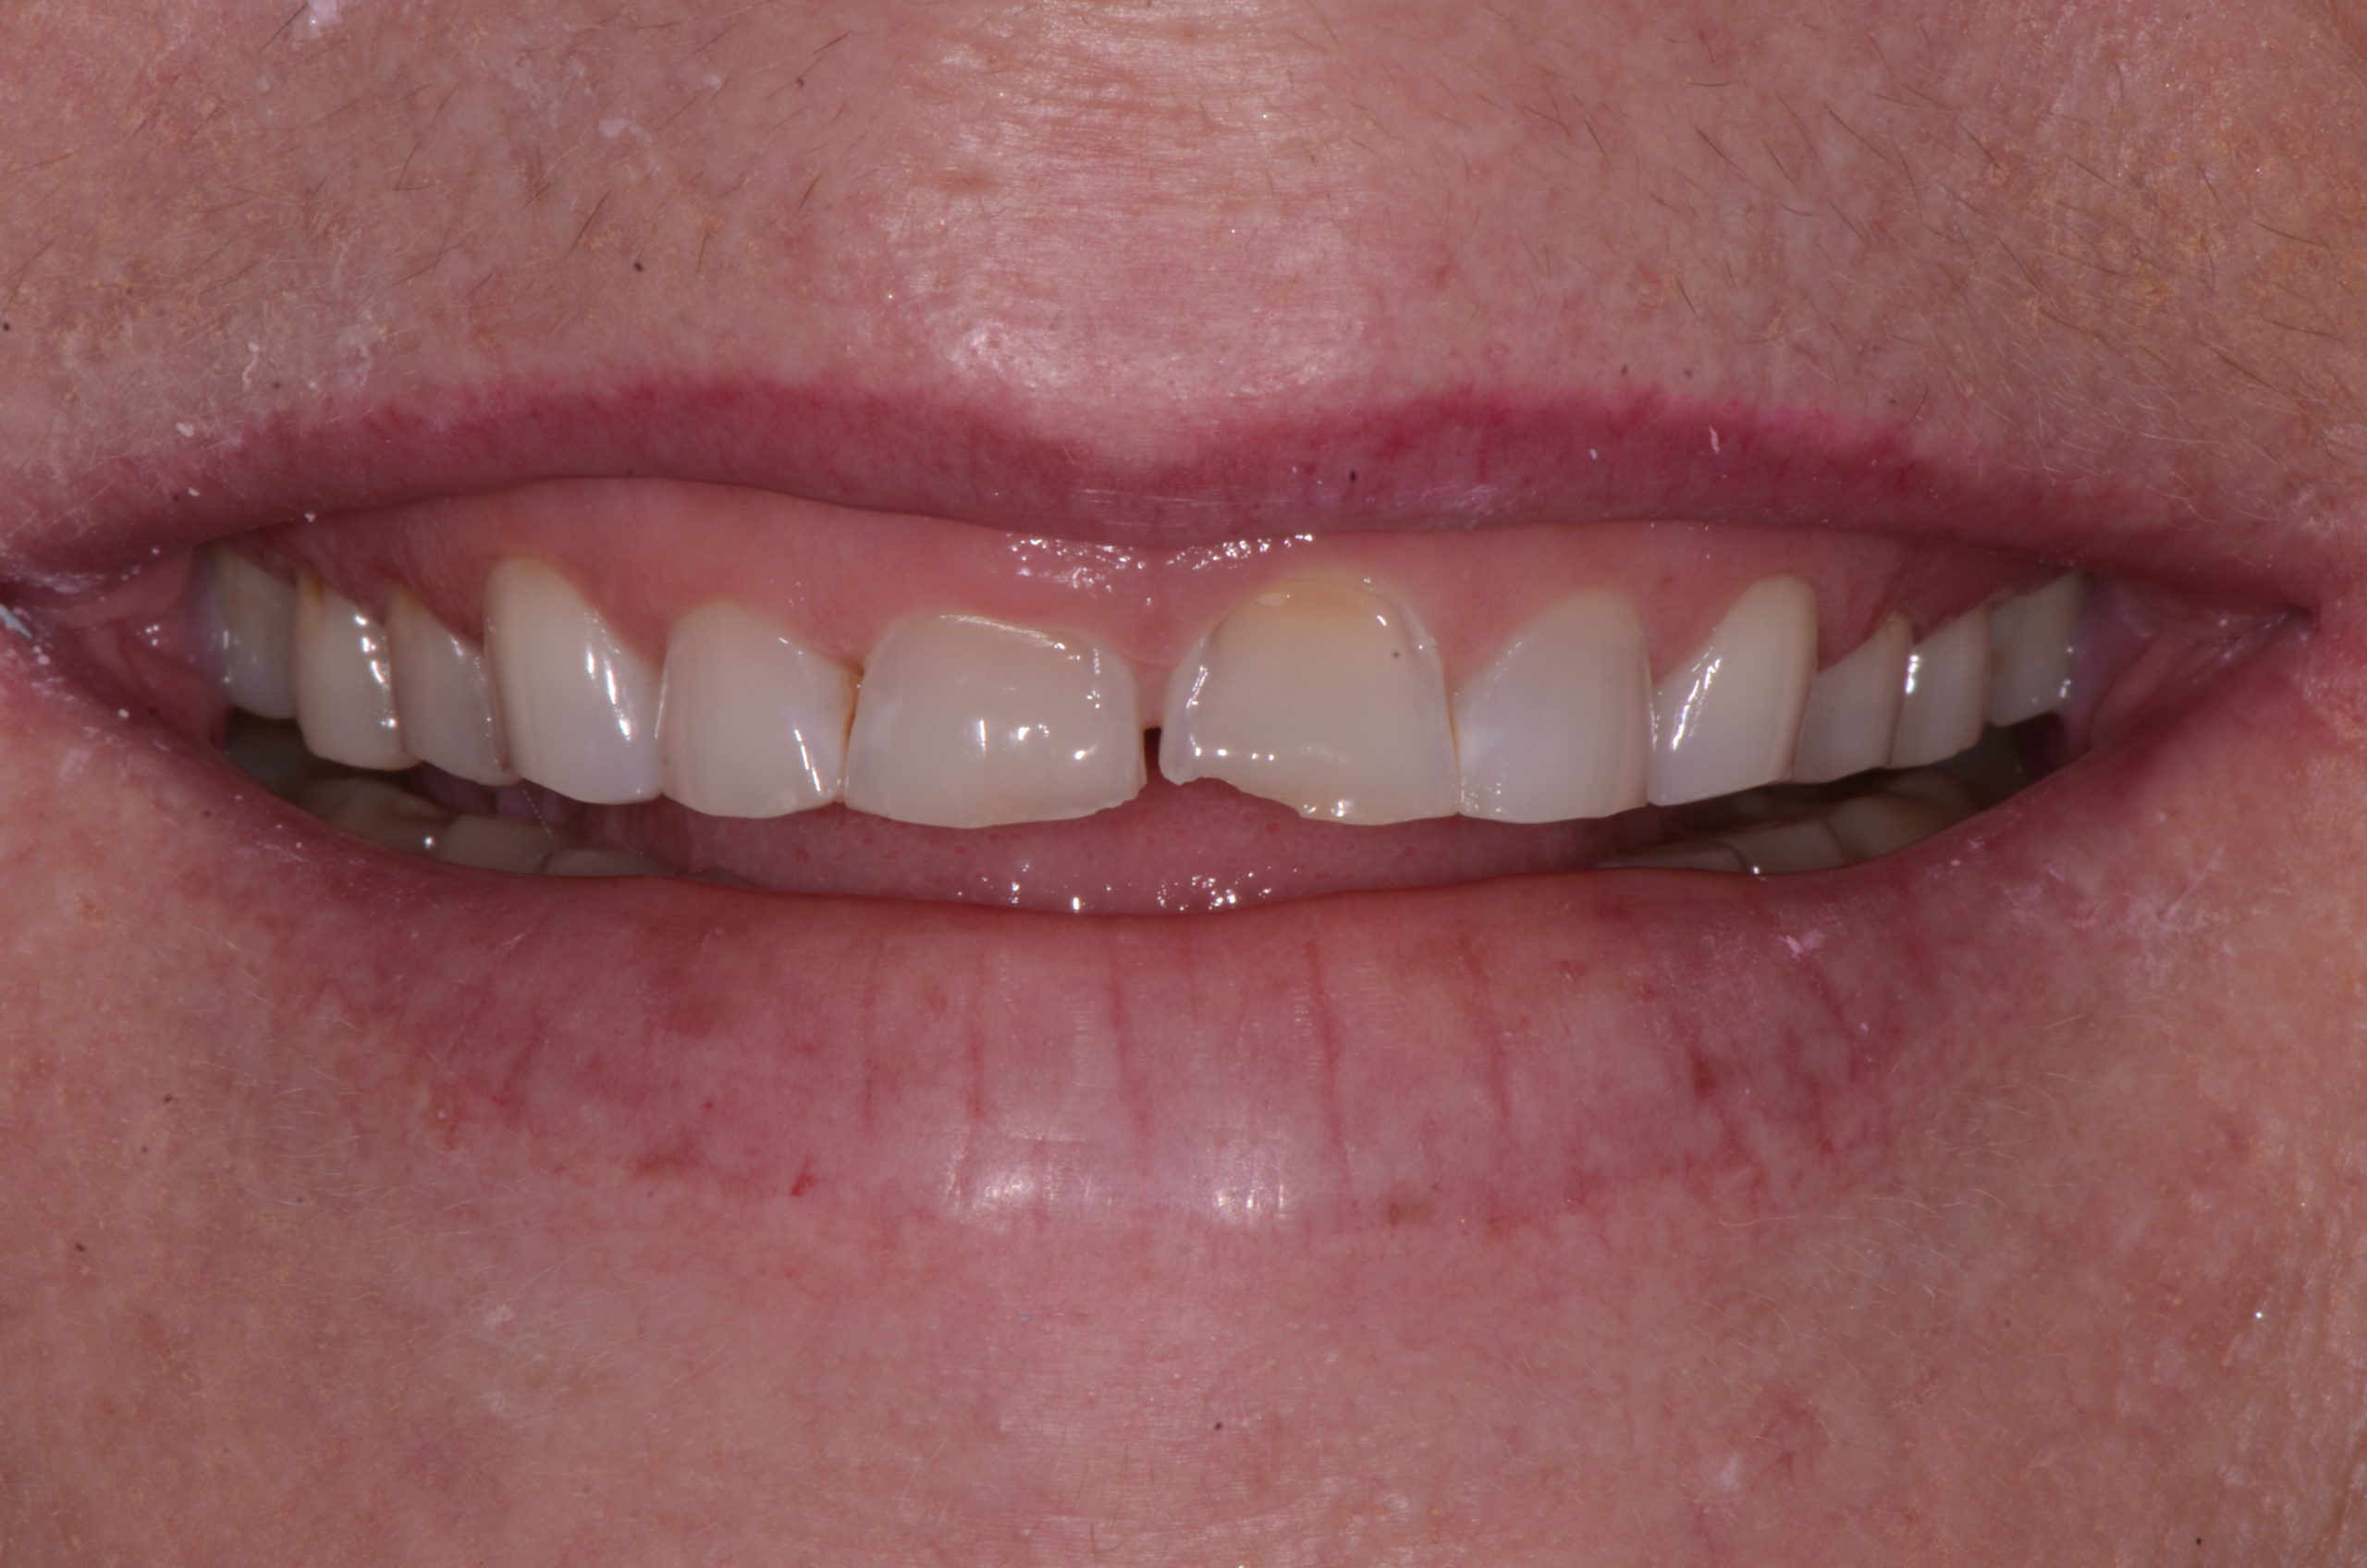
Figure 3
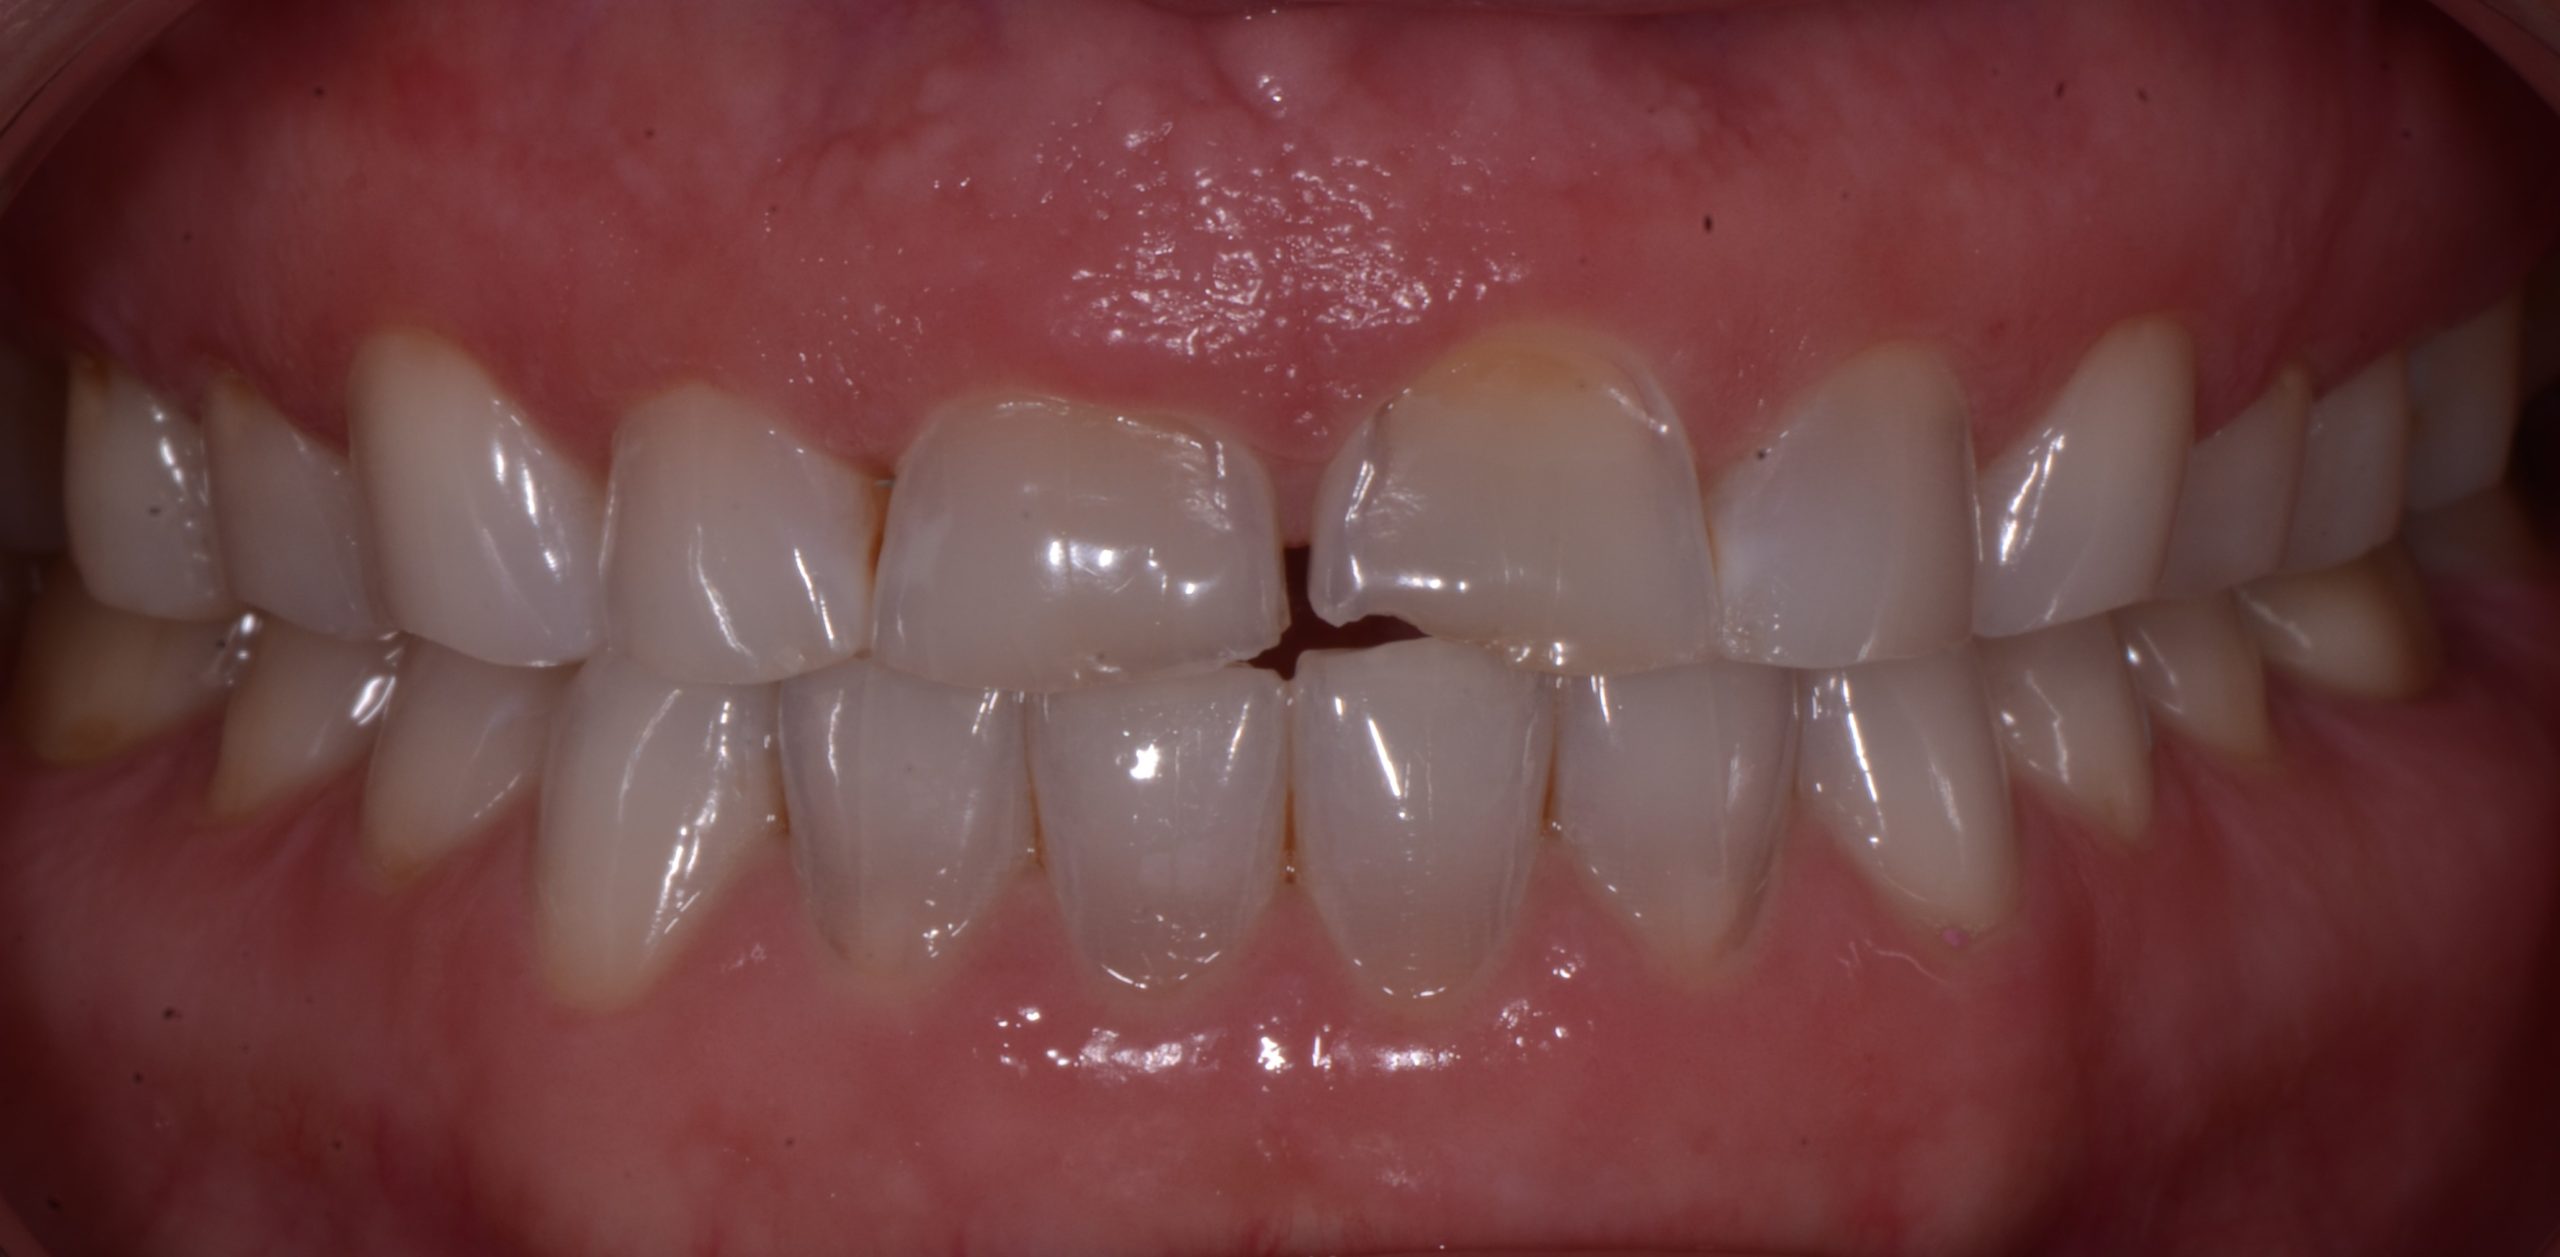
Figure 4
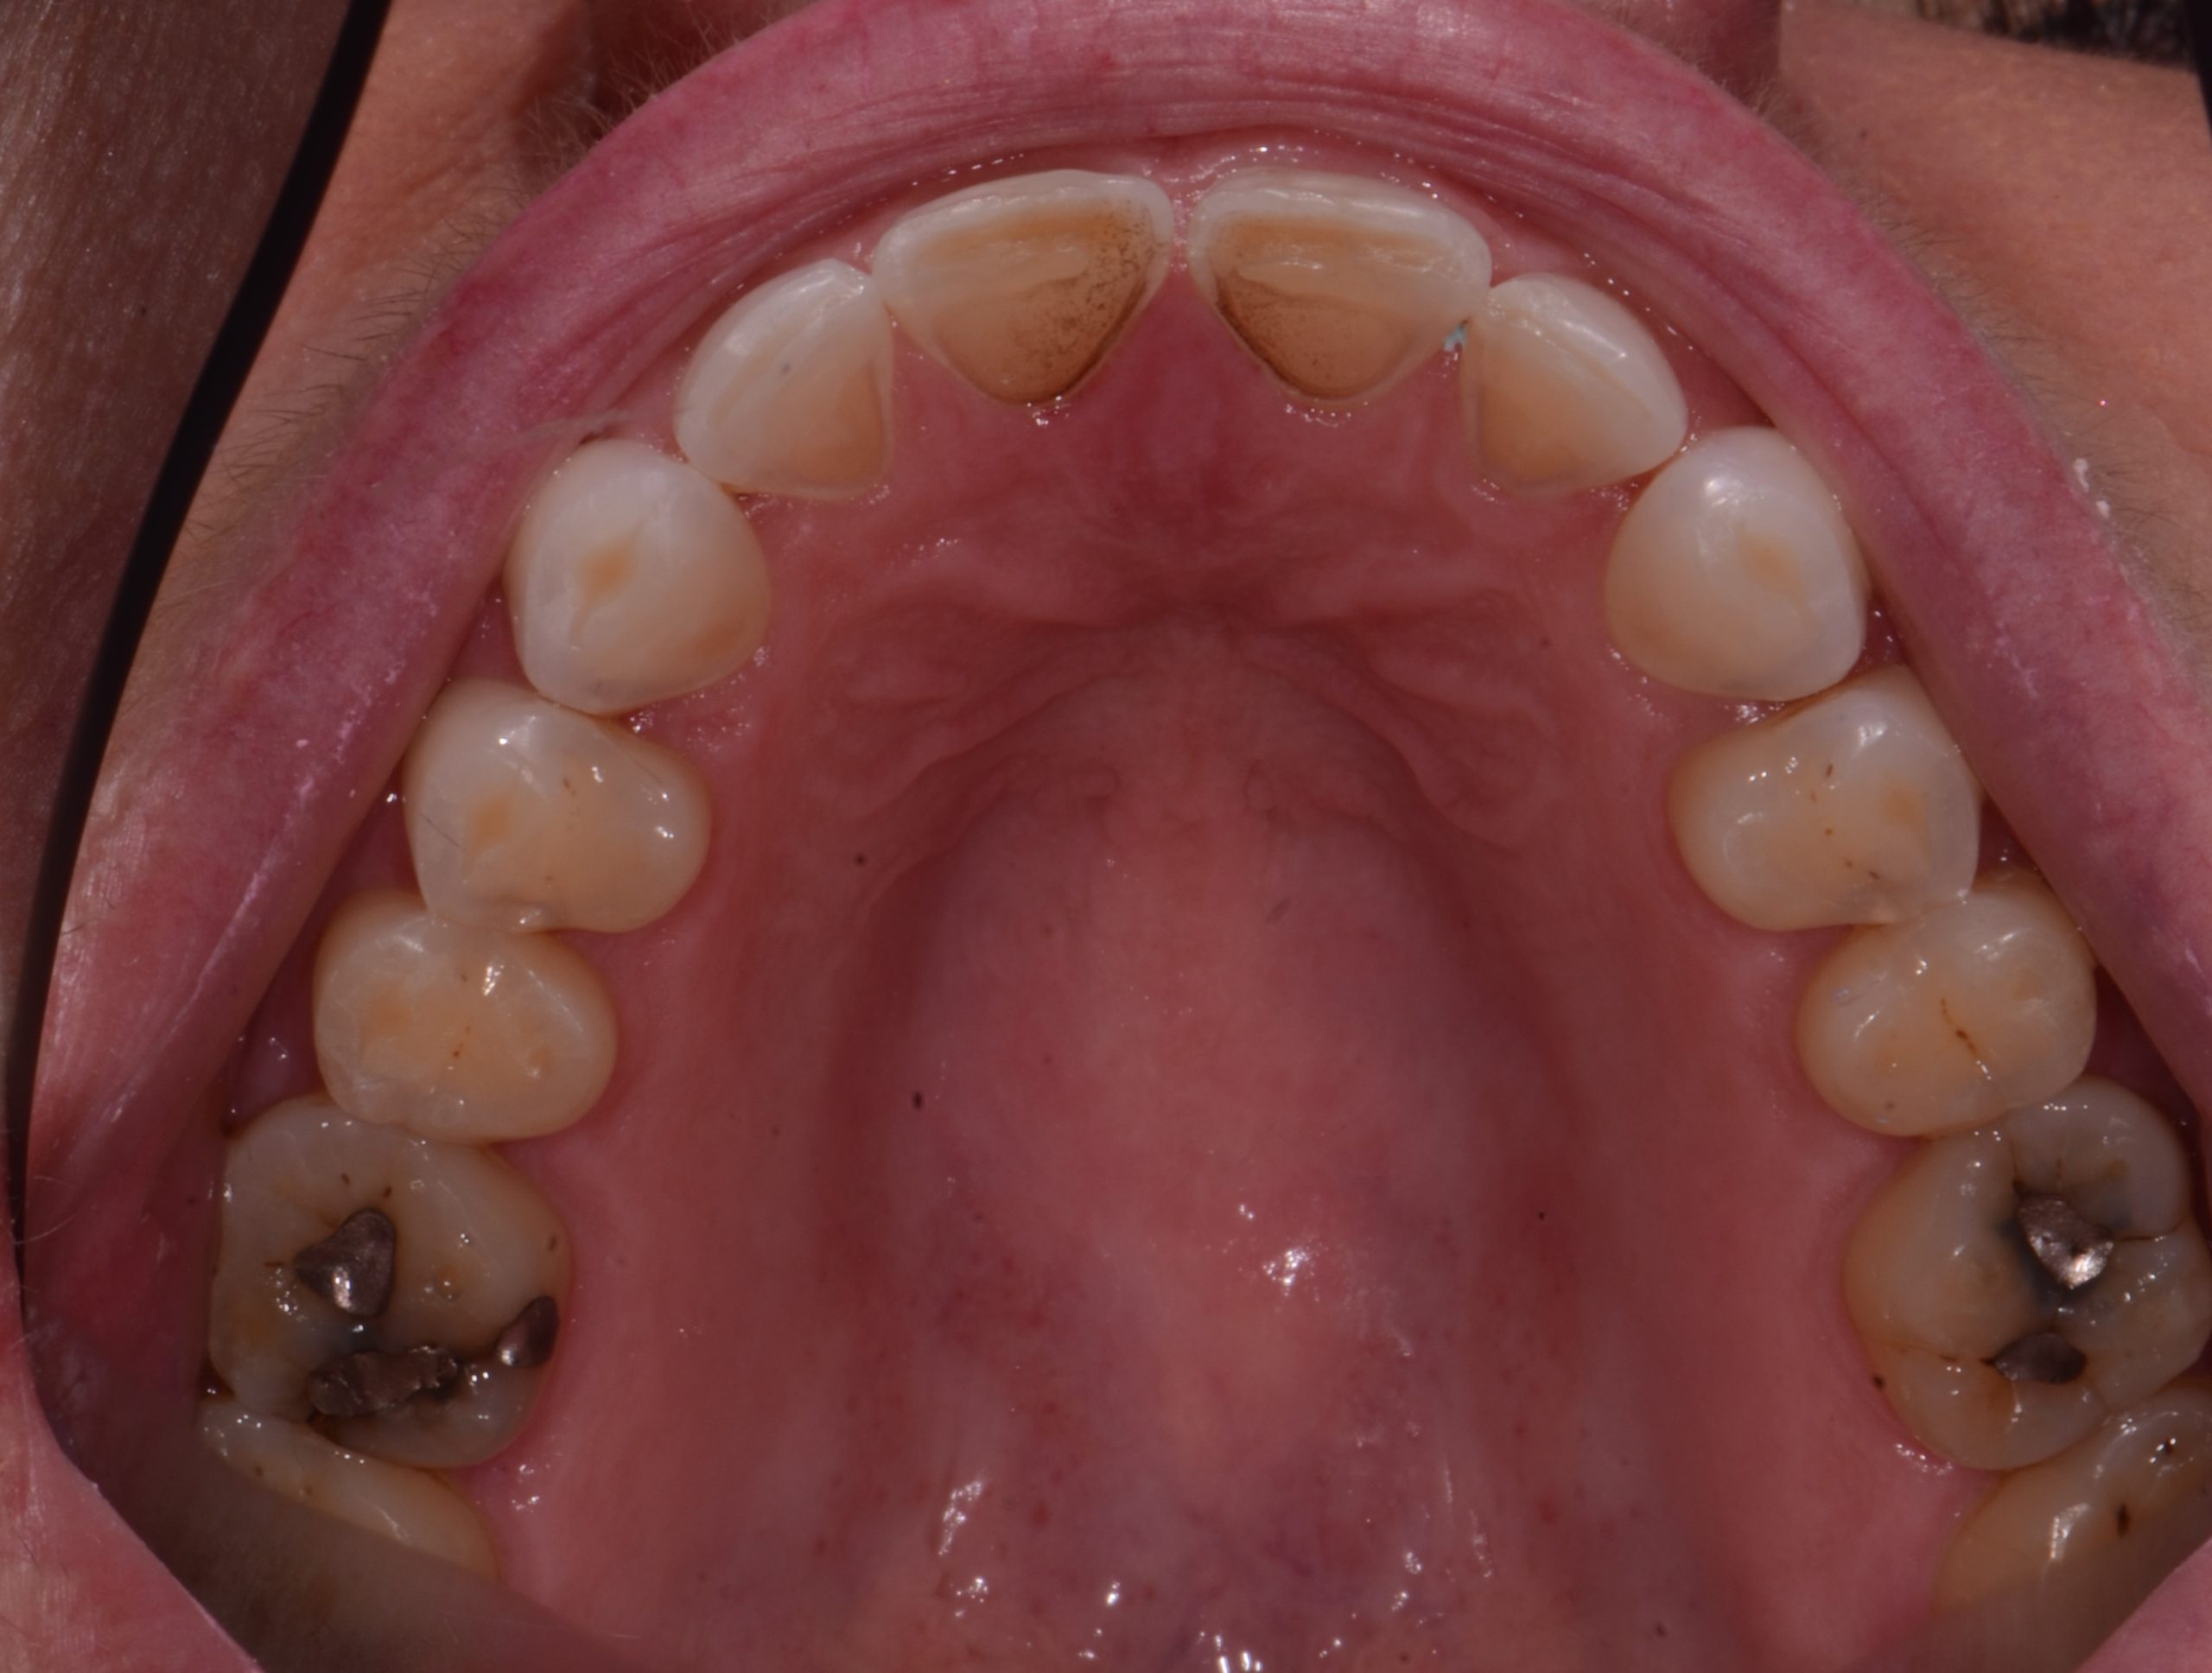
Figure 5
Much consideration was given to creating restorations that would restore tooth length, and create function compatible with her chewing type.
The goal was to give her an envelope of function in the anterior that would free up her protrusive movements and have balanced contacts. In the posteriors, I wanted to have balanced function on the cuspid and first bicuspid.
By prepping only for veneer type restorations, we left her natural occlusion and adjusted the restorations to give her more freedom in her grinding and chewing strokes. Any failure would come at the expense of porcelain chipping and not the teeth.
By broadening her smile, I was creating better aesthetics and better function. With laser gingival contouring, we exposed more tooth to bond, allowed for better width/length ratios, created much improved gingival aesthetics and reduced her gummy smile. In short, the entire aesthetics of this case was made possible. Very important in smile design cases, is to always look at and improve gingival aesthetics.
Because we were broadening her smile, I instructed the excellent ceramists and smile designer waxers at Corr Dental Designs/Pacific Aesthetics Laboratory Group to do only additive waxing, not touch the occlusals or lingual surfaces, and create a wax-up that was aesthetic and functional within the confines of her natural jaw movements (Figures 6 and 7).
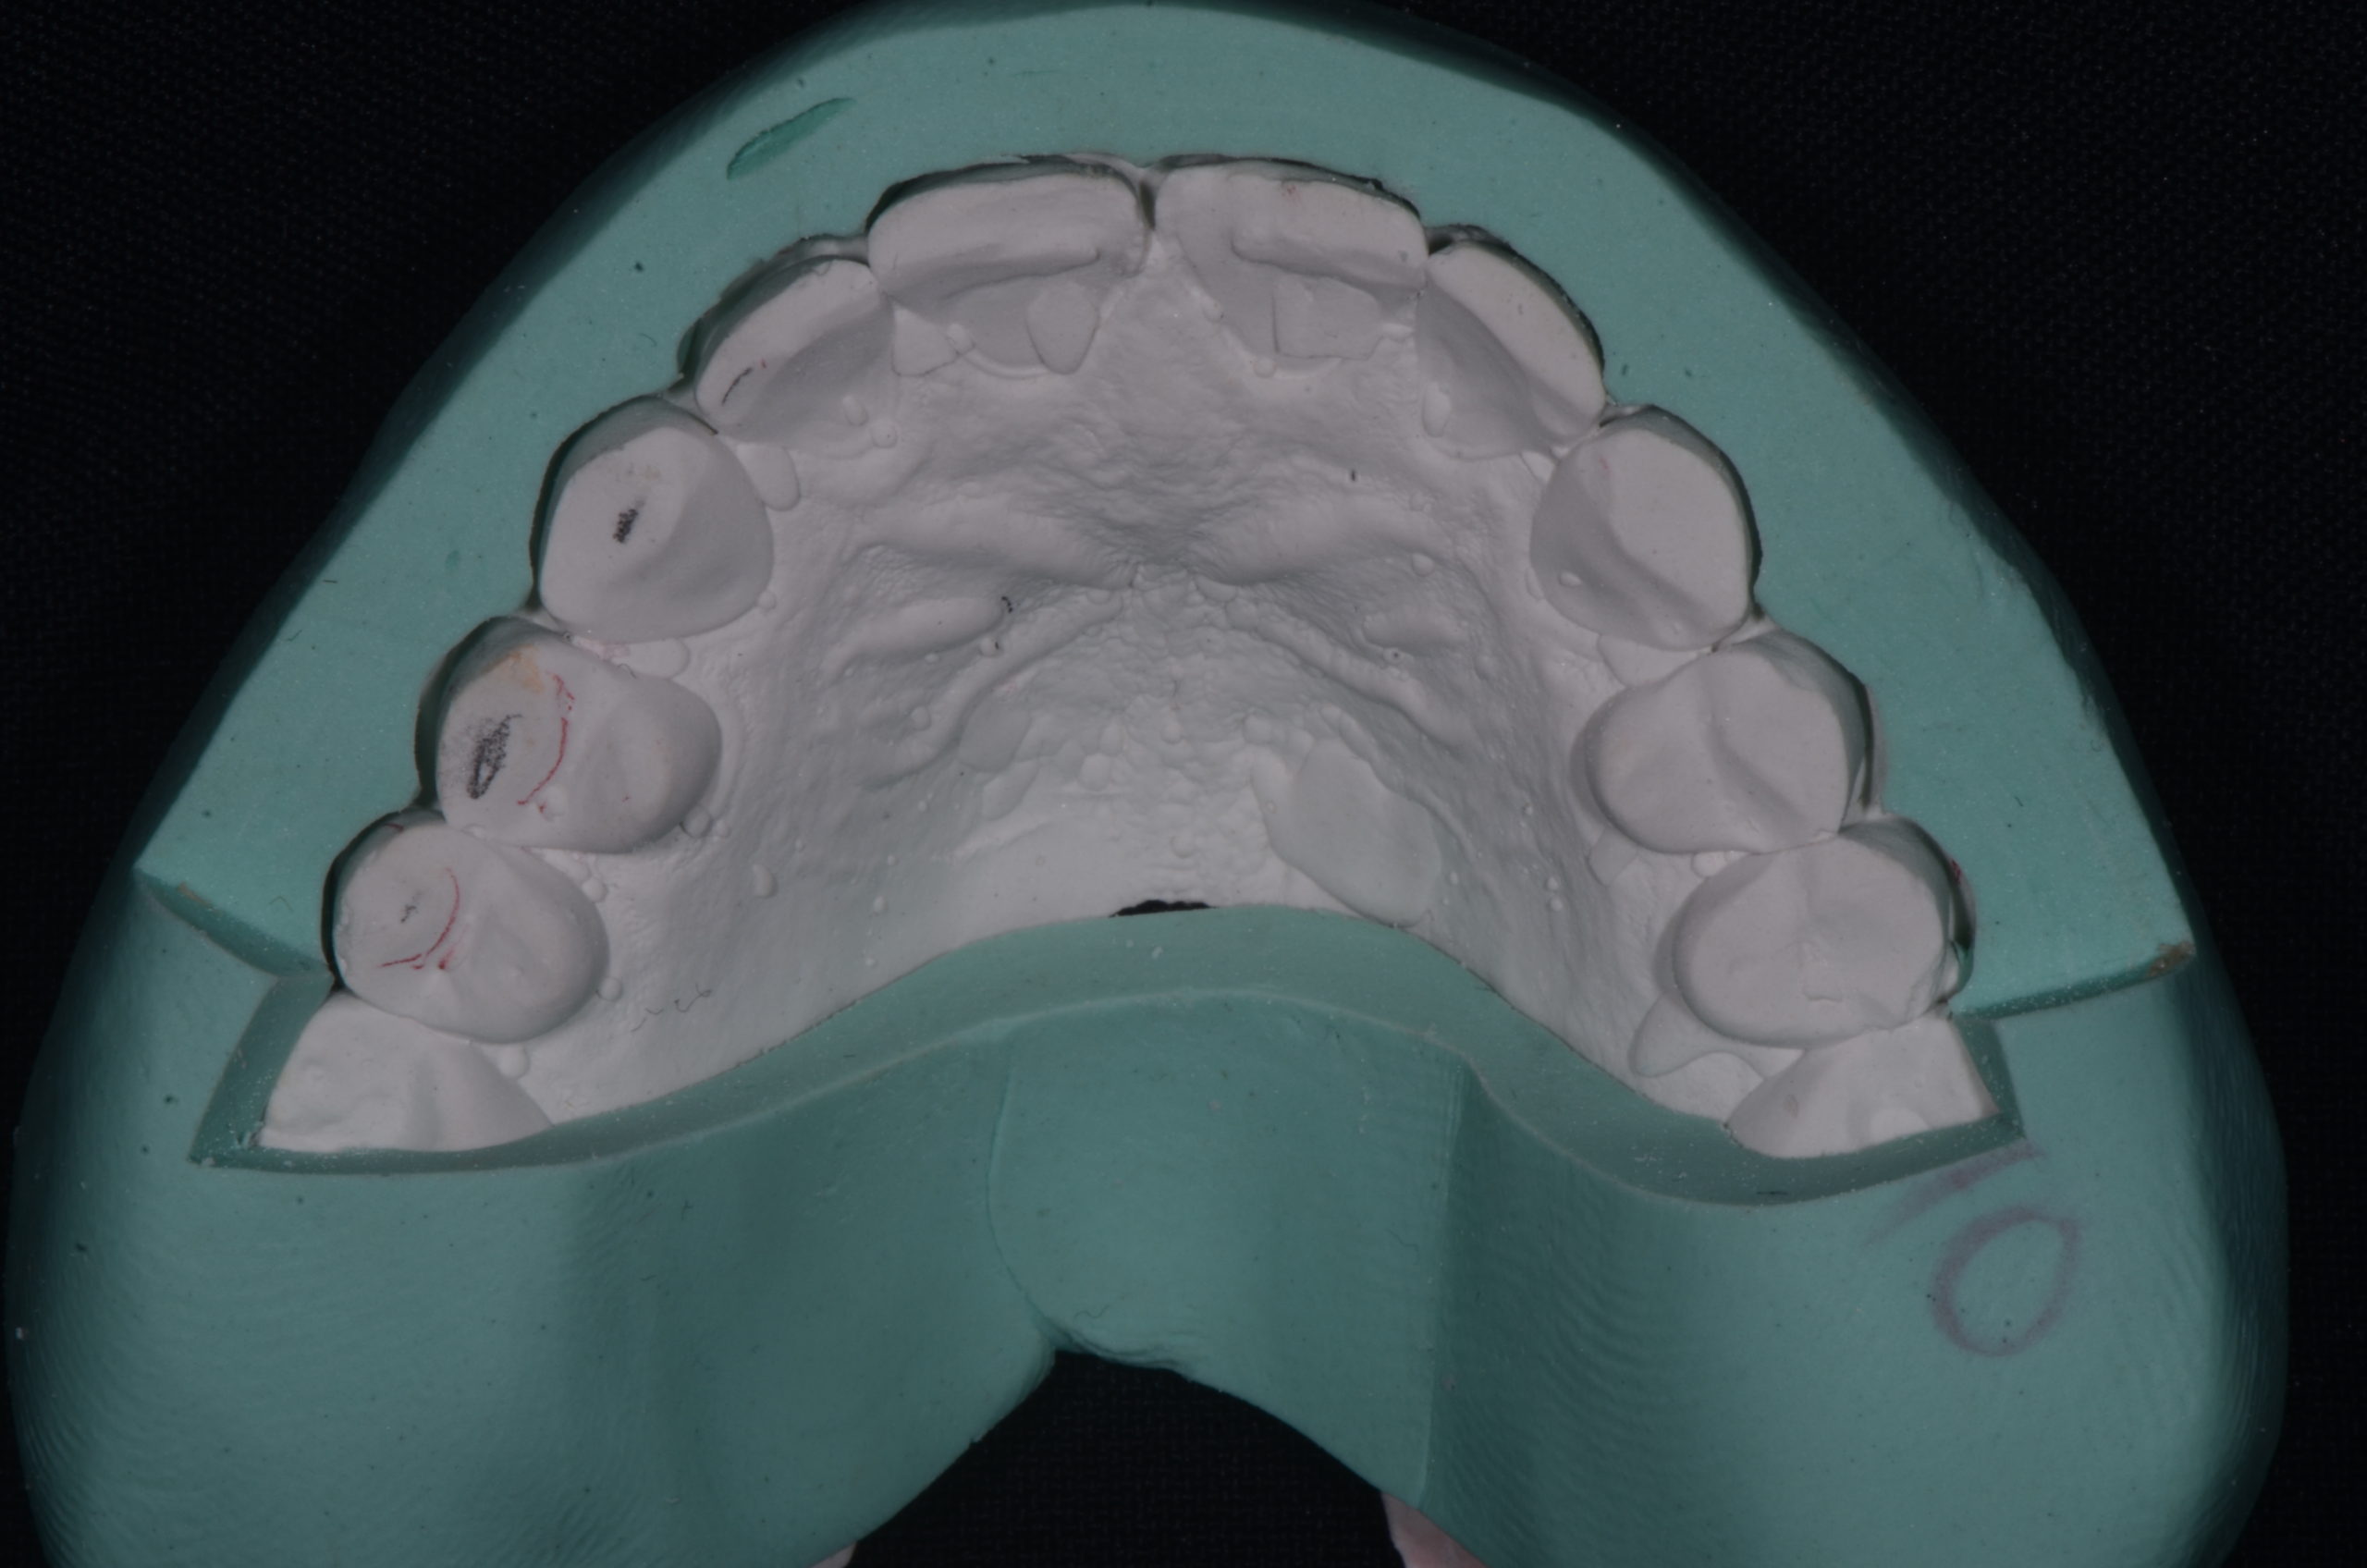
Figure 6
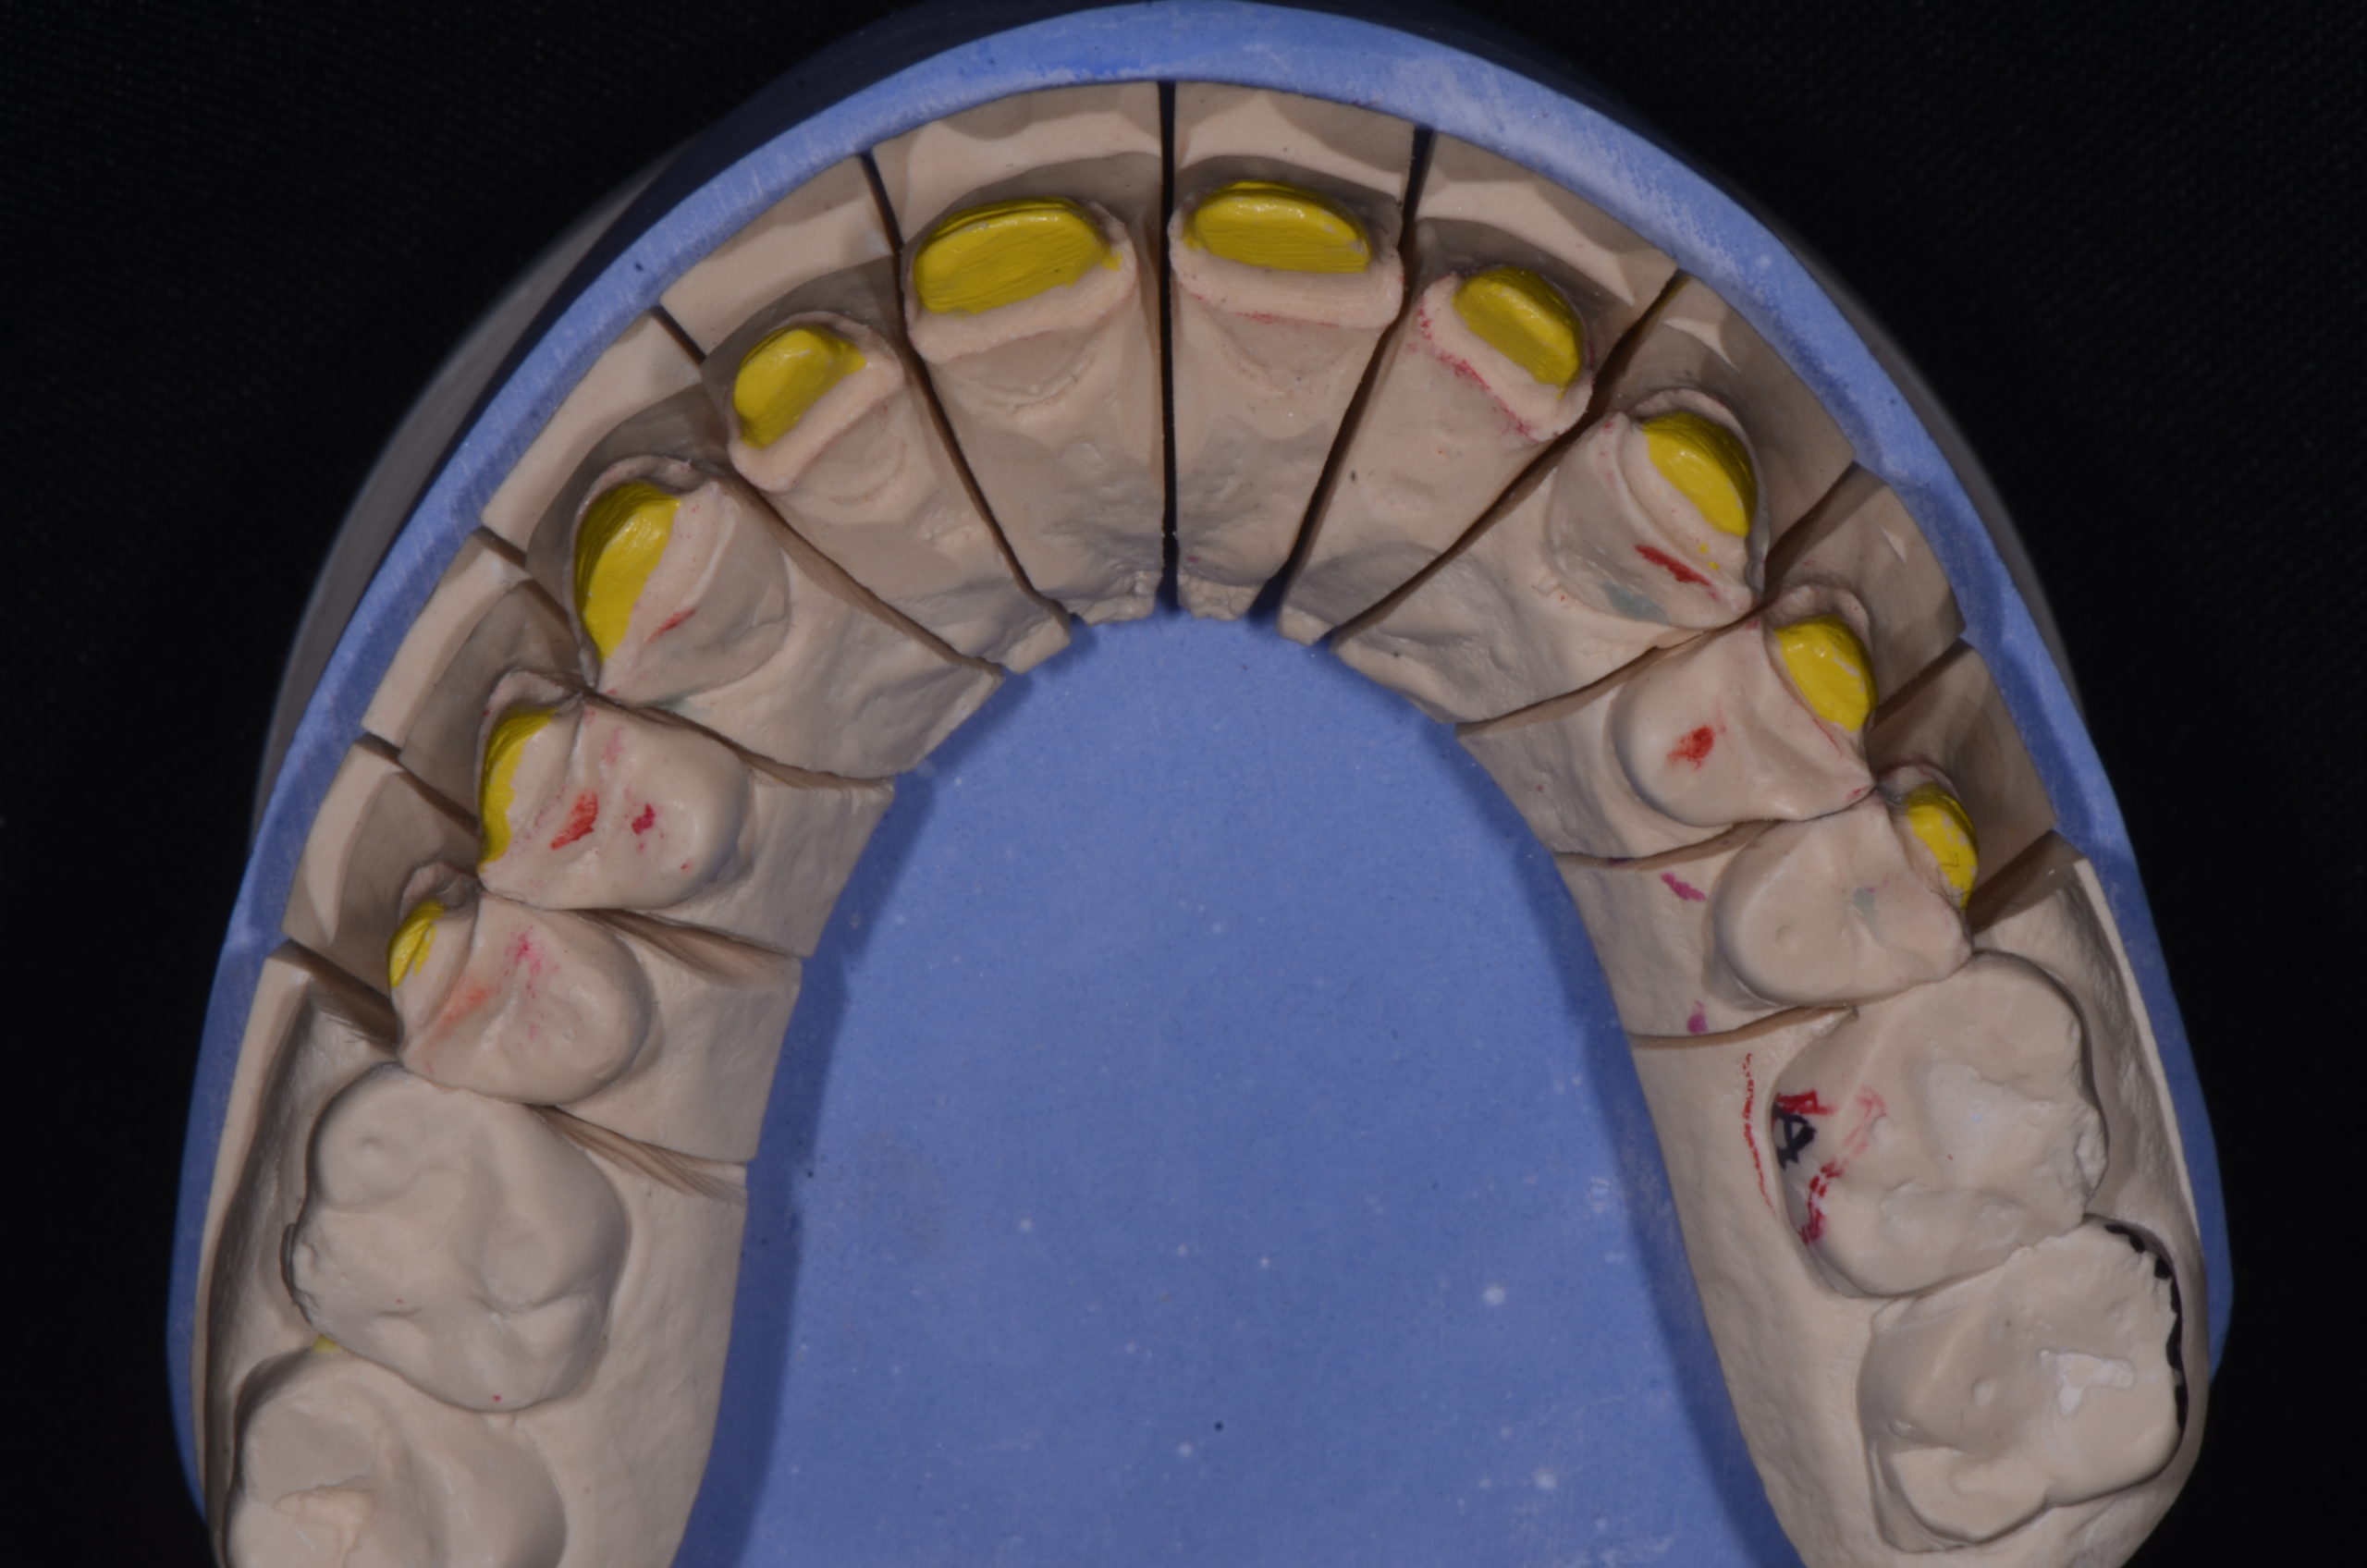
Figure 7
This allowed us to do an overlay try-in without any tooth preparation and check the aesthetics and function prior to doing or committing to this case.
I checked all aspects of the plan for aesthetics and function: length of centrals, buccal corridors and gingival symmetry.
All this was checked out and determined prior to scheduling her prep appointment, which she scheduled immediately.
On her prep day, I redid the overlay composite using the temporary mold filled with Luxatemp. For minimal but adequate tooth reduction, I used a .7 mm depth cut diamond. I also used this overlay to mark my gingival recontouring needs. I completed the tooth preparations, trying to be minimal in reduction yet appropriate for the final result that I wished to achieve both aesthetically and functionally.
Impressions were taken, a bite registration as well as horizontal stick bite completed. Photos were taken of the tooth prep shade as well as the final shade desired (Figure 8).
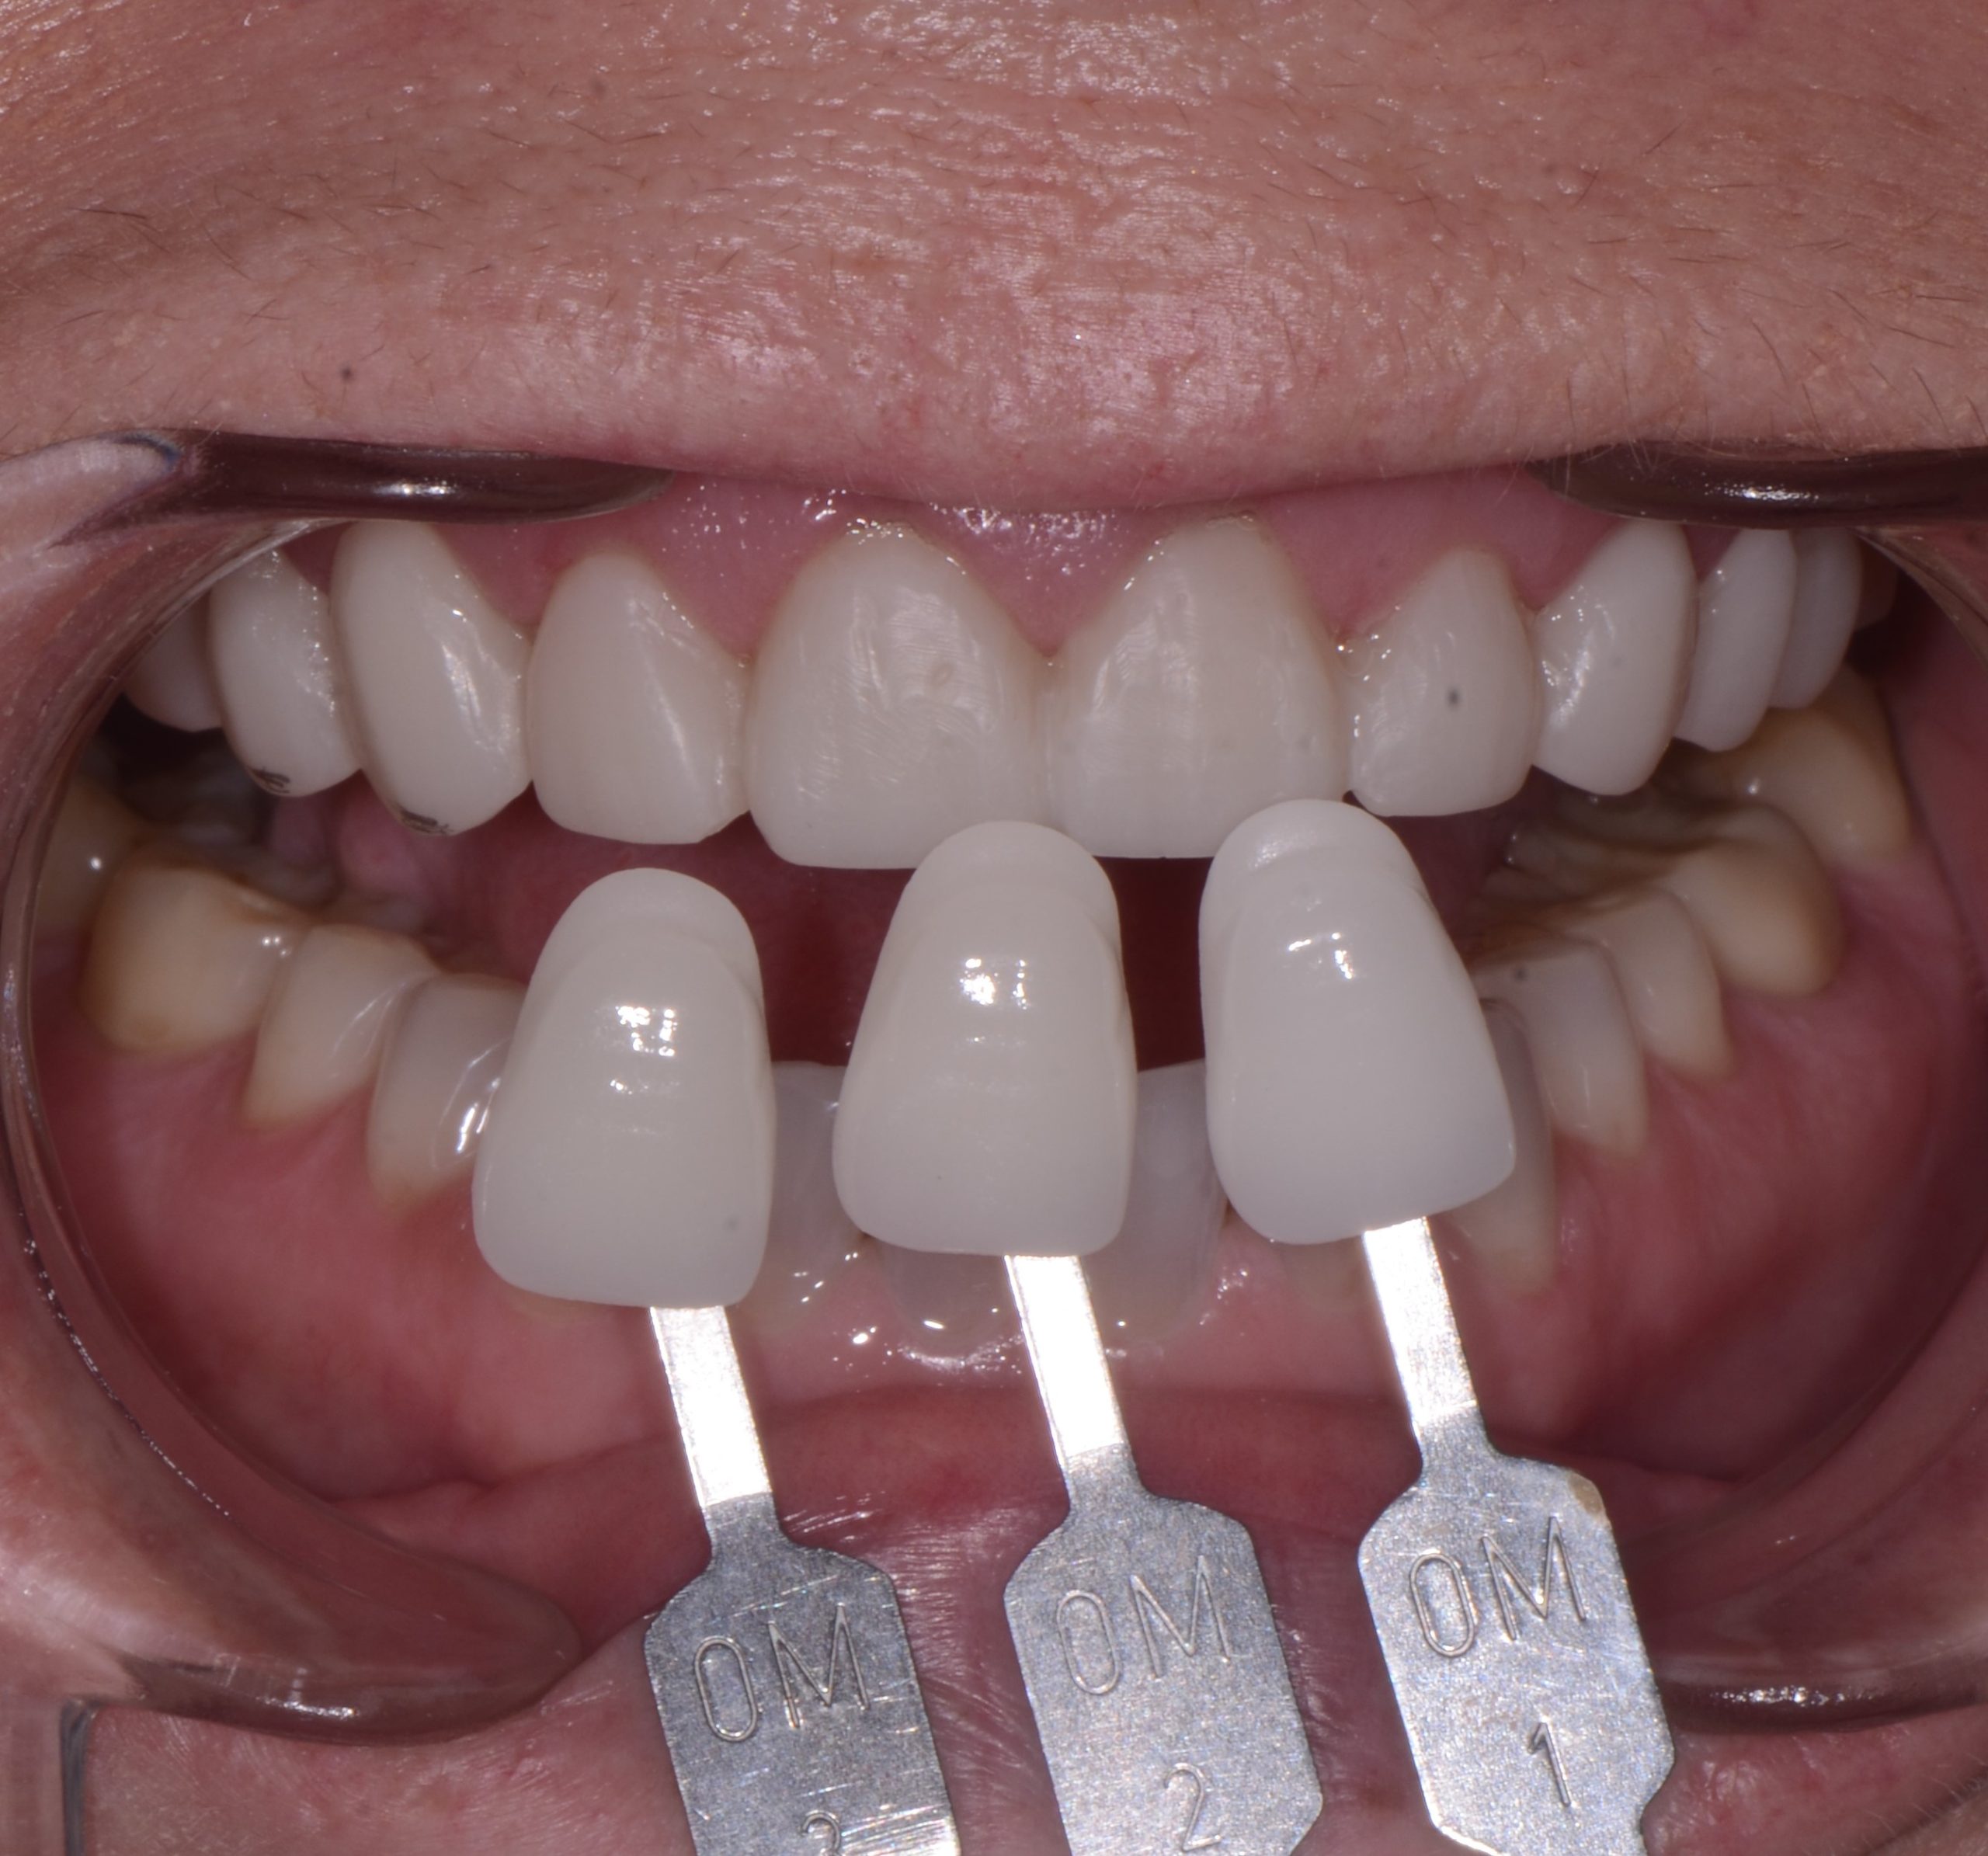
Figure 8
All was sent to Corr Dental Designs/Pacific Aesthetics Laboratory Group with a complete and detailed laboratory slip.
In this case, due to her bruxing pattern and the minimal prep veneer type, I took an impression of the temporaries, poured the models and fabricated a bleach tray type guard extending for 1mm on the gingiva. She was instructed to wear at night and when possible during the day to keep her temps from breaking or coming off.
The temps were fabricated with Luxatemp BL shade using the temp mold. They were cleaned up and excess removed. Refined and the occlusion was checked and rechecked. The temp model was sent to the laboratory as well as multiple photos.
On the next appointment, I followed the PAC teaching protocol for luting all the restorations at the same time. The restorations were carefully adjusted in centric protrusive right and left (Figures 9, 10, and 11).
Impressions were taken to fabricate a hard/soft occlusal guard that she would be wearing religiously every night and protect her teeth and investment.
Three weeks later, I did a final tissue check and any minor occlusal adjustments. I also delivered and adjusted the nightguard.
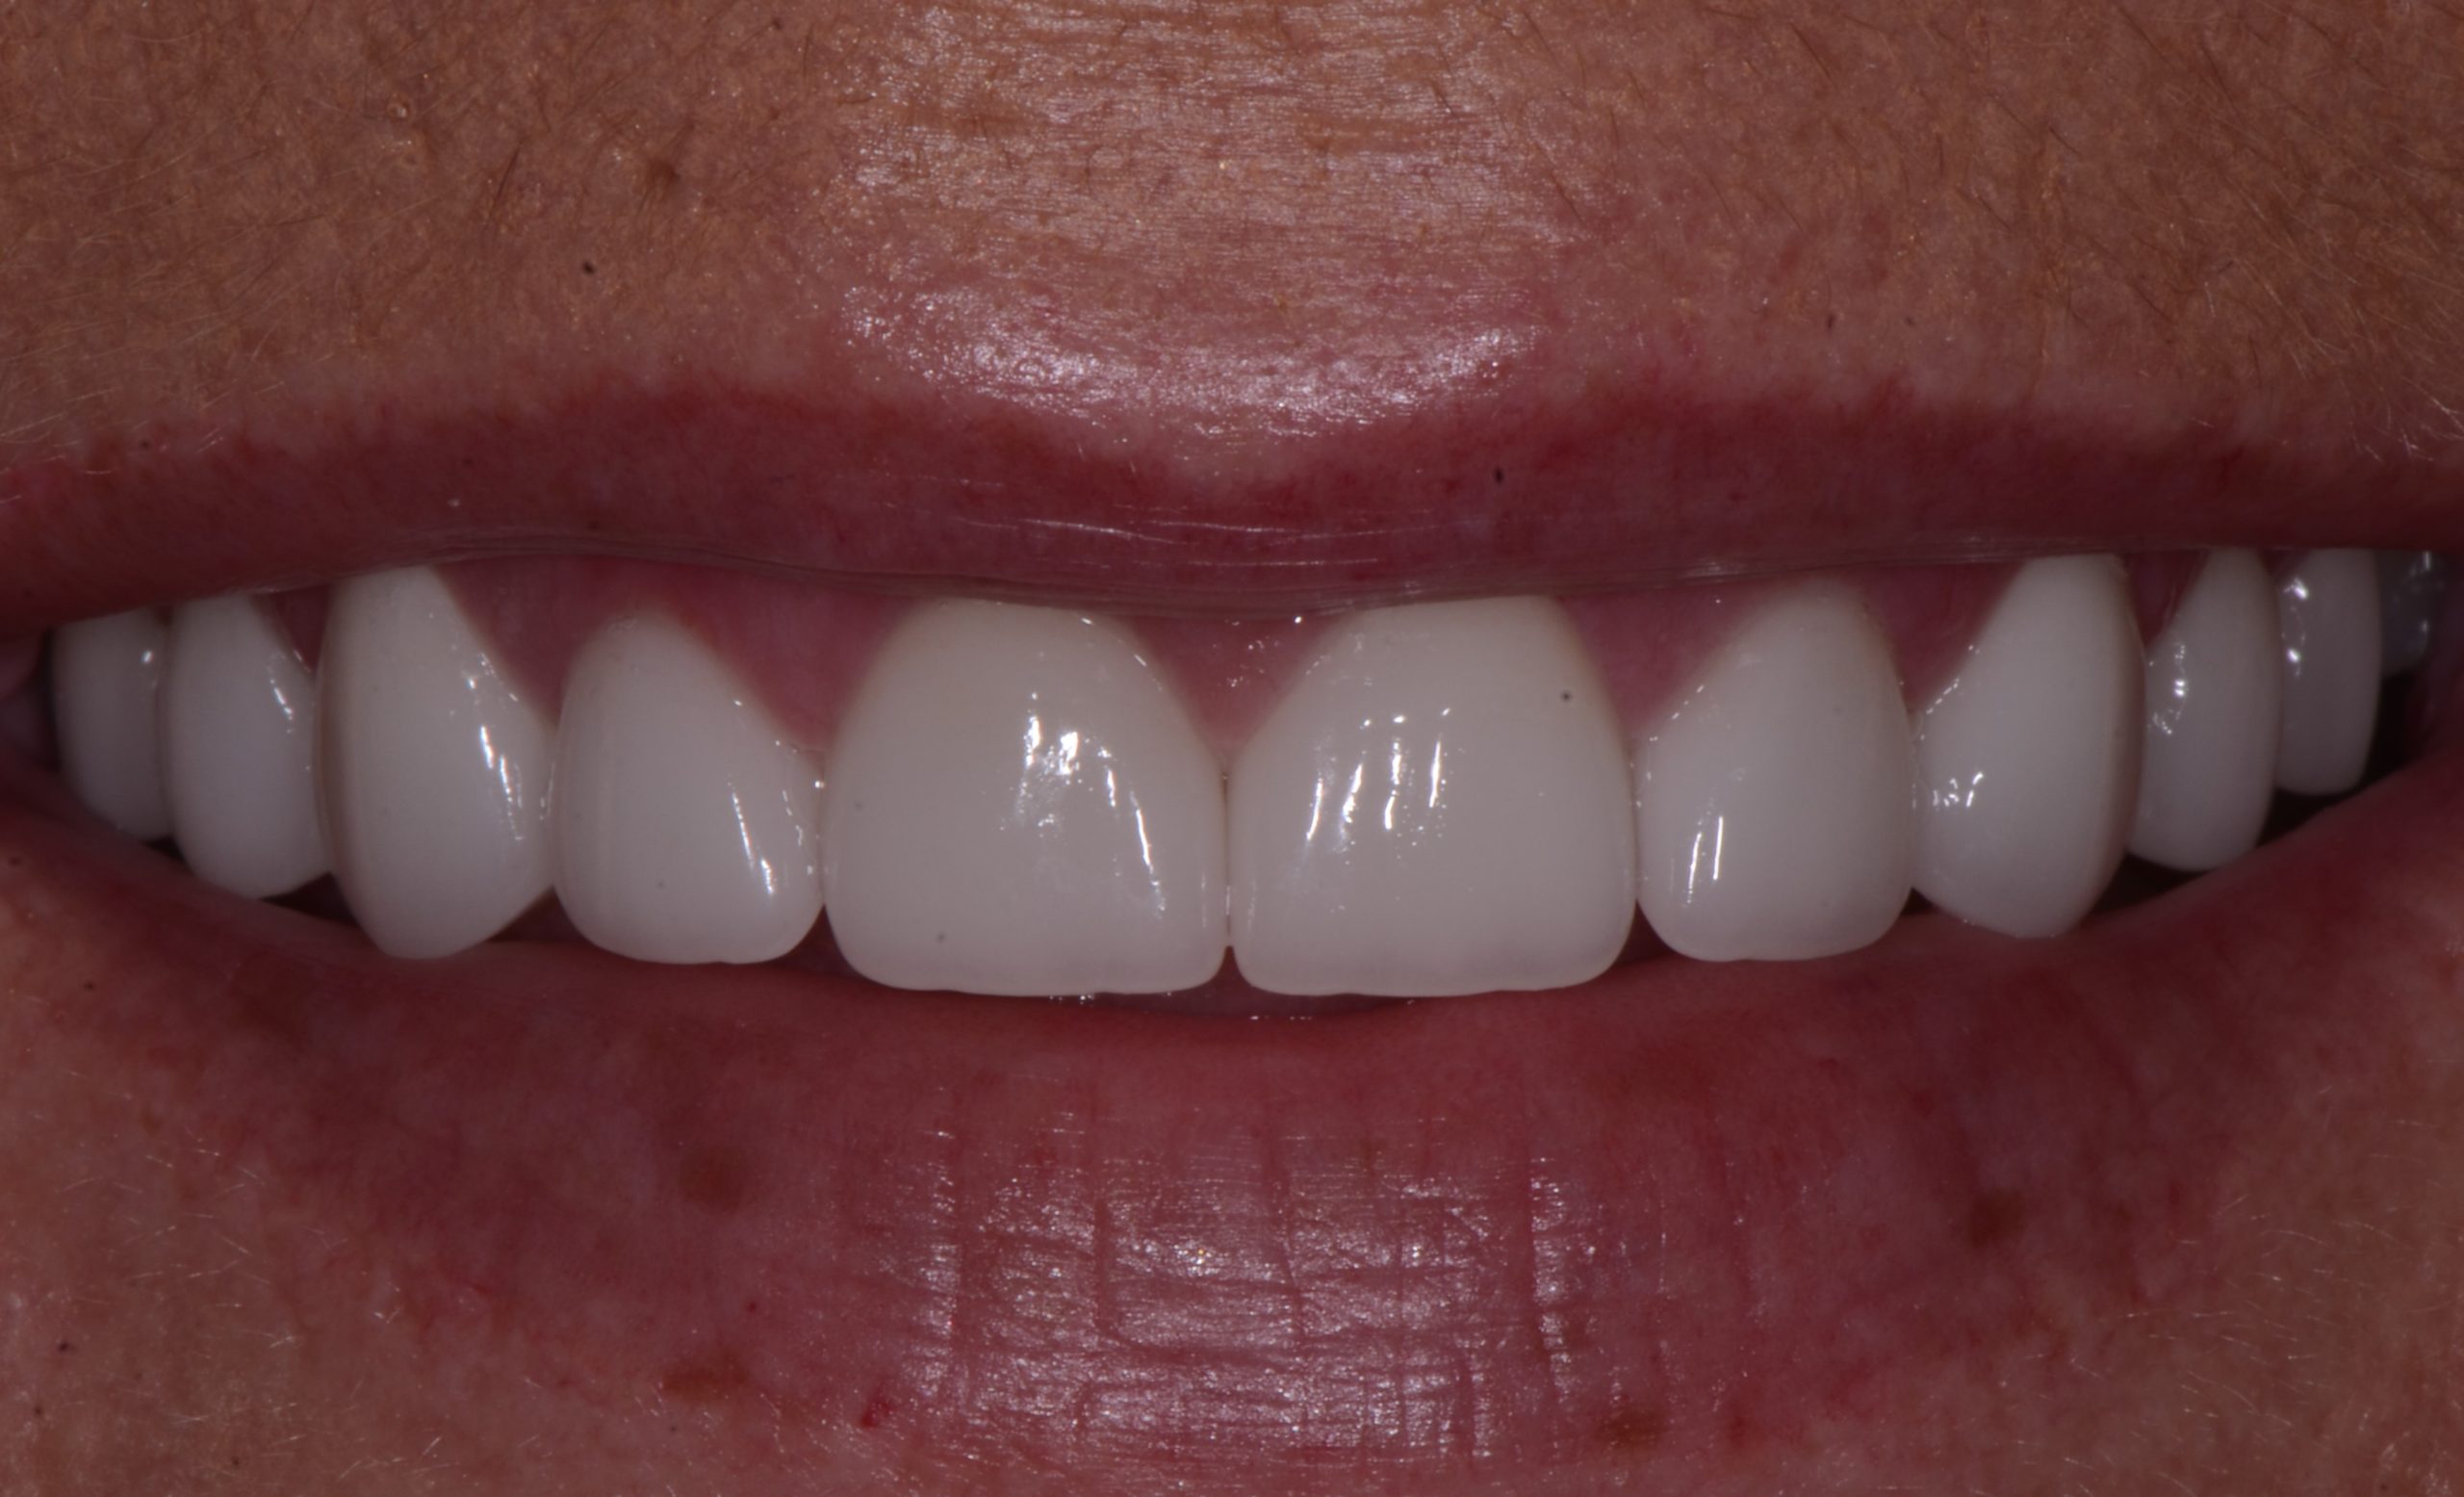
Figure 9
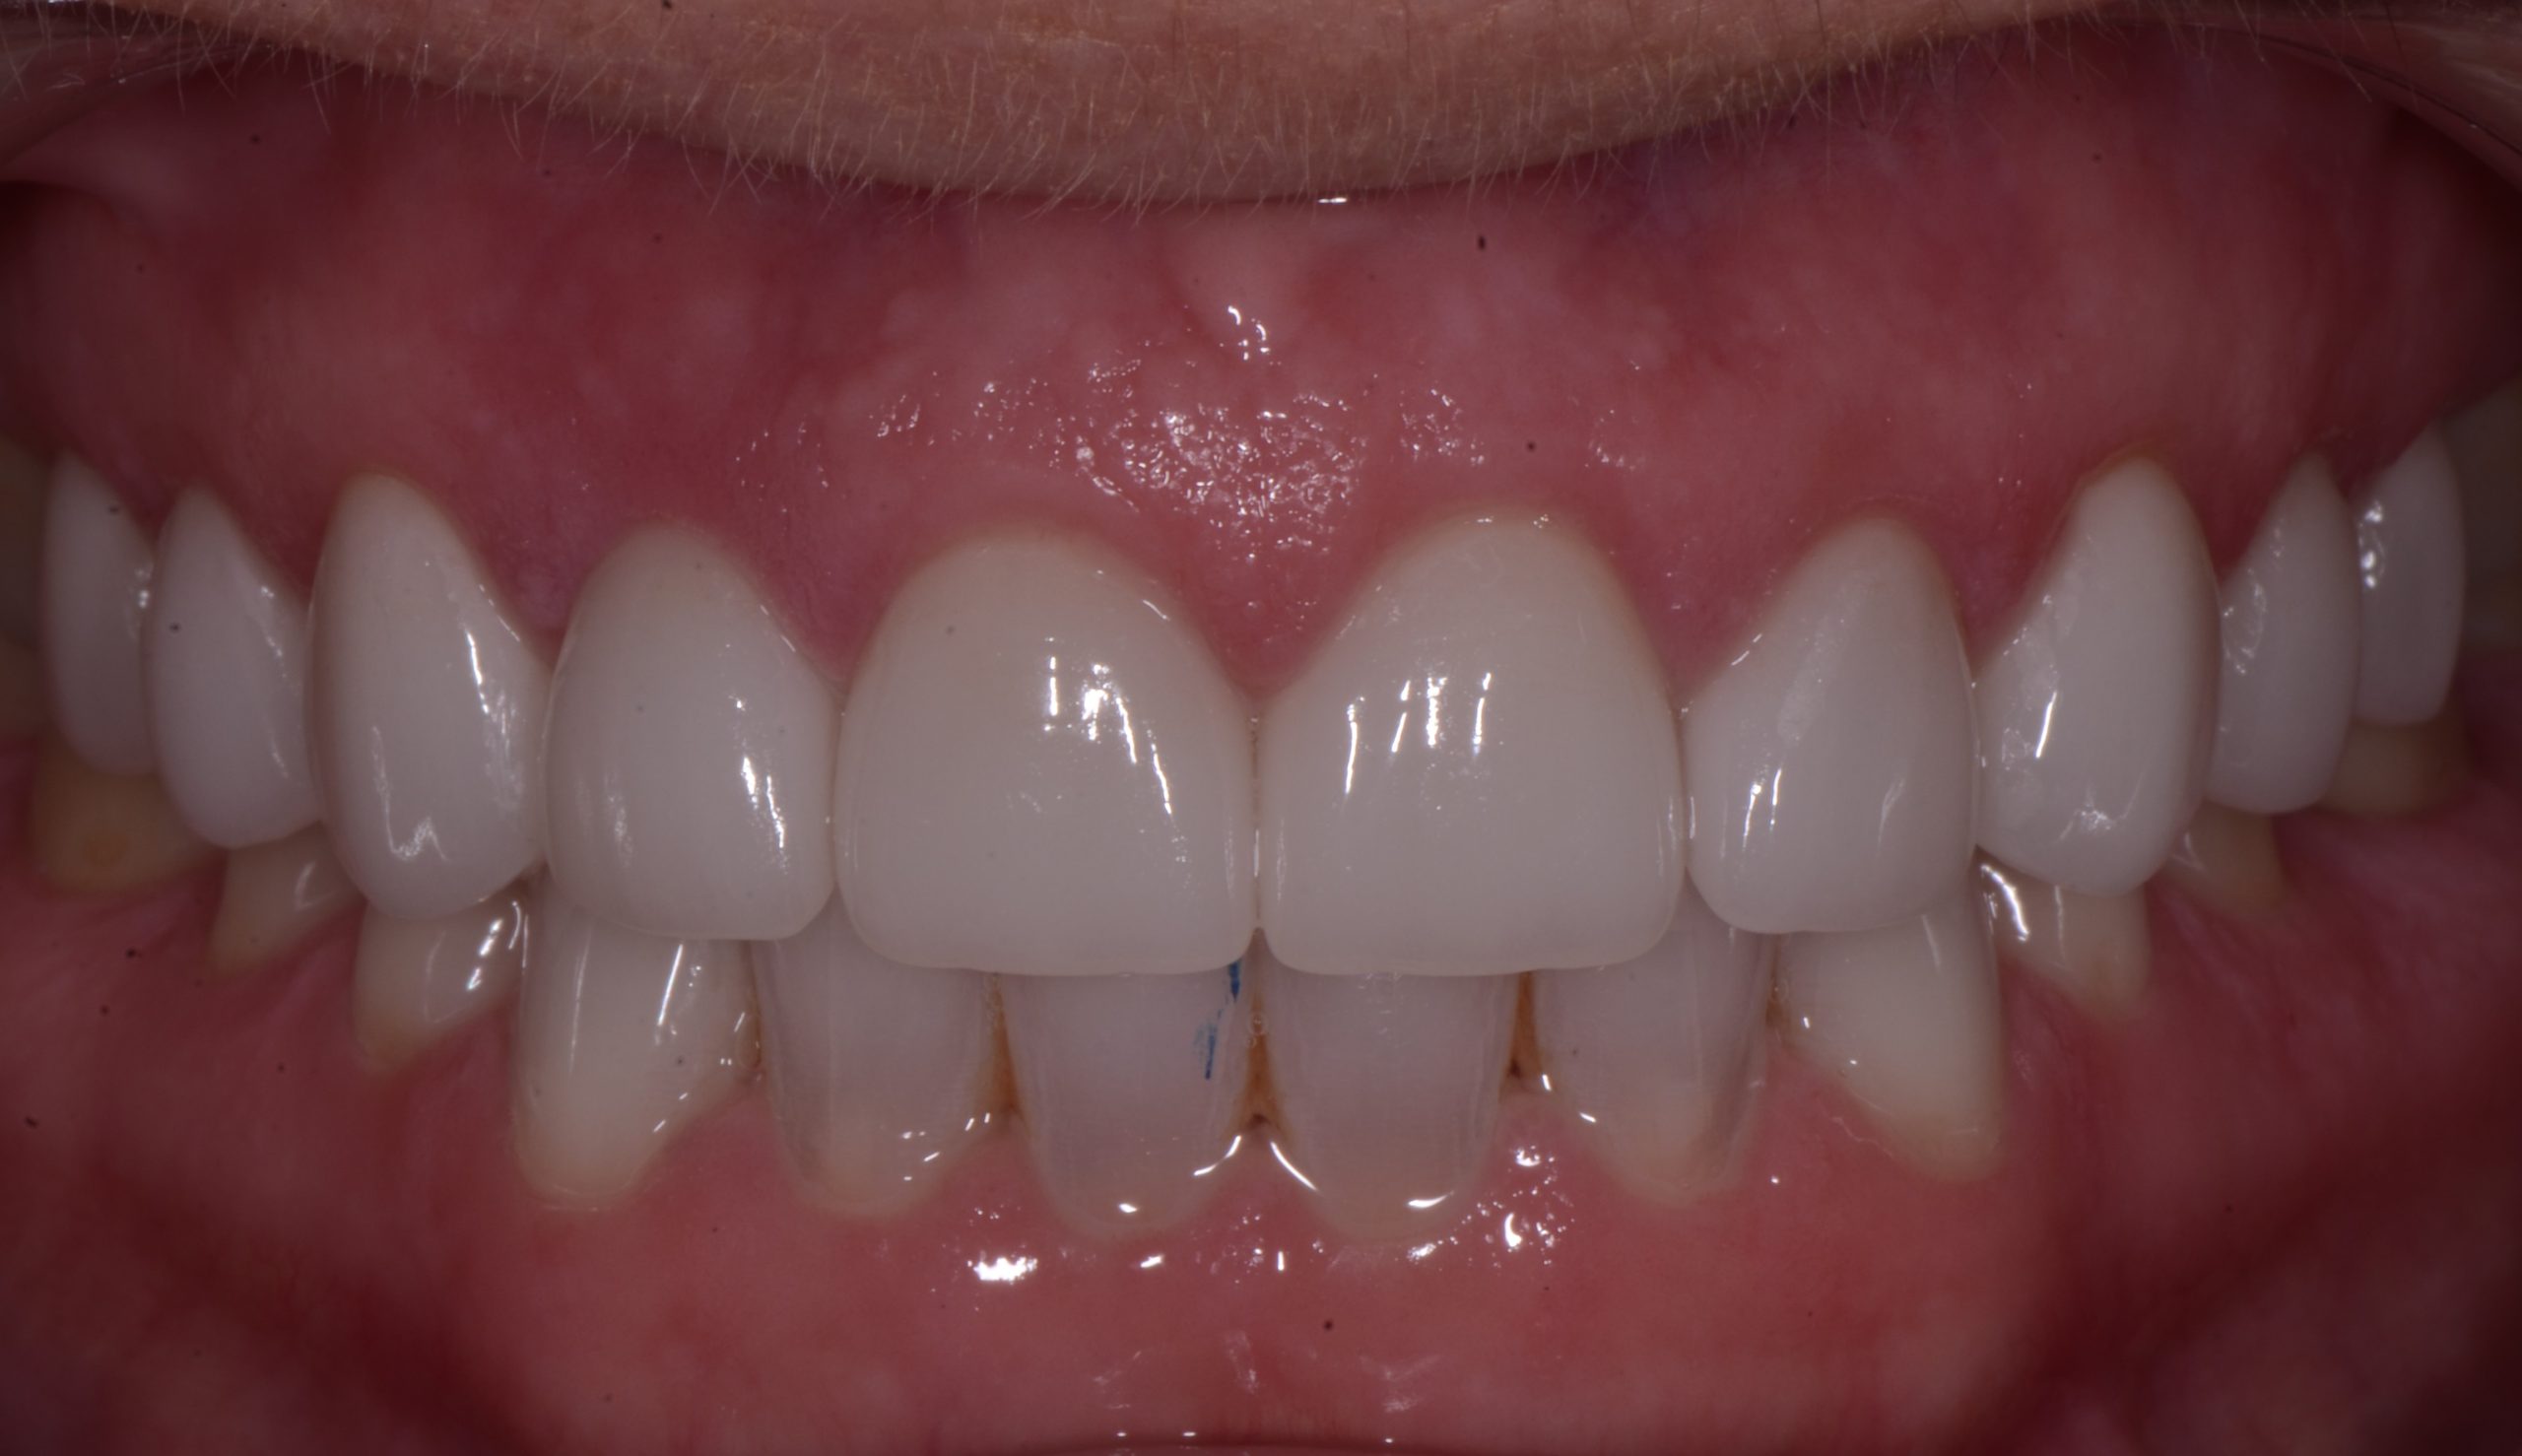
Figure 10

Figure 11
If you have questions about my article or if you would like to send a case, please contact the Pacific Aesthetic Laboratory Group at www.pacificaestheticdentalstudio.com, Gary Vaughn, CDT, CTO (916) 786-6740, or via email [email protected].